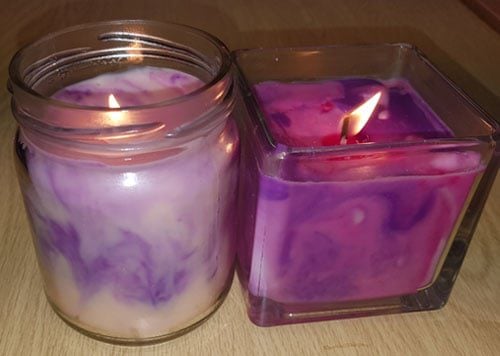
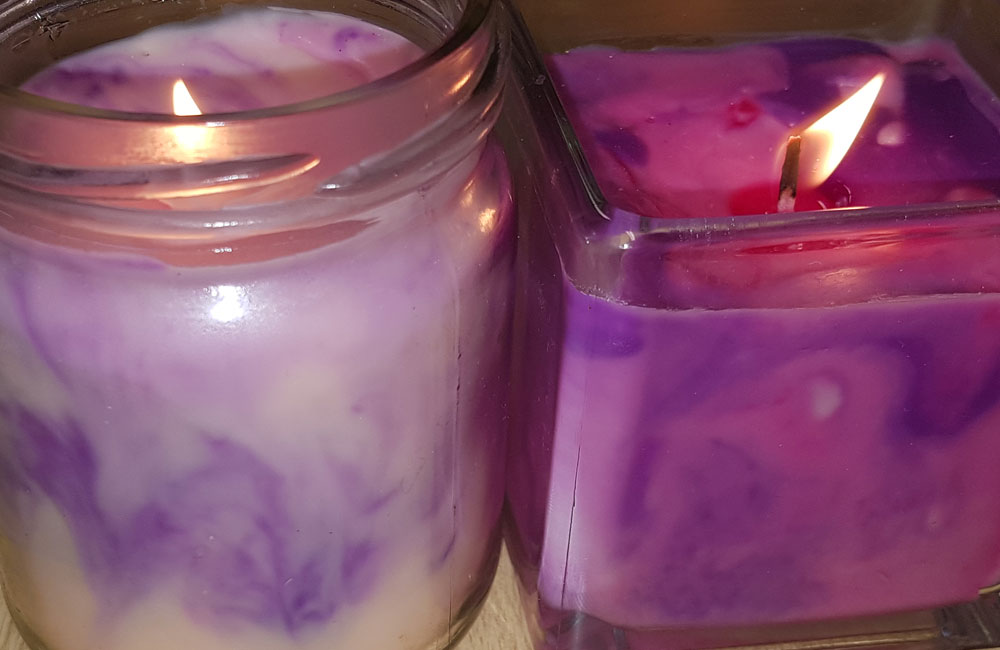
Welcome to the world of making candles. Whether you are experienced or new to candles marbling is a great technique for getting creative. A marble candle is the effect caused by blending two or more colours to achieve a smoky effect.
To get started, you want to follow the normal guidelines for making a container candle as seen below:
Method
Step 1 –
Select your container, measure out the correct amount of wax you need for the size container you have (percentages and measurements guideline) and start melting your wax. Whilst this is melting use this time to wick your container.
Step 2 –
Melt your wax at a temperature of no higher then 65°C. Once wax is melted add your dye and/or fragrance as usual. Make sure you stick to recommended temperatures, if unsure please reference our temperature guidelines and fragrance flash points.
Step 3 –
Pour your wax into the container and allow to cool for around 30 to 45 minutes, whilst this is cooling you will want to melt some of your desired wax colour chips (without adding more wax to this dye) as it is already combined with paraffin.
Please follow the guidelines below for creating your perfect marble style candle, these are great for your own use, as a gift or even to sell on:
Step 4 –
At this point the wax should have started to solidify. Using a thin wire or wick pin (I used a skewer) make several holes around the edge of the container, some all the way to the bottom, others only half way down. I would alternate these.
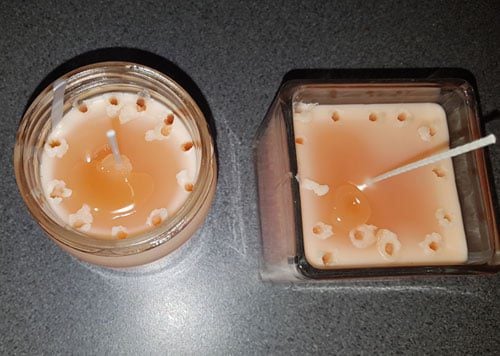
Step 5 – Depending on how much colour blend you want, this will impact the number of holes you make – more hole’s equals higher colour blend.
Step 6 – Now the holes have been made you will want to put a droplet of pure dye into each one of these holes. You can mix things up and marble multiple colours into your candle, the fun is in experimenting!
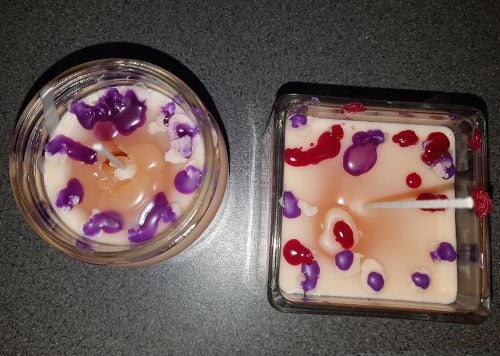
Step 7– This is where you can get creative, using a hairdryer to re-melt the wax. Start at the top of the candle and work down around the sides.
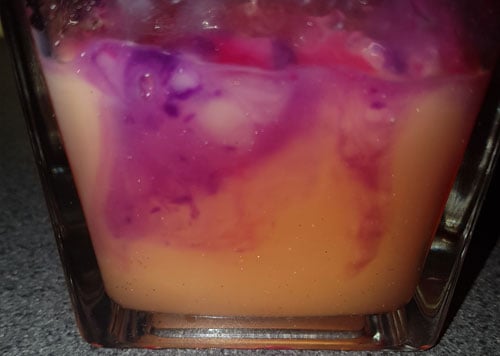
Step 8 – You will see the dye start to travel down the holes you have made. Using the hairdryer you can encourage the dye to blend with the initial wax. The dye will combine with the wax causing a swirling and marbling effect.
Step 9 – You can encourage this even further by rolling the container between your hands or using the wick pin (skewer) to move the colour around as well.
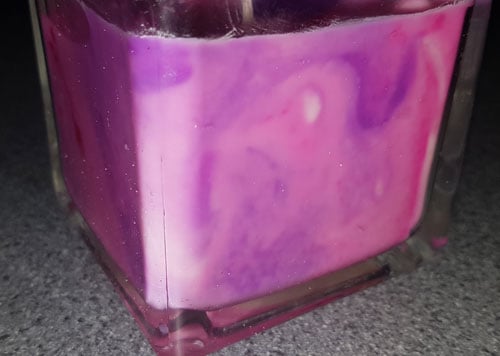
Step 10 – Leave the candles to cool for a minimum of 24 hours before burning. I have been delighted every time with the outcome of this technique. Every candle and pattern are unique, and I love that. Perfect as a gift!
