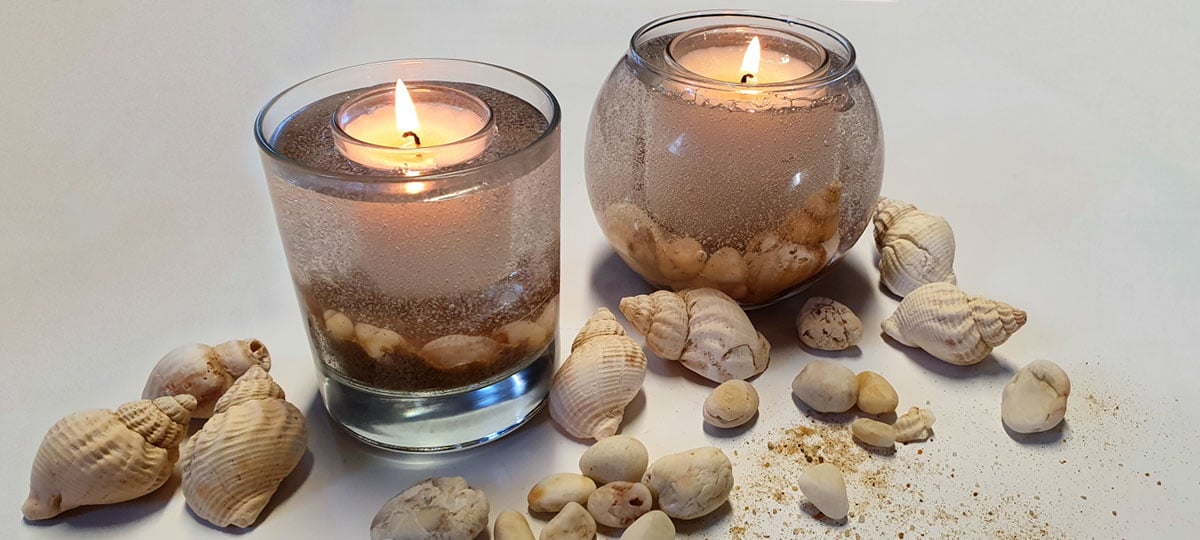
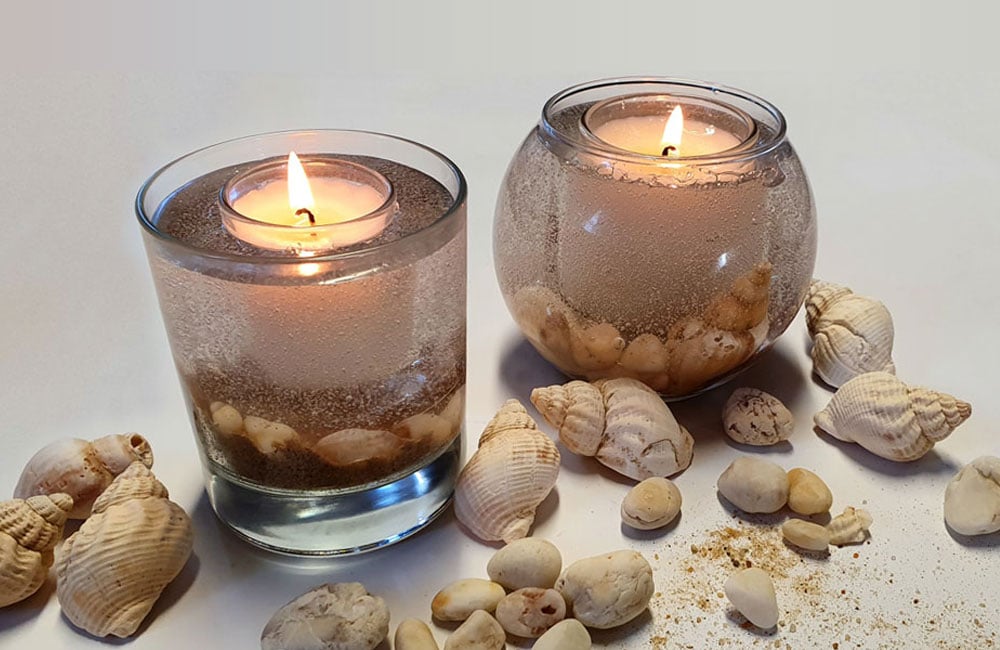
With Summer now here, it’s the perfect time to try our beach themed gel votive candle. It will make the perfect table centre piece but there’s no need to limit yourself to a beach theme when there are so many alternatives!
Ingredients
- Gel Wax
- Soy Container Wax or Paraffin Container Wax
- 2 containers varying in size (We used our 9cl Meredith in the 37cl Bubble Ball or the 5cl Gabrielle in our 30cl Karen Round)
- Wick suitable for the smaller glass
- Glue dots
- Dye (if you choose to add)
- Sand, Seashells and Stones (or any decorative items of your choosing)
- Fragrance Oil of your choice (we are using Ocean)
Method

Step 1
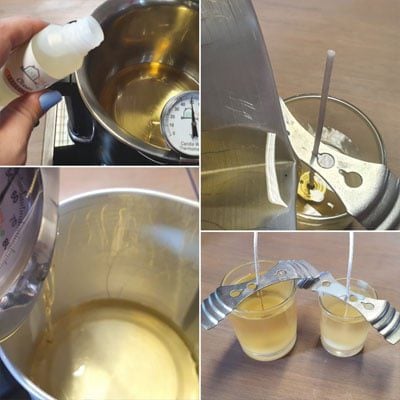
To melt the inner candle wax, pour your container wax into your melt pot, (we use our Bain Marie) making sure the temperature of the wax doesn’t exceed 70-75°C. Whilst the wax is melting start prepping your outer container, decide what glass is going to go inside which outer glass. We placed the 9cl Meredith inside the 37cl Bubble Ball. Place the 9cl glass down on your work surface and place the Bubble Ball over the top, so that the 9cl is inside the Bubble Ball. Using a wipeable marker, draw a line where the 9cl ends as this will ensure you do not overfill the bottom of the Bubble Ball and will prevent the 9cl from not fitting inside.

Step 2
To prepare your inner container, use the glue dots to hold down the sustainer into the glass in a central location. Use the Wick Holder to keep this in place during the pour and whilst the candle is setting.

Step 3
Once the wax has melted and the temperature has been reduced, add the fragrance of your choice to the wax (please be aware of the fragrance oil flash point). Stir gently and then transfer the molten wax into your pourer. Evenly pour this wax into your prepared containers, around 1cm from the top of the container. Leave to one side to cool (ensure it is not in an area where they can be knocked).

Step 4
Melt the gel wax in the same way you melted your container wax earlier, be sure to clean the melt pot in-between to ensure no cross contamination (you can heat gel wax directly on a heat source which is quicker and will create less bubbles in the finished pour). Getting creative; this is the stage where you start to build up the design for your outer container. We are using sand, seashells and small beach pebbles. Using the line drawn in step 1 you can ensure the centre is not filled too high for the inner candle to fit, you should still build your decorative items up around the side of the glass to give your design more height. If using flowers, it can be easier to do this in stages, gradually building the sides up with flowers and gel wax.

Step 5
The first pour, once the gel wax has fully melted (stirring continuously can help speed up this process however make sure you do this gently to reduce bubbles in the gel) transfer a small amount to your pourer. Slowly pour in your wax up to the line you created in Step 1, return the unused wax back to the heat and leave as you will need this again very soon. After around 5-10 minutes the first pour of gel wax will be cooled enough to place the smaller candles inside on top of the gel.

Step 6
The final pour uses the remainder of your gel wax, slowly pour this in the gap between your two glasses. The slower you can pour the better as you will encourage less bubbles in the wax as it hardens. We filled the glass to approx. 5mm from the top of the containers. Leave these to cool slowly in warm conditions if possible, as this will also encourage the bubbles to rise out of the wax. Not to worry if you do have a large amount of bubbles when the wax cools that you do not like, reheating the glass in boiling water will help melt the wax and encourage the bubbles out (you may need to do this a few times as the wax cools so quickly).


Looks great!!….does the outer candle container need to be specifically for candles?….thanks!
It will indeed, particularly if you intend to sell these candles. Any container intended for candle making will be heat tested and suitable for prolonged burning (advised up to 4 hours at any one time).