With Autumn just weeks away, what better way to celebrate the season than to learn how to make a Beeswax candle? As part of our ongoing ‘how to’ series in partnership with Victoria Hartley from Cosy & Country, we are on a mission to help the home candlemakers get their craft by providing you with creative guides and tutorials. So what are you waiting for? Here’s how to make a beeswax candle!
Ingredients
- 800g Kerasoy 2555 Premium Yellow Beeswax
- Glass Container – 5cl Gabrielle
- Fragrance oil – we have used honey in this video
- Wicks
- Wick Centering Tool
- Glue Dots
- Melting Jugs
- Wooden spoon
Step 1 – Measure the wax
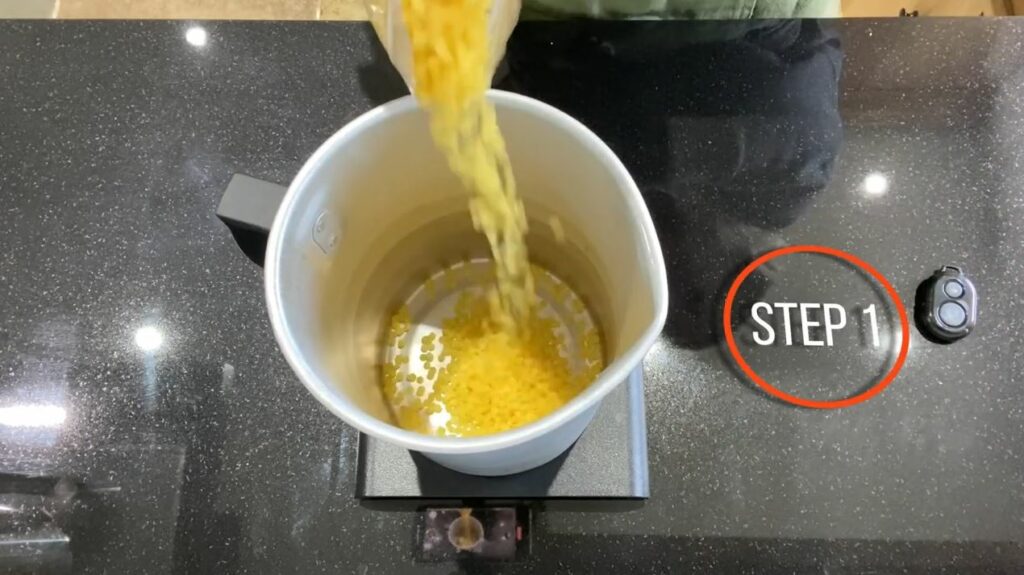
Firstly you will need to measure out the wax. As the containers in this tutorial are 5cl each, you will need to measure out 150g of the Kerasoy 2555 Premium Yellow Beeswax.
Did you know that our Kerawax is a pure and natural beeswax product sourced from the UK and is ideal for candle making as well as cosmetic applications?
Step 2 – Melt your beeswax
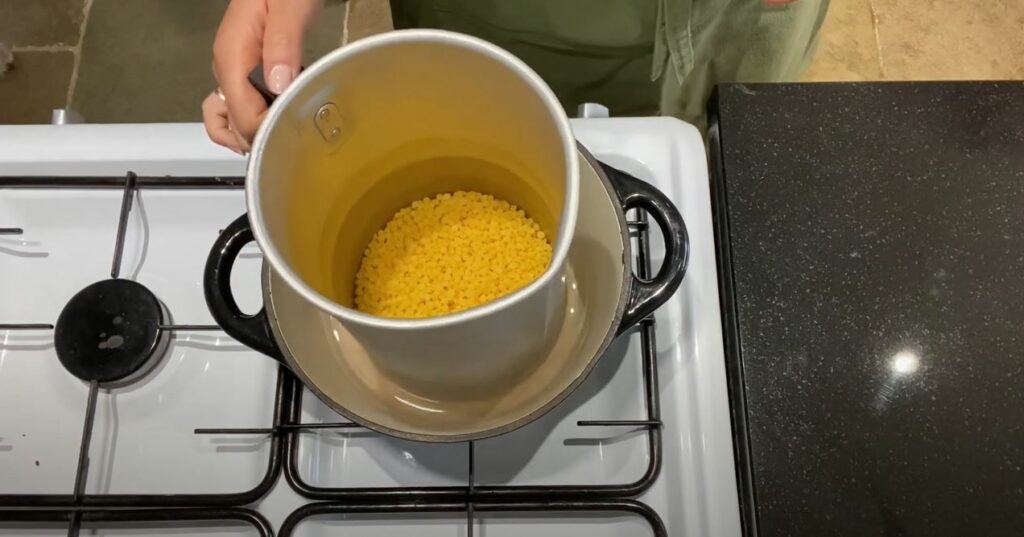
Put a few inches of water in the bottom of your pan and put it onto medium heat to avoid water bubbling over the top! Pour your beeswax into the pan and slowly stir the wax. Beeswax has a high melting point so it’s best to stay around the pan, break the wax apart and help it to melt.
Step 3 – check your temperature and prepare your glasses
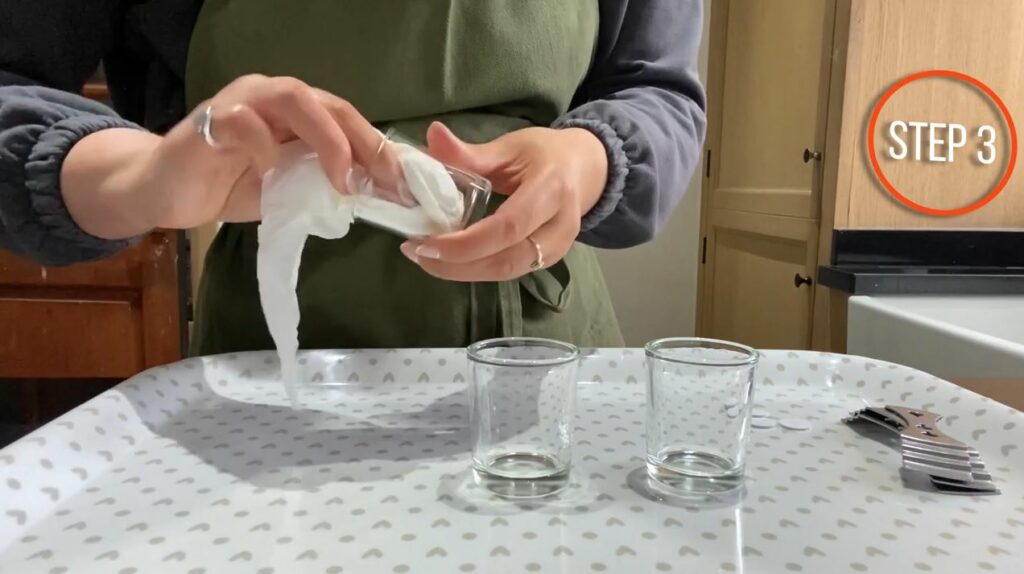
Now your wax has melted, double-check the temperature as you don’t want it to be too hot. (Aim for somewhere between 68 – 70°C) If your wax is too hot, allow it to cool down.
Top tip* – The beeswax sets quite quickly so it’s best practice to preheat your glass containers. The wax sets quickly so it’s better to have a warmer glass to avoid this happening. Consider the ambient temperature of the room as well which contributes to your wax setting quickly.
Step 4 – Prepare your glue dots and wicks
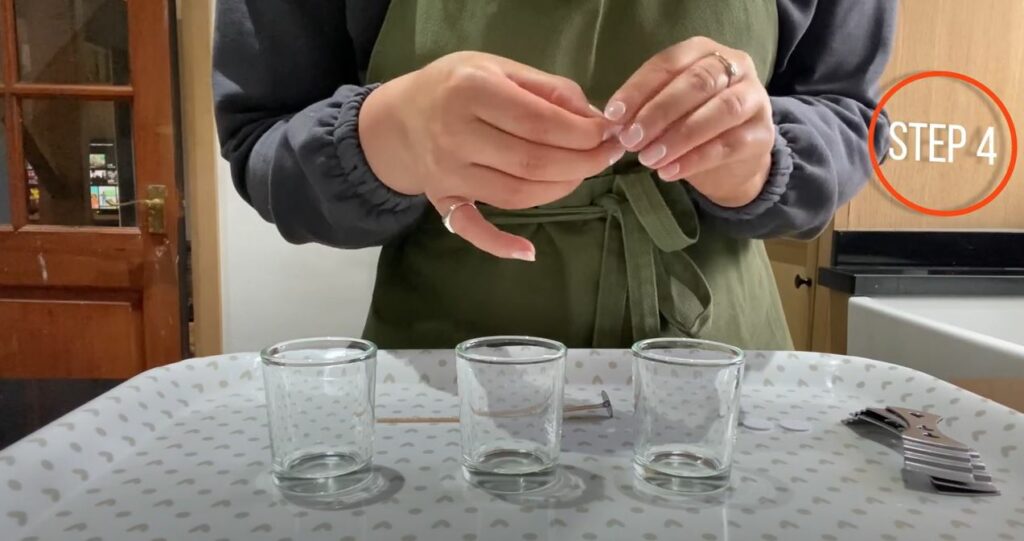
Taking your wicks, straighten them out and grab your glue dots, peeling off one side. Put the base of the wick against the sticky glue dot. Peel off the other side of the glue dot and place it central to the bottom of your glass container.
Step 5 – Wick centering tools
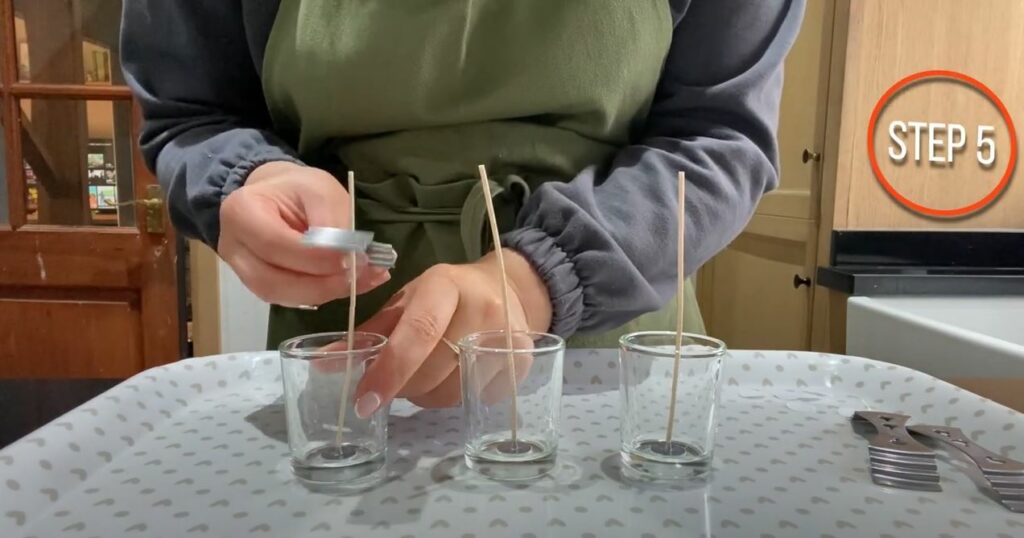
Taking your wick centering tool, use this to centralise your wick, also helping to keep the wick in place when pouring the wax into the glass container.
Top tip* You can get crafty and use pegs to hold your wick in place.
Step 6 – Measure and mix your fragrance oil (always check flashpoints)
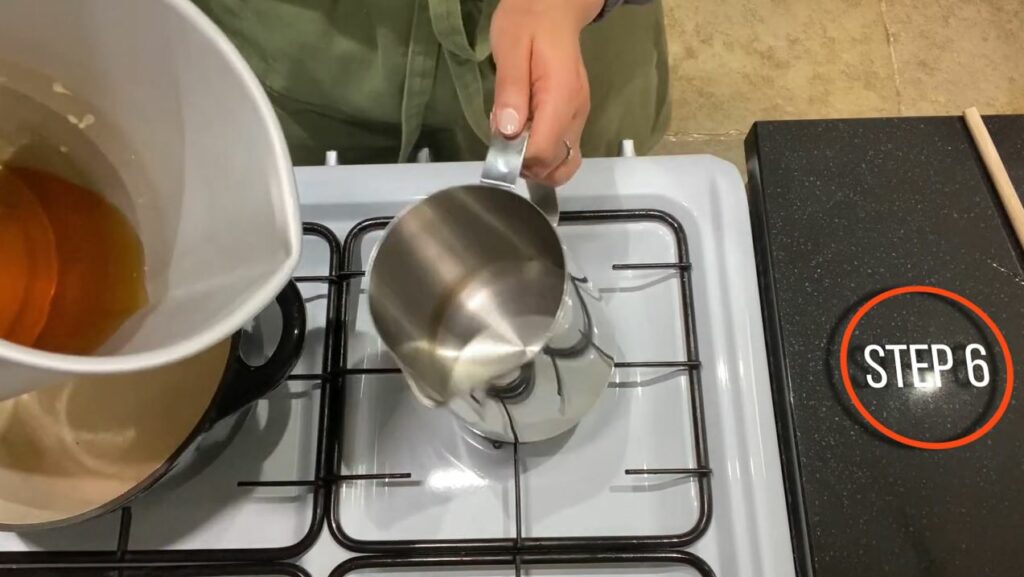
Once again, ensure your wax is around 70°C and ensure you check your fragrance oil flashpoint. Honey Fragrance Oil is 90°C, so perfect to use with melted wax at a temperature of 70°C. For more information on the flashpoint of Honey, visit here.
Measure your fragrance oil (in this instance, Victoria had 150ml of wax in her jug so therefore used 10ml of fragrance oil).
Your fragrance oil might coagulate due to the fragrance oil temperature being cooler than your wax, however, ensure to keep stirring the fragrance oil until it completely melts through. If you need to, put your wax back on the heat to help stir the fragrance oil through.
Step 7 – Pour your wax into the pre-heated containers
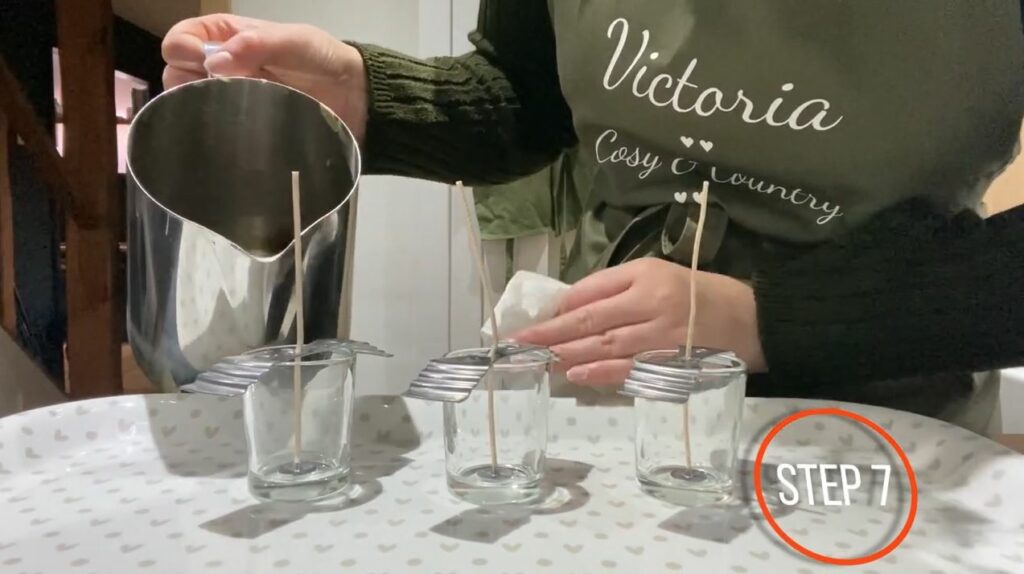
To avoid any frosting on the containers and rings, ensure you know the ambient temperature of the room, and tailor the heat of your glasses accordingly.
Pour your wax into the containers (Victoria poured at around 65°C which is slightly on the cool side). However, she ensured her containers are nice and warm helping to give a nice finish to the beeswax. Now you can leave the wax to set for 24 hours.
Step 8 – Remove wick centering tools and trim your wicks
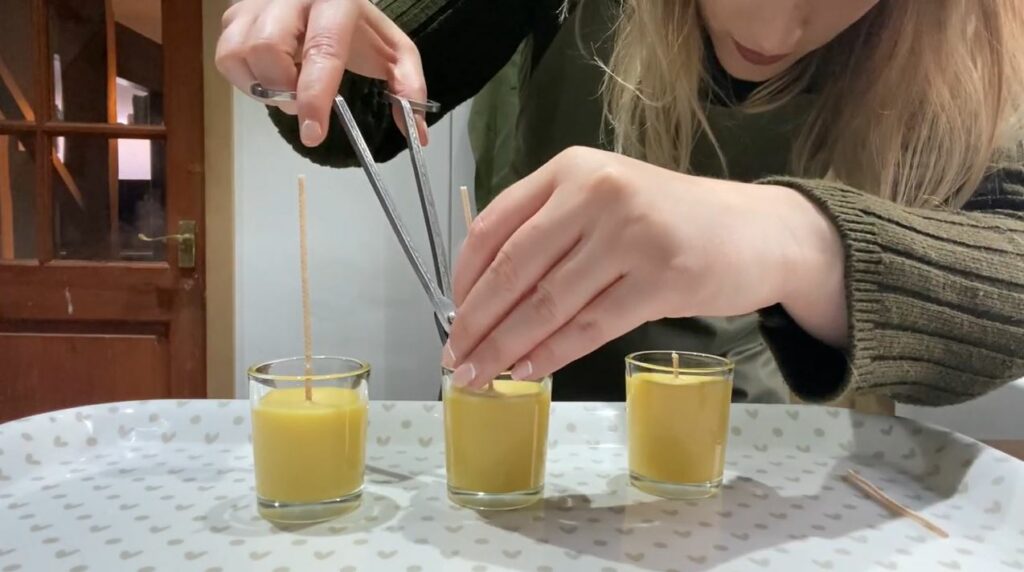
Remove your wick centering tools and grab yourself a wick trimming tool. We’re often asked how short to trim the wicks, aim for 5ml and no shorter or your wick could drown in the wax. If you trim your wick too high, this will make your flames too high.
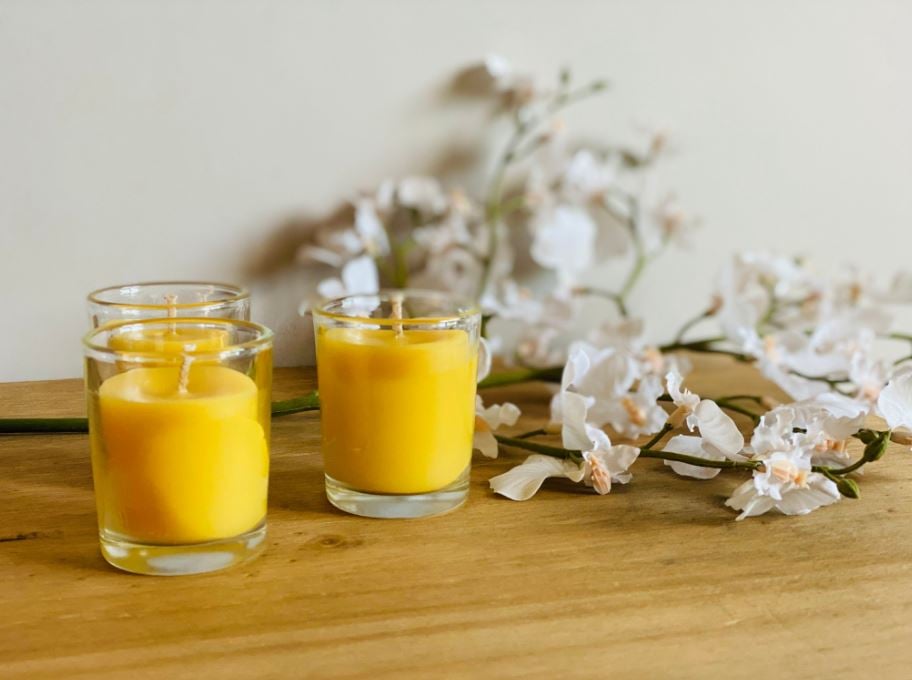
And there we go! You have made your very own Beeswax candles! Why not share with us your beeswax candles on social media? We’ll repost the best snaps we see!

