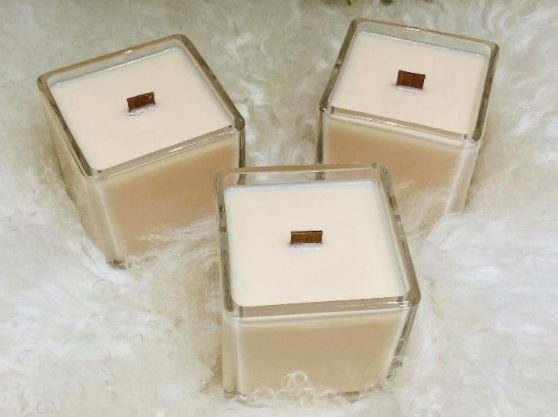
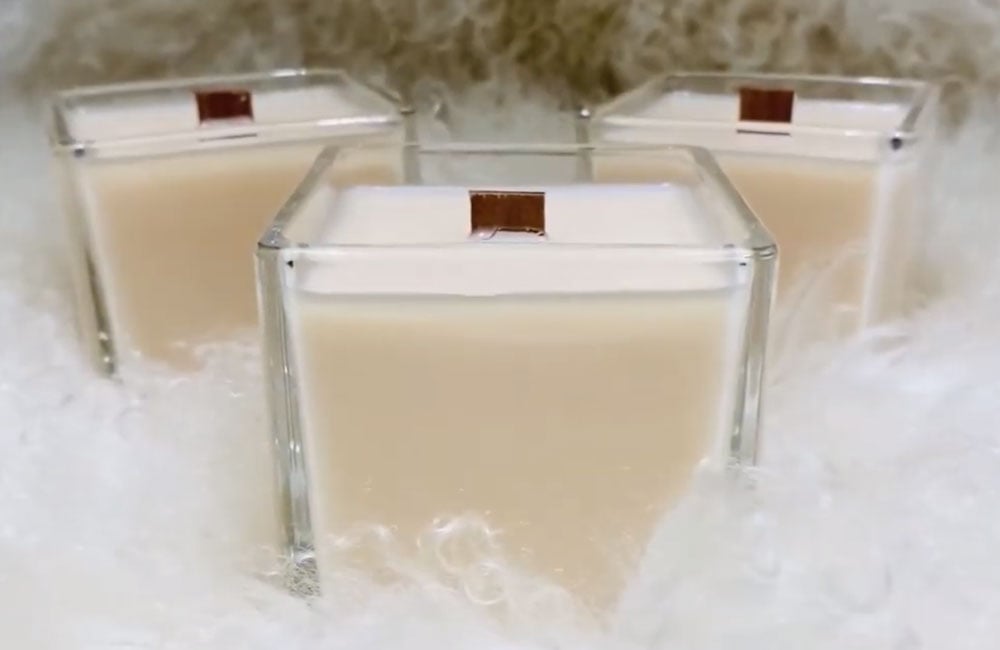
With the weather getting chillier and Autumn almost upon us, it’s the perfect time to hone your inner craftsmanship and make these inspirational luxury candles with wooden wicks. Our step-by-step video created in partnership with Cosy & Country walks you through the process to make your very own candles at home…brrr-ill-iant!
Ingredients
- Wooden wicks (always check what wick you need for your diameter of candle)
- Kerasoy 4130 or Kerawax 4105 wax (if using a different wax, you will require some of this)
- Metal wooden wick sustainer (supplied with our wooden wicks)
- Glue Dots
- Large Cube Glass Container (other options available)
- Fragrance Oil – we used Cinnamon
- Dye – we used Cream
Step 1 – Weigh & Melt Your Wax
First you need to measure out your wax. We are using 700g to fill our 3 large containers. Once you’ve measured out your wax, put it on a medium heat and melt it all the way through.
Step 2 – Prepare Your Wooden Wicks
Take two of the same wicks and place these together. Then place them into your metal sustainer.
Once the wax has melted, dip the wooden wick into the molten wax ensuring that both sides are fully covered. Lay this over the pot and put to one side to allow the wax to cool and cure. We suggest pre-waxing the wick prior to adding any of your additives i.e. fragrance oil.
Step 3 – Add The Dye And Fragrance Oil
Making sure your wax is at 65°C, it is time to add the desired amount of dye. Stir the dye gently until it has dissolved into the wax and has an even coverage.
Now it is time to add the fragrance oil, we have chosen Cinnamon. Make sure you keep stirring gently so the fragrance oil is all the way through the wax.
Step 4 – Stick The Wick Into The Container
Add the glue dot to the base of your sustainer by peeling off the plastic cover and pushing down into your container. Making sure it is stuck in central. You can either trim down the wick at this point or wait until the candle is made.
Step 5 – Pour the wax
Begin pouring your wax carefully into your containers. Only pour partially the way up, as you’ll need that extra room at the top to top up any sink holes with your left over wax.
Step 6 – Top Up Your Candles
After half an hour, top up the candles with the remaining wax. This will leave the top smooth and clear of any air pockets or sink holes. Then leave your candle to set for 24 hours.
Step 7 – Trim Your Wicks
After your candles have set its time to trim your wicks. We recommend leaving approx. 1 cm of the wick above the candle.
Step 8 – Enjoy!

Follow us on social media and tag us in your creations. We love to see what you have been making!


I would like to know do candles have a shelf life also I’m making some in moulds do you leave them without wrap or do I shrink wrap them.
Candles with Essential oils would have a shelf life and this would vary depending on the oil used. Candles with a fragrance oil do not have an official shelf life however, if these are not stored well the candle appearance and cold throw would deteriorate over time meaning that you wouldn’t be able to sell it for the same price.
With Pillar candles I would advise wrapping these and storing them in an airtight container. Try to avoid mixing scents in the container as well, over time the cold throw scent could change.
I made step by step after your information and the wick burn and after stop and it is true a lot of melted wax was around and stop lighting. Can be the wood wick the problem?
It will be difficult to speculate without further information on your process. Please get in touch with our team by email (enquiries@cosyowl.com) or phone (01376 560 348) to discuss this further.