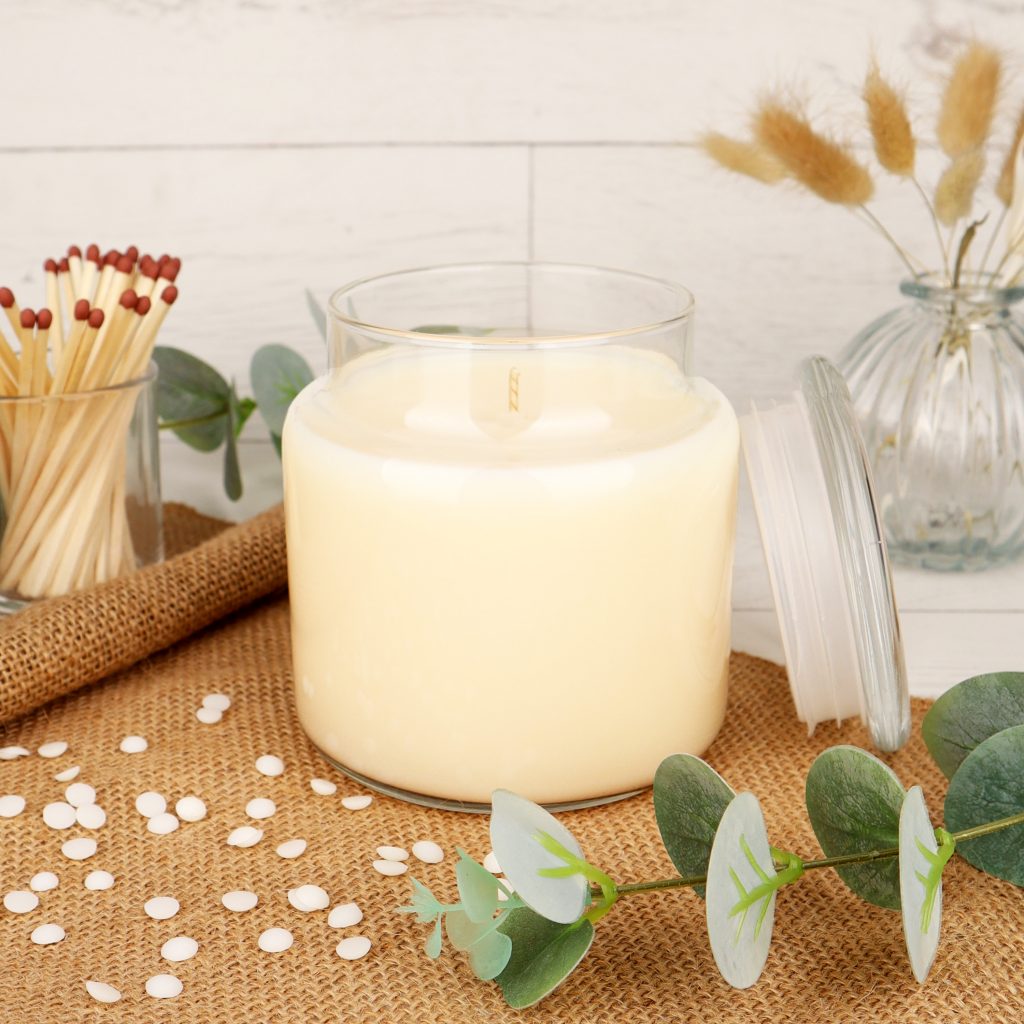
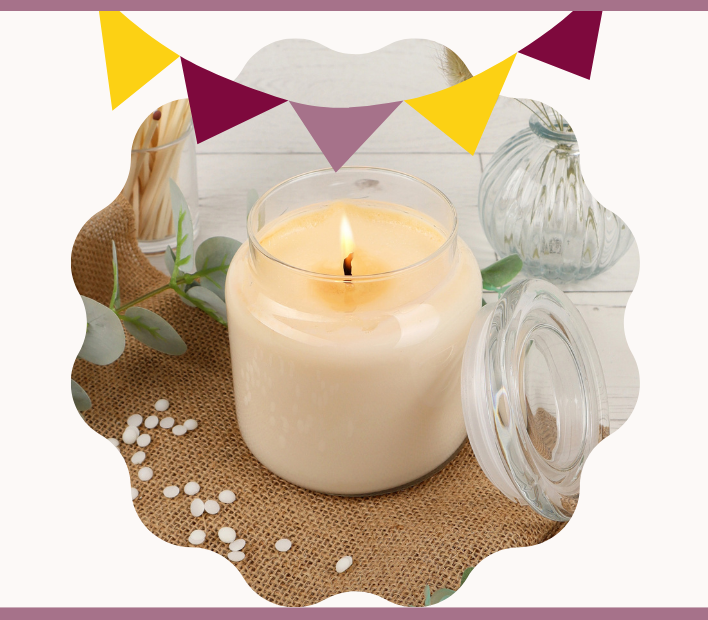
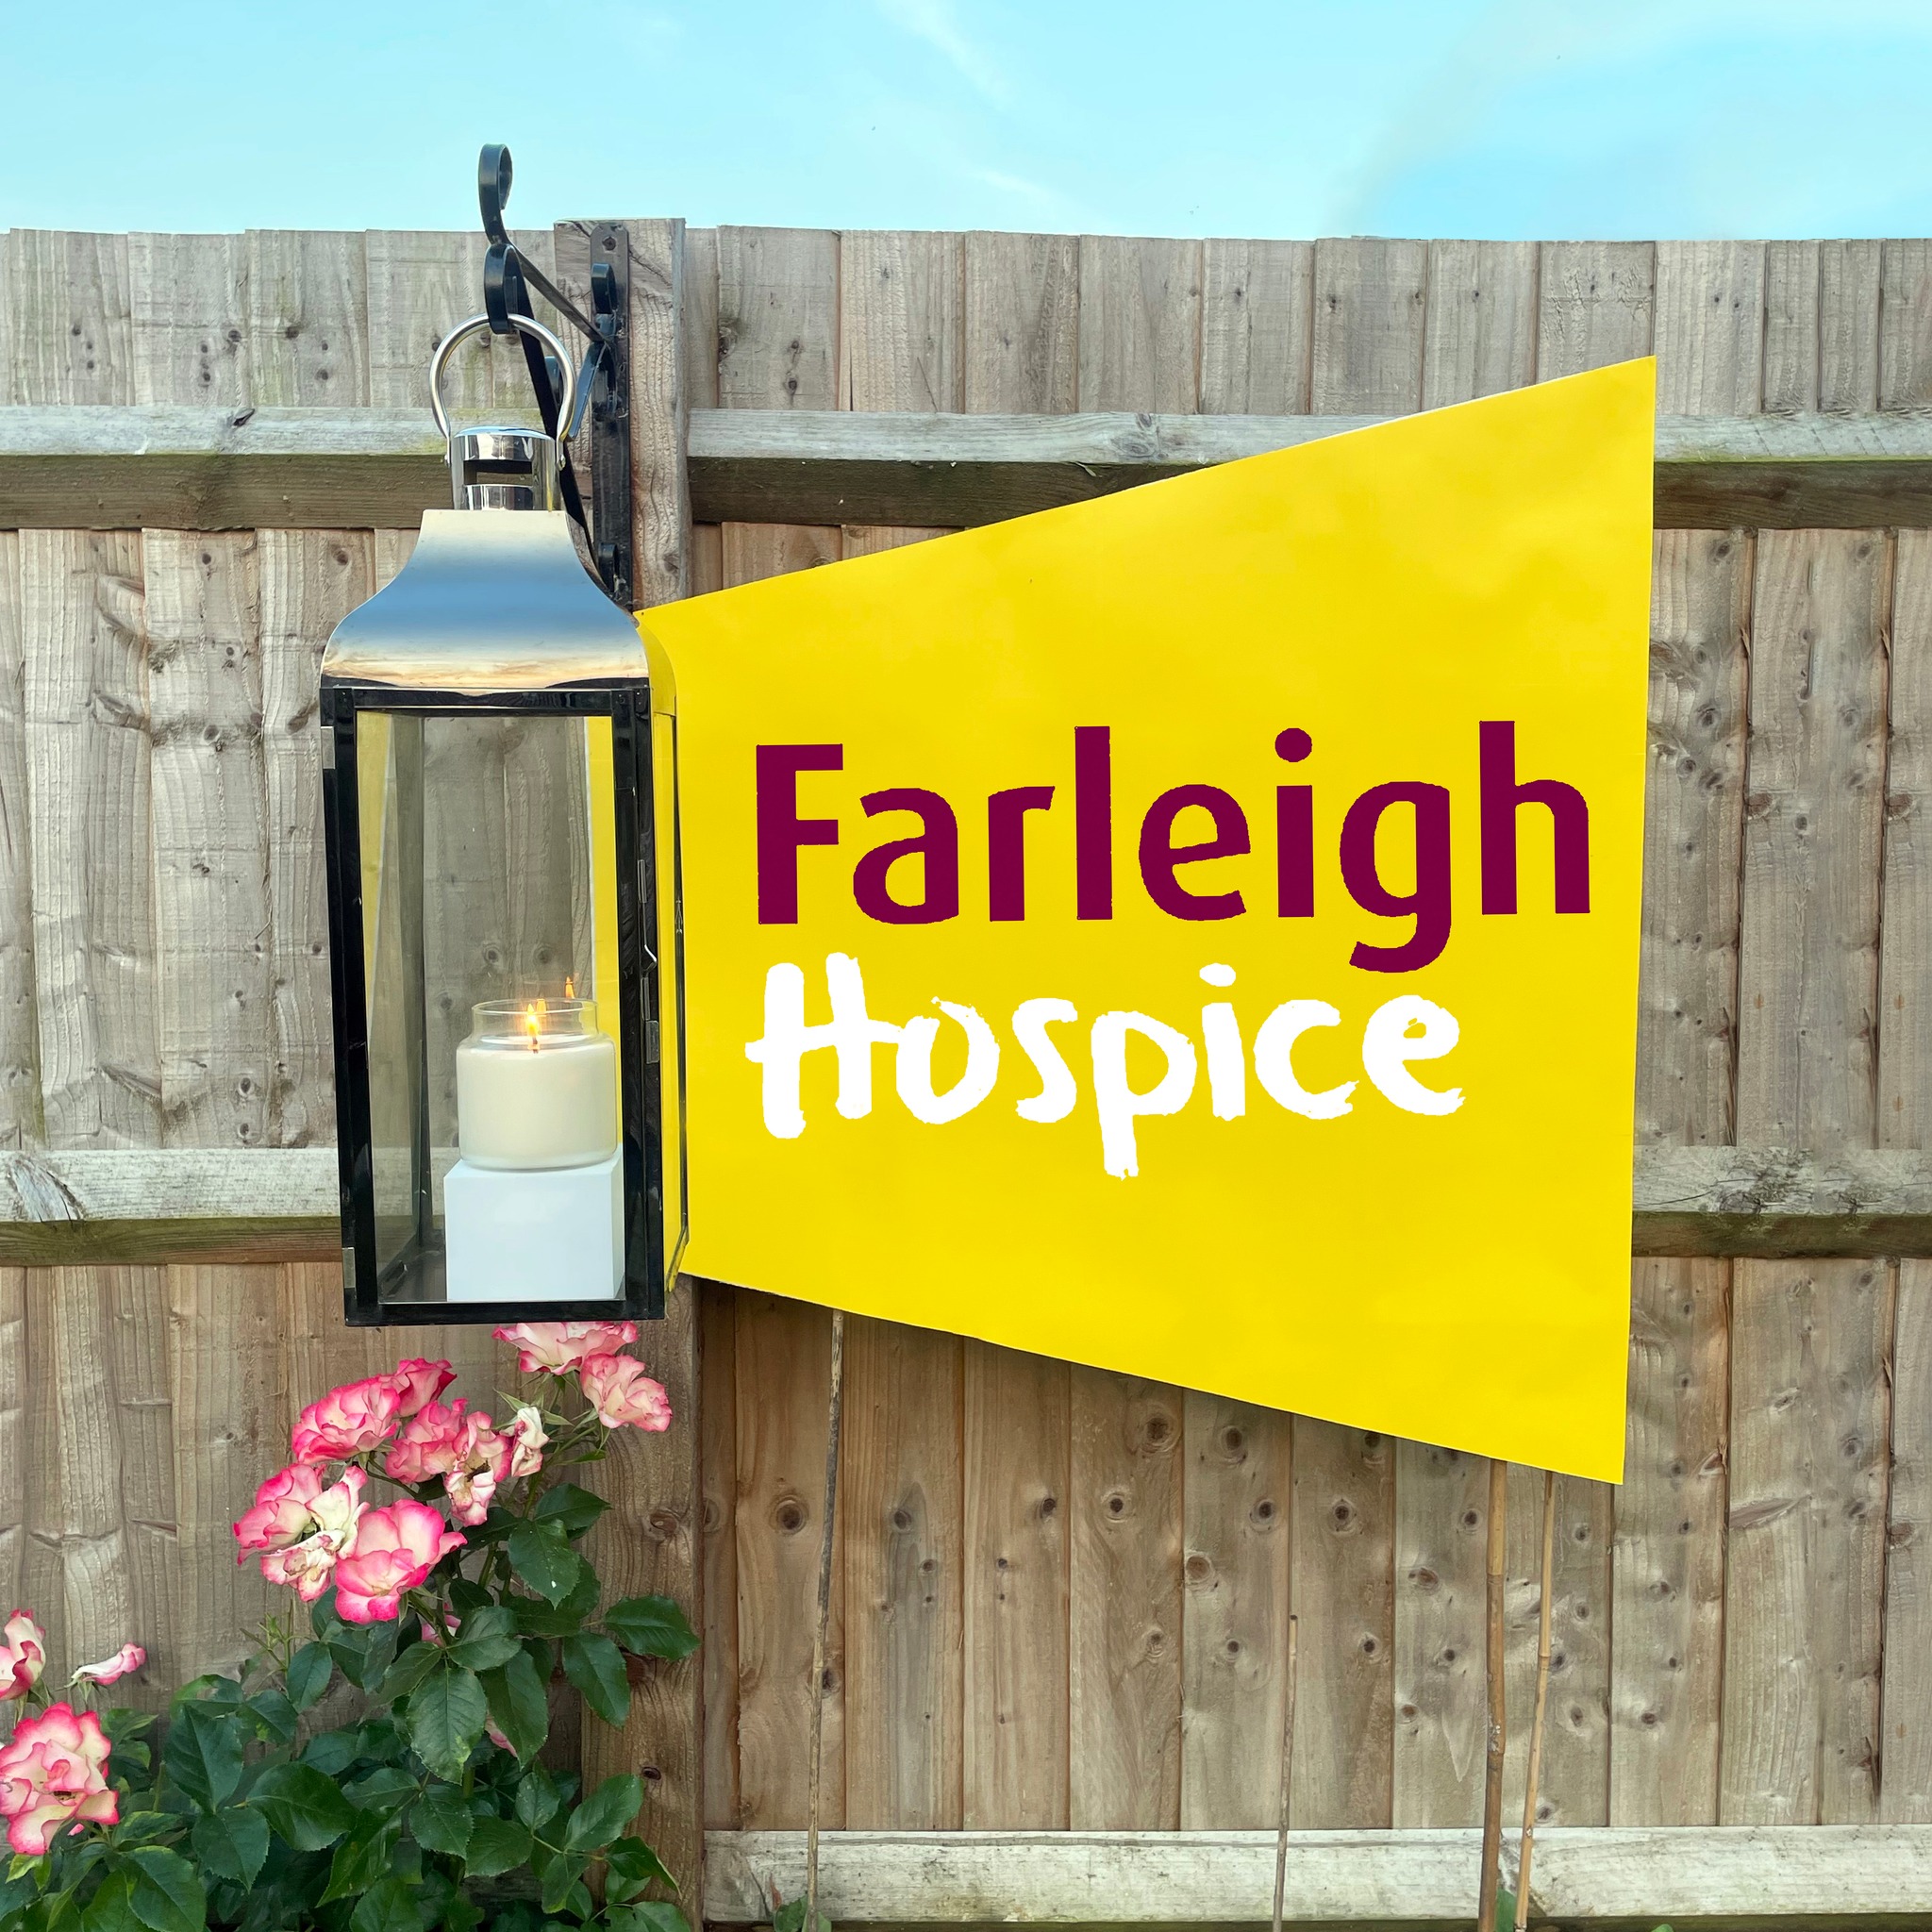
We are proud to announce that we have teamed up with Farleigh Hospice Charity in aid of their 40th Birthday to create a stunning new Celebration of Life candle making kit, designed to celebrate of the life of a loved one who is either no longer with you or who is in your thoughts as they go through difficult times. It is a beautiful way to remember and celebrate the joy that people bring to our lives and every penny raised will go directly to helping care for people with life limiting illnesses.

Our Celebrating Life candle making kits have everything you need to make a jar candle with six options to choose from.

How To Make A Celebration Of Life Candle

Step 1:
Pour your wax into a double boiler or pan and melt the wax at a controlled temperature no higher than 65°C. Gently stir until all of the wax has melted. The wax will melt quicker if added in intervals of one third at a time.

Step 2:
Whilst the wax is melting, you will want to use this time to clean the glass jar and ensure it is free of any dirt or particles and is
completely dry. To improve glass adhesion, it is good to pre-heat the jar slightly prior to pouring the wax. Next, set the wick in place. The best way to do this is to dip the sustainer in the molten wax and then place the wick in the centre of the glass. As the wax cools, it will hold the lower end in place. To secure the top of the wick, use a wick centering tool or a clothes peg to keep the wick straight and central when pouring. Make sure the wick is pulled through tightly and rest the centering tool or peg across the top of the container.
Step 3:
Now all the wax has melted and has reached a temperature of up to 65°C, you can add a couple of pinches of dye to the wax. This needs to be stirred continuously and gently to ensure the colour dissolves evenly. Be careful not to stir too vigorously at this stage as you can cause air bubbles within the wax which will affect how your candle burns.

Step 4:
You can now weigh 27g of fragrance oil. Before you add this to the wax, the temperature of the wax is crucial. Your fragrance will have a flash point, this is the point at which the fragrance evaporates from the wax. You will need to make sure the temperature of your wax is beneath this flashpoint (we will include your fragrances flashpoint in the kit details online). Once the wax is at the right temperature, pour in your fragrance and stir evenly until fully blended.
Step 5:
Now it’s time to pour your wax into the pouring jug, providing the temperature is 60°C or lower. Then from the jug, pour this slowly into the jar, doing so is essential to reduce the risk of air bubbles/pockets. Leave about 2cm of wax to put aside, this can be poured back into the double boiler. You may need this left over wax later on. Leave the candle to set on a flat surface for around 45 minutes.

Optional step 6:
Whilst cooling, wax can naturally shrink and cause sink holes. Don’t worry as this is normal. You can reheat the leftover wax from earlier, until it is the same temperature as the first pour. Use some of this wax to pour over any sink holes if needed, leaving you with a smooth flat surface. Allow the candle to set for 24 hours, then trim the wick to about 5mm. Your candle is ready to light.
For the greatest scent throw keep the lid on the jar when the candle is unlit.


For more tips and tricks for candle making check out our helpful guides and FAQ’s.


