Wax melts are a wonderful way to fill your home with beautiful scents without the need for a flame. If you’ve ever been curious about making your own, you’ll be glad to know it’s much simpler than it seems. In this beginner’s guide, we’ll take you through the easy steps and provide a step-by-step approach to creating your own wax melts. Whether you’re making them for personal enjoyment or as a thoughtful handmade gift, these straightforward instructions will have you crafting in no time.
Preparation
Prepare the area you will be using to make your wax melts to ensure that any spills cab be easily removed. Wax can be a nuisance to remove – have warm water and a rag or paper towels available to wipe away any wax that spills.
Be careful to avoid contact with skin and especially your eyes. In the unlikely event you were to get wax in your eyes, do not try to remove it yourself – seek medical assistance. Although it can be uncomfortable or even slightly painful getting wax on your skin, it will generally peel away or can be washed off with warm water. Just make sure that the skin does not stay red or in any other way discoloured as this could suggest an allergy.
Take caution when using mica powder. It can temporarily stain the skin if exposed in large quantities. If you get mica powder on the skin, wash thoroughly with soap and water.
Try to always avoid, allowing wax to be discarded down your sink as this can lead to blockages. Similarly, do not try to wash wax soaked containers or moulds in your dishwasher.
Stage 1 – Preparing the Containers
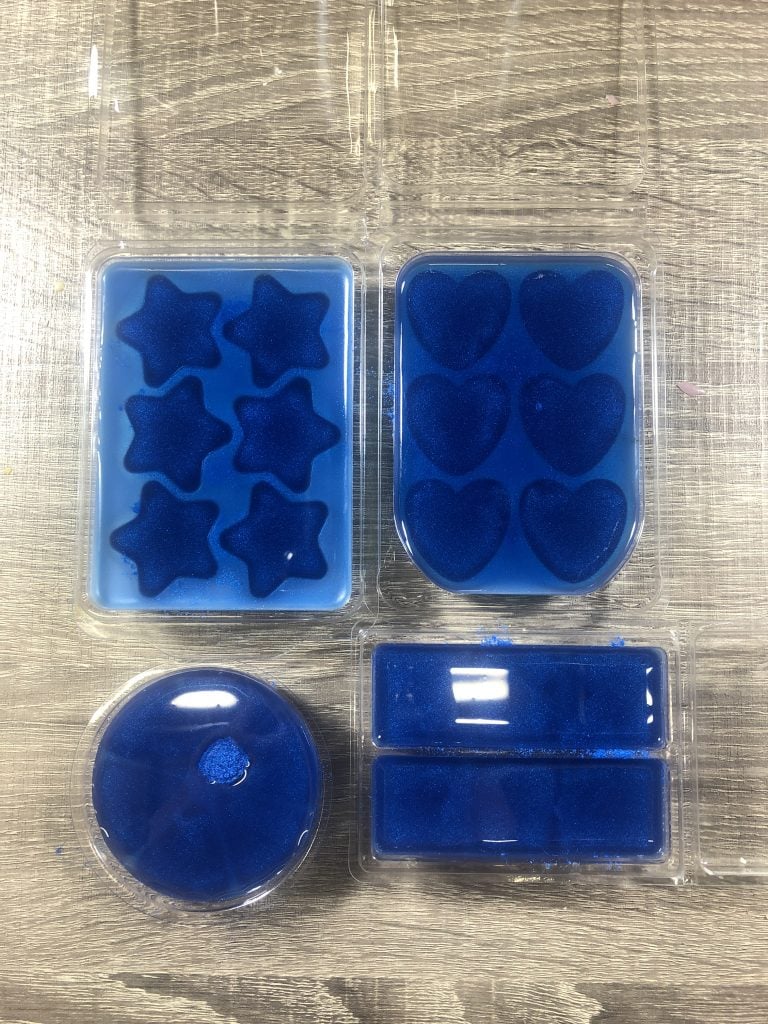
Firstly, ensure that your clamshell moulds are clean and dry. We like to sprinkle a little mica powder into the mould to give a little extra shimmer!
Stage 2 – Melting the Wax
Fill a large pot (or saucepan) about halfway with hot water – making sure there’s enough room for the smaller heat-resistant container holding the wax. Place the solid wax into your heat-resistant container which is then carefully placed into your pot (or saucepan). Make sure the hot water does not go into the container. The water should now be brought to the boil and the wax will start to melt. You can stir the wax with a disposable wooden spatula, but this is not completely necessary. However, having a spatula will be useful when adding dye or wax fragrance.
Use a wax thermometer to monitor the temperature of the wax. You can use a standard cooking thermometer, but remember it must be cleaned effectively before being reused with food.
Soy wax has fully melted when it reaches a temperature of approximately 76°C to 82°C (169°F to 180°F).
Stage 3 – Adding Your Dye and Fragrance
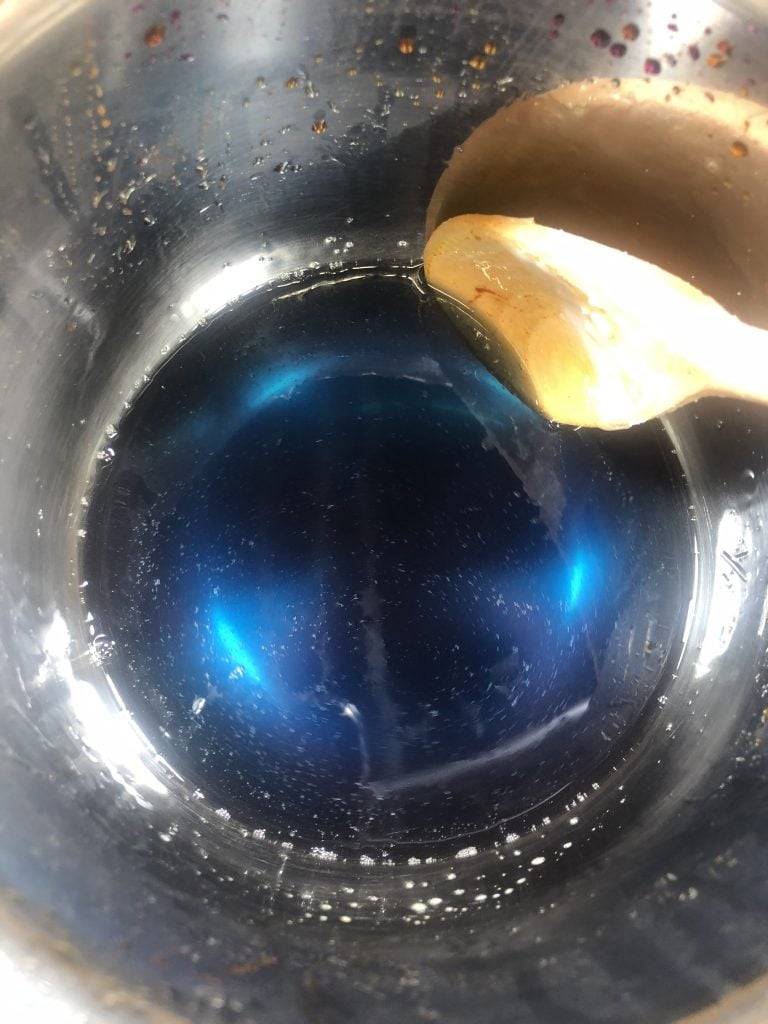
When adding your candle dye, make sure to mix the wax as thoroughly as possible without creating too many air pockets. We’ve found that the best stirring motion is the ‘figure 8’ as this helps to incorporate all the dye into the wax.
Once all the dye has been evenly distributed, check on your wax temperature. Providing that your wax is at a temperature under you fragrance’s flash point, you can add your fragrance. Similarly with adding the dye, make sure to stir gently but thoroughly.
Stage 4 – Adding your Mica Powder
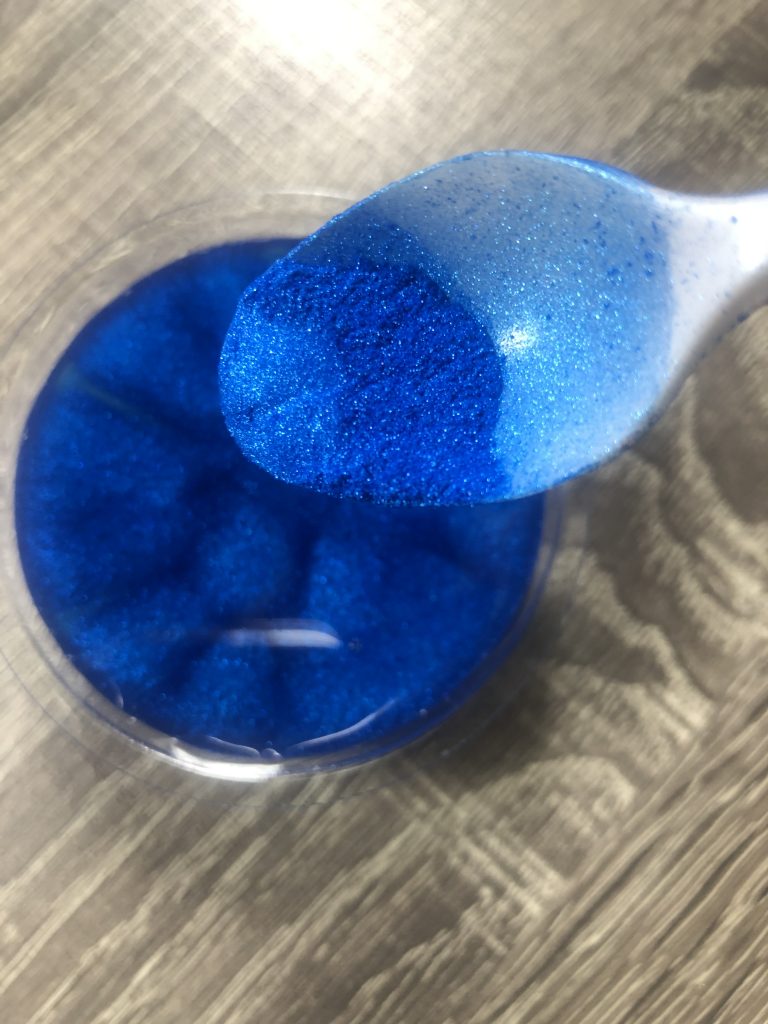
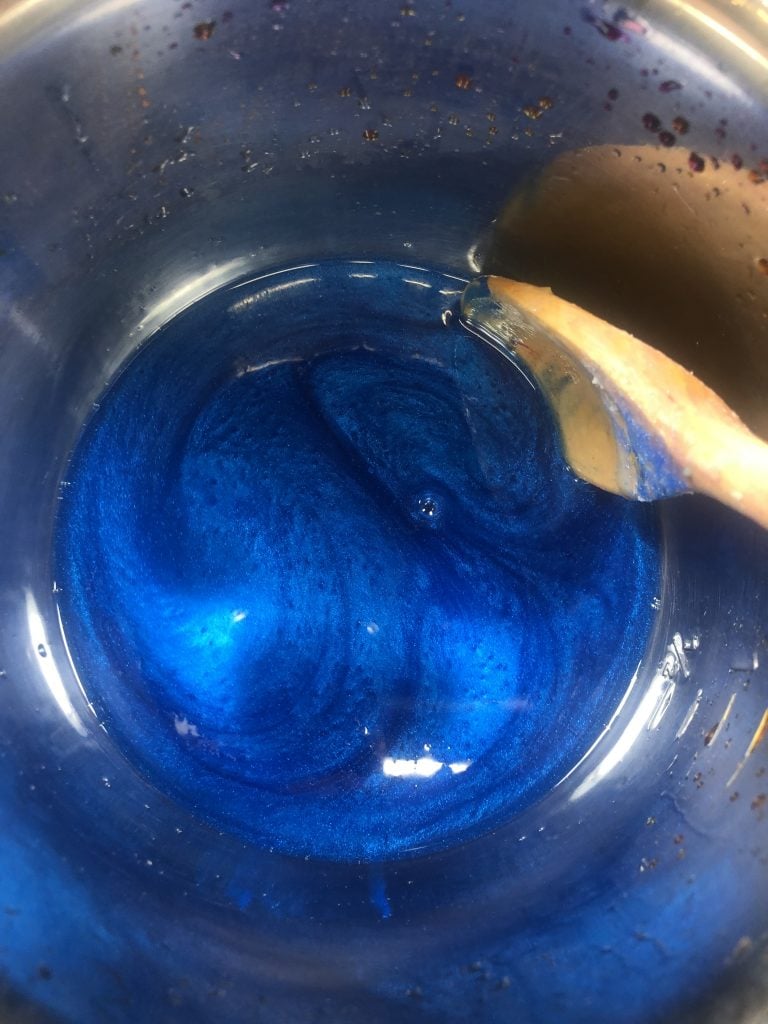
This is our favourite part of making wax melts, using the gorgeous mica powder. When adding the mica powder to your wax, use a much as your heart desires! Once added to your wax, stir thoroughly. Then take a moment to enjoy watching the mica swirl and dance in the molten wax.
Stage 5 – Pouring the Wax
Once you are happy with your colour and mica powder distribution, check on the temperature of your wax. If your thermometer is reading a temperature of over 50°C, turn the heat off and allow the wax to gradually cool to a temperature that is safe to pour into your clamshell moulds.
Once your wax is at the right temperature, transfer your wax to the pouring jug. You can then pour your wax into the moulds. We love to add another little sprinkle of mica powder on top of the freshly poured wax for an extra little sparkle!
Enjoy Your Scented Wax Melts
Once your wax melts are hardened fully, grab your wax burner. Turn the lights down, sit back, put your favourite music on and enjoy the tranquil aesthetic and aroma of your creation. Put any modesty aside and make sure everyone around you appreciates your talent.
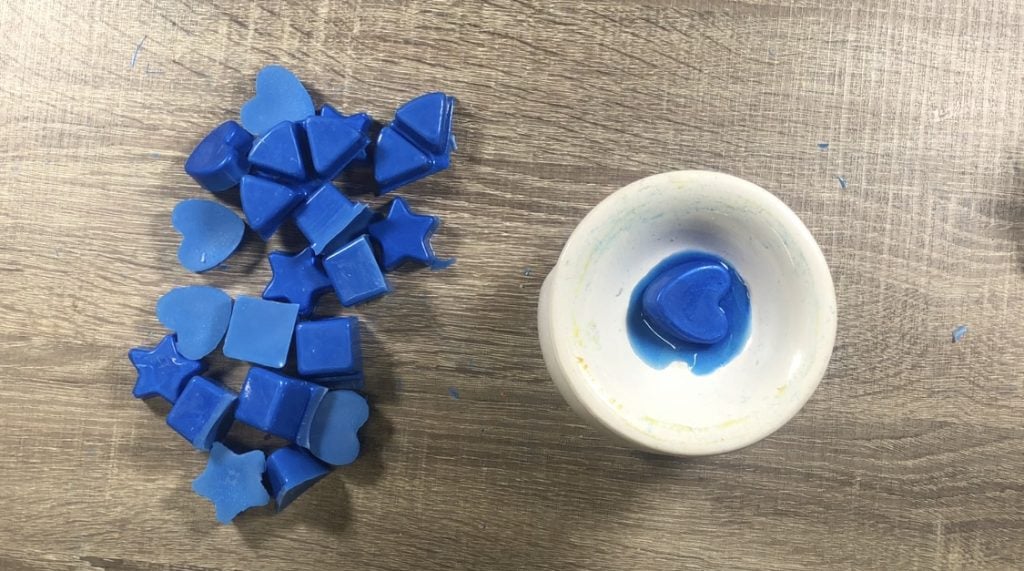
Explore our beginners wax melt making kits with a variety of fragrance oil and dye combinations.
For any advice or to talk through your project with one of our advisors, please do not hesitate to contact us at Cosy Owl on 01376 560 348.
Follow us on social media and tag us in your creations. We love to see what you have been making!



Hello, what degree does the wax melt need to be to add the fragrance?
It really does depend on the wax and the fragrance being used. I would advise finding out what the fragrances Flash Point is and then trial different temperatures below this. Make a couple and then either burn them simultaneously but in different rooms or in the same room across a few days and see which one you feel gives off the best scent throw. Unfortunately there is no set answer and will always come down to trialling what works best for you.