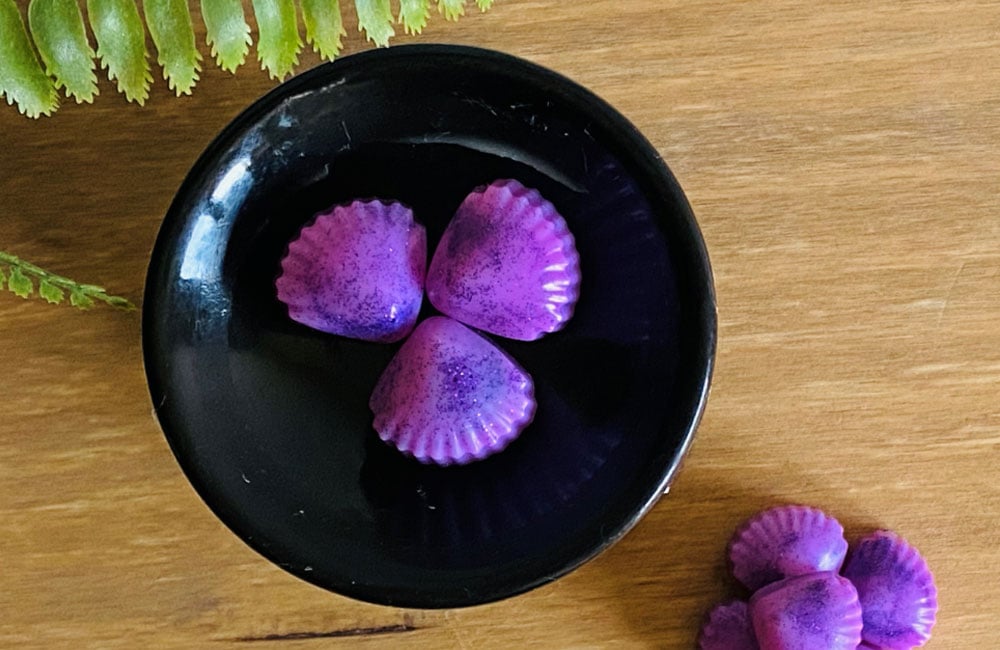
Want to add a touch of shimmer to your crafts? Give your wax melts that party feeling? No doubt the razzle-dazzle of glitter is synonymous with fun and luxury. Widely used in fashion, from accessories to evening dresses and more recently even in food such as the ‘unicorn-themed’ candy floss, chocolate bars and soaps!
One of the best ways to enjoy glitter in all its sparkly glory is with wax melts. We’re joined once again by Victoria of Cosy & Country who’ll show us how to make wax melts using glitter.
Ingredients
- KeraSoy 4120 or KeraWax 4600
- Wax Melt Mould – Shells – 15
- 50ml Fragrance Oil – we used Palma Violets
- 3g of Bekro 60/1107 Violet Candle Dye
- Royal Blue Purple Biodegradable Candle Glitter
Step 1 – Measure and Melt Your Wax
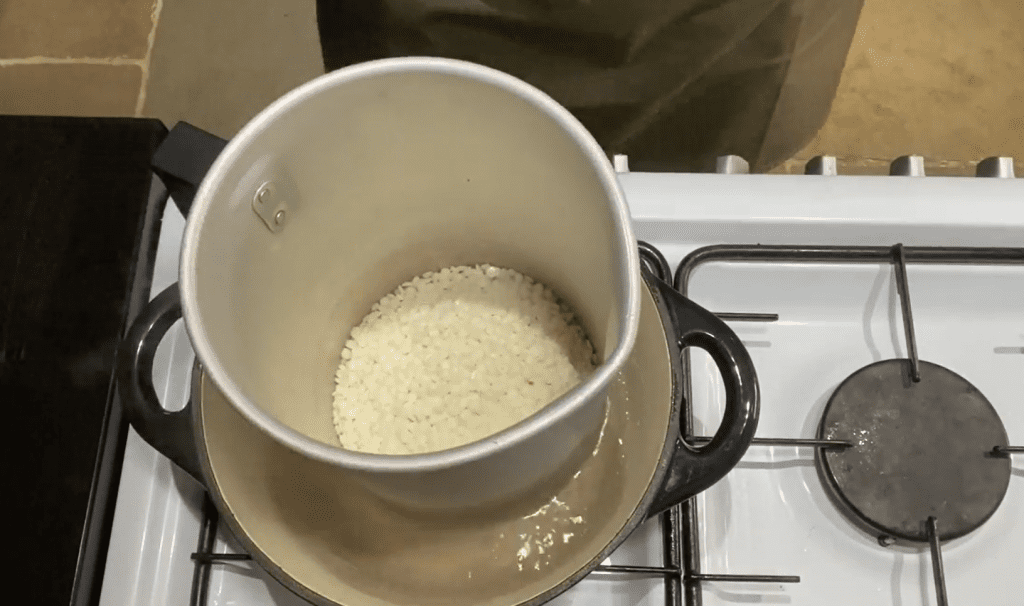
Place your melting pot onto your scales and measure out 200g of wax. Then, place the wax onto a medium heat and let it melt.
Step 2 – Prepare Your Moulds
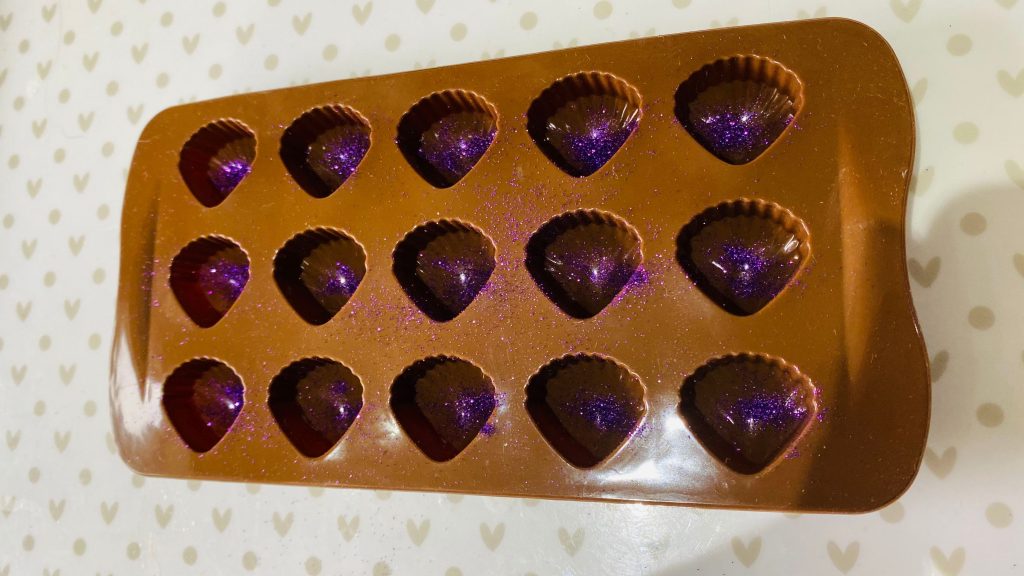
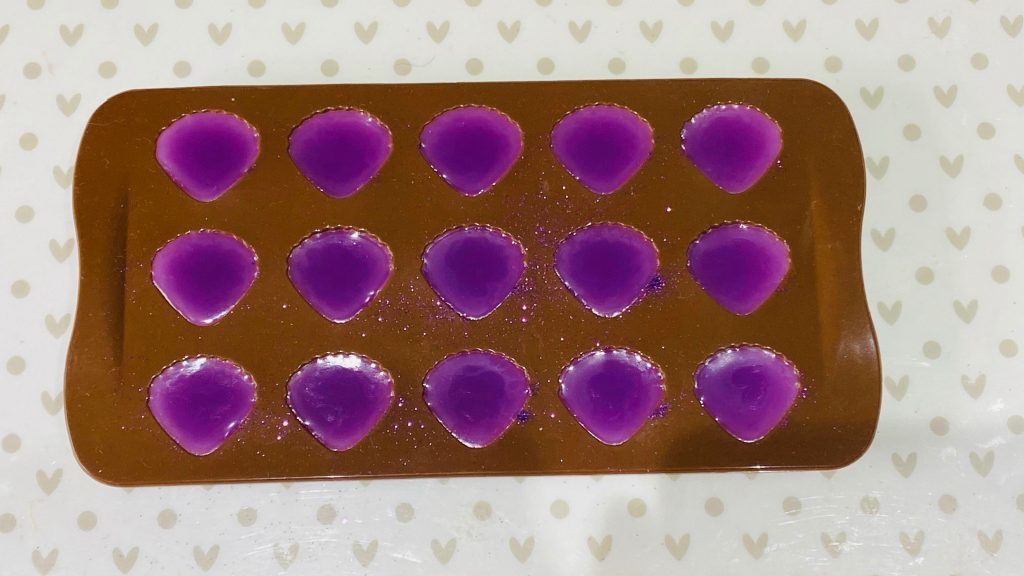
While the wax is melting, it’s a good time to ‘glitter up’ your moulds – we are using the Royal Blue Purple Biodegradable Candle Glitter. Simply take a pinch of glitter and sprinkle it at the bottom of the moulds. This way, once the wax is ready to be poured, the glitter should stick to the outside of the wax melt.
Step 3 – Add Your Dye
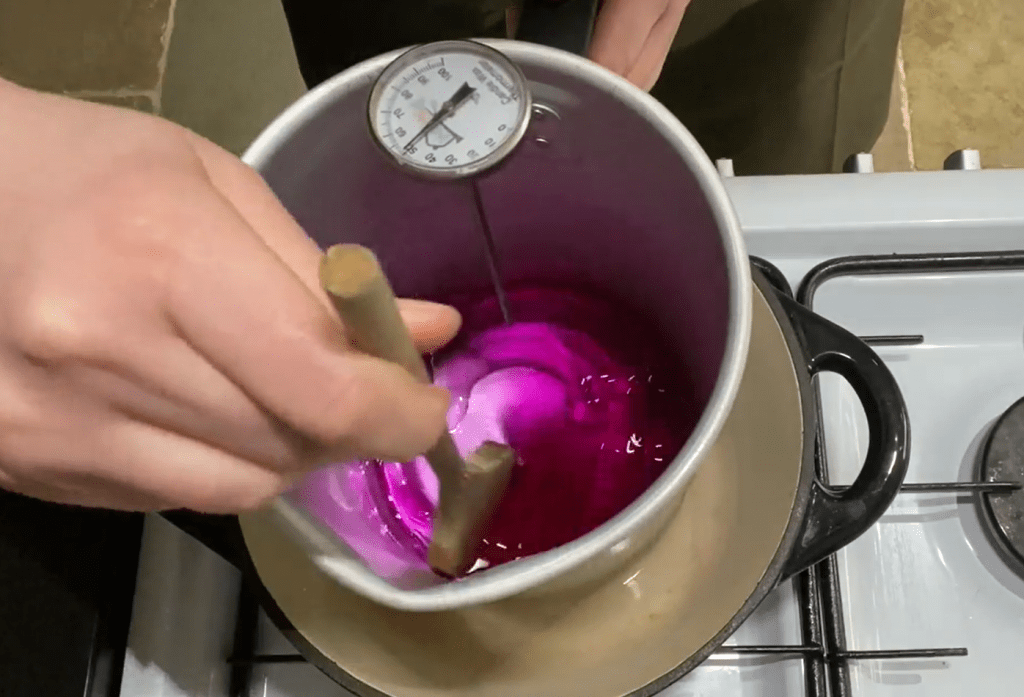
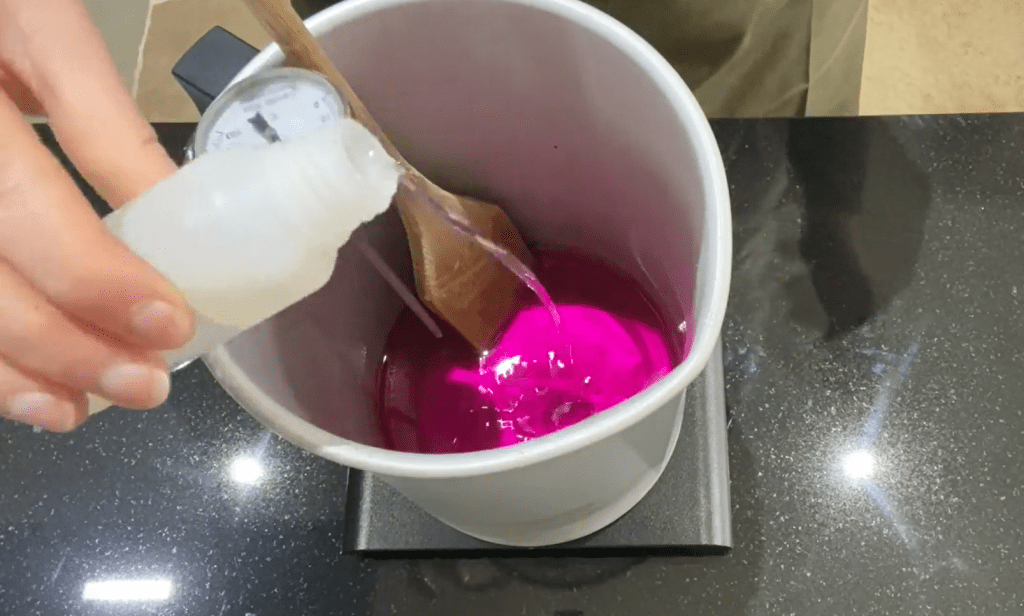
Once the wax has completely melted, give it a nice stir and check the temperature to make sure it no higher than 65°C. If it is above this temperature, simply let it cool off for a few minutes. Once the wax has reached the desired temperature, it’s time to add the dye – we have chosen Violet to match the purple glitter.
Add a little pinch of dye but don’t overdo it, a little bit should be more than enough. If you’re not satisfied with the shade or colouration, you can always add some more. Stir the dye through the wax until it’s evenly blended.
Step 4 – Add Your Fragrance Oil
Once the dye has completely melted into the wax, it’s time to add your chosen fragrance – we have chosen Parma Violet to match the purple dye and glitter. Place your melting pot onto your weighing scales and measure about 10ml of fragrance oil, which will be 10g on the scales. Now pop the wax back on a low heat and give it one last stir to make sure your fragrance is evenly mixed through.
Step 5 – Pour Your Wax Into The Moulds
Transfer your wax into a pouring jug. We suggest warming the jug a little bit prior, otherwise the difference in temperature might cause the wax to set in the jug instantly. With all the wax transferred, you can start pouring it into the mould, making sure the temperature is at around 55°C degrees.
Step 6 – Leave Your Wax Melts To Set
Once poured, leave the wax melts to set for about 4 hours.
Tip: Although these melts take much less longer than candles to solidify, we’d still recommend waiting up to 24 hours before burning them, so you leave enough time for the fragrance to permeate.
Step 7 – Pop, Melt & Enjoy
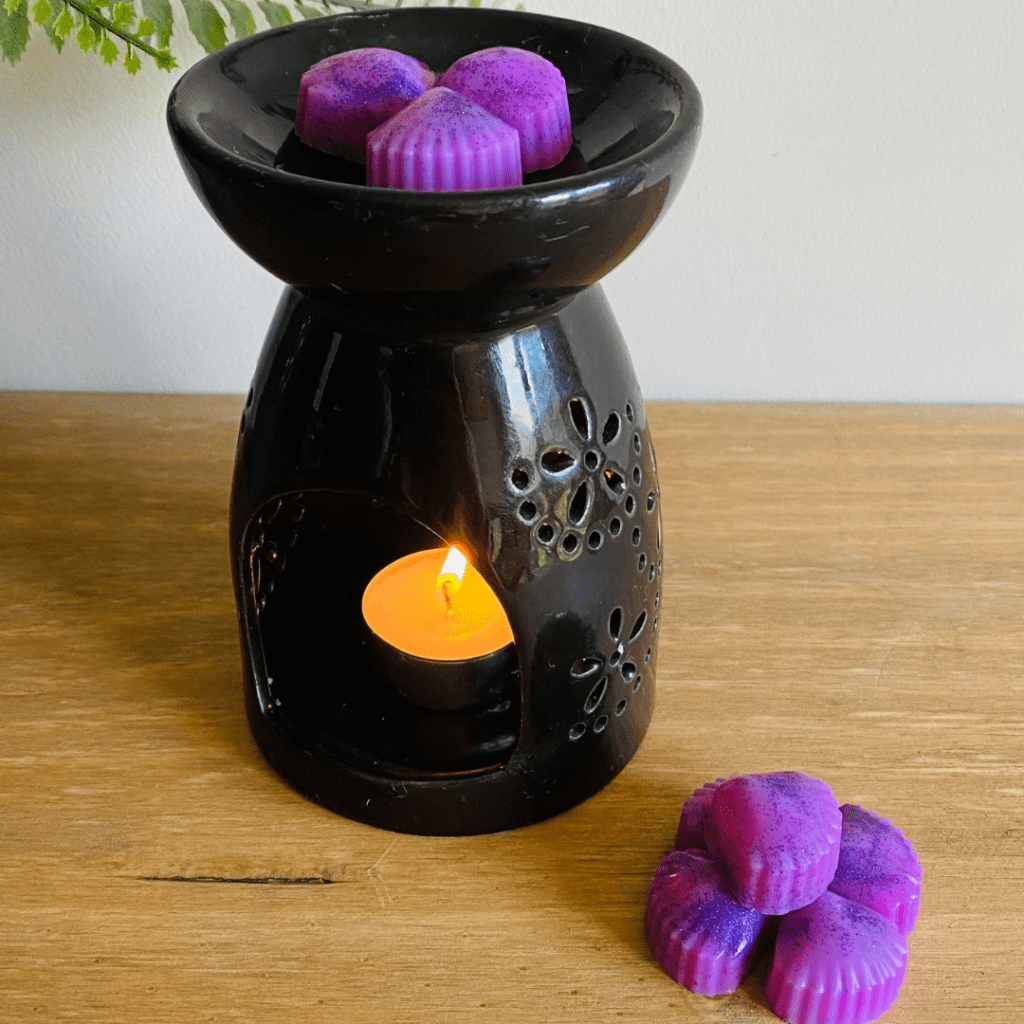
Once set, push the bottom of the mould and get your wax melt out. Then pop them on your burner and just like a home-made magic cauldron, as the flame melts the wax and fills the room with your favourite scent, you will enjoy the swirling shiny pool of glitter. Simply psychedelic!


