We are back with Ascent Bath & Body for an exciting new soap making video where you will learn how to make melt & pour soap with mica powder.
This is our second soap video tutorial as part of our ongoing series with Ascent Bath & Body and this time, you will be able to experiment with colours (Mica) and a new ingredient…!
Ingredients
- 1kg Melt & Pour WST White Soap Base
- Unrefined Shea Butter
- Soap Moulds (Rectangular mould with rounded edges – wonderful if you have small hands!)
- Rubber spatula
- Chopping board
- Thermometer
- Electric weighing scale
- Melting Pot
- Spray Bottle with Rubbing Alcohol
- Small beaker and stirring stick
- Teaspoon
- x1 50ml Fragrance oil (of choice – they all have different flash points!)
- Gold Mica Powder
- Double Boiler
- Gloves
Step One
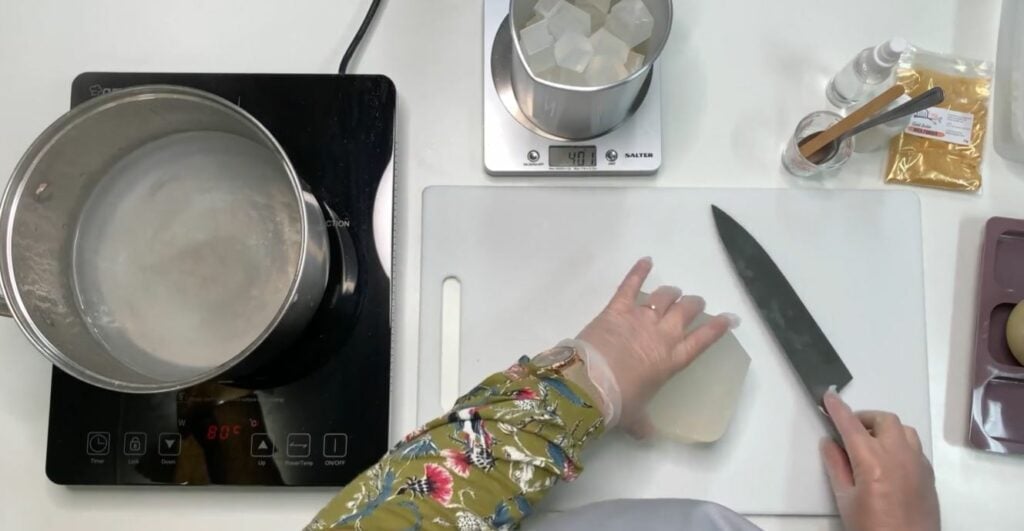
With your soap base, pop the soap onto a chopping board and slice the soap into small chunks, making the melting process more manageable and quick! Pop your pouring jug onto the scales and measure your soap. This should be around 400g of soap which will make you five soaps!
Step Two
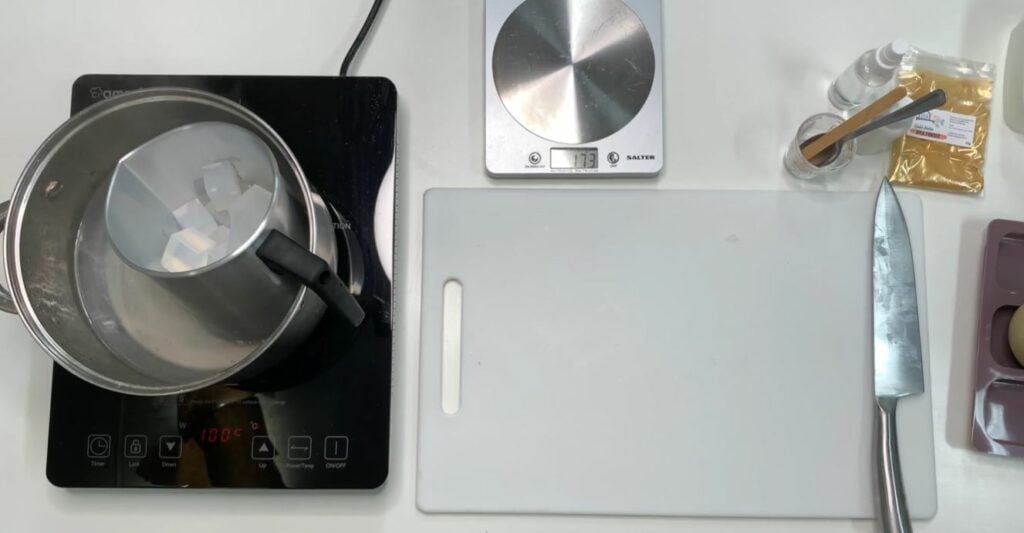
Pop your jug into the water and ensure the temperature on your hob is around 60 degrees Celcius as this is when the temperature when the soap will start to melt.
Avoid raising the temperature above 75°c degrees as this is when the soap starts to scorch!
*Tip – You can also use a microwave to melt your soap. This needs to be done in short 20-30 second bursts. If you are without a thermometer, take your soap base off the heat just when you have a few chunks left in the bottom to avoid overheating the soap base.
Step Three
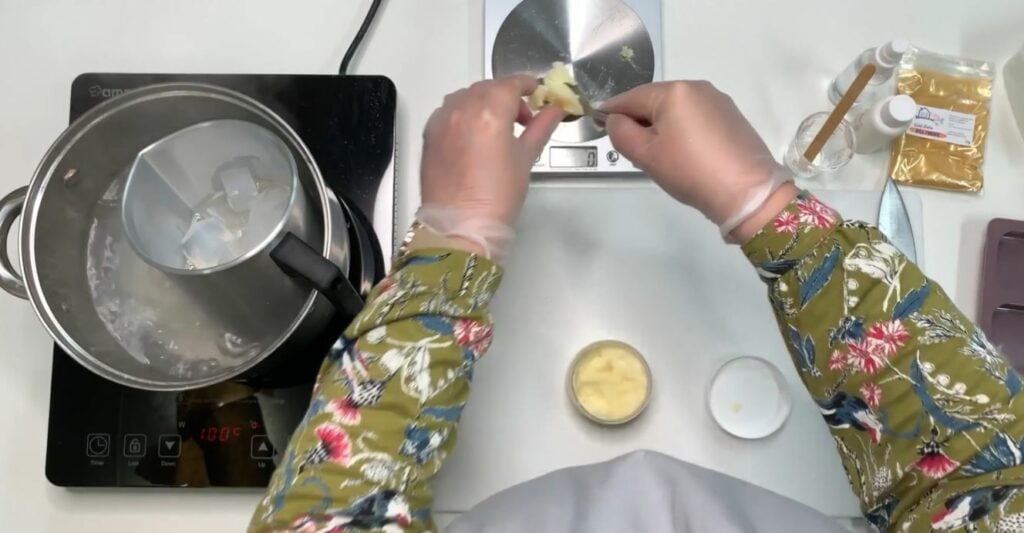
Soap Base is a great way to make soap but to really make your soap exceptional, you can add Shea Butter. Shea Butter is lovely for your skin, with conditioning and moisturising properties due to the fatty acid content. Only add a small amount (between 1 and 2 per cent) so here we used 6 grams of shea butter vs a 400g soap base measurement. Add the shea butter to the soap base as it continues to melt. Melt the soap and stir occasionally until it has completely melted. The stirring avoids clumping of the soap at the bottom of the jug.
*Tip – You can add mica powder at this stage however this can cause issues with dispersion.
Step Four
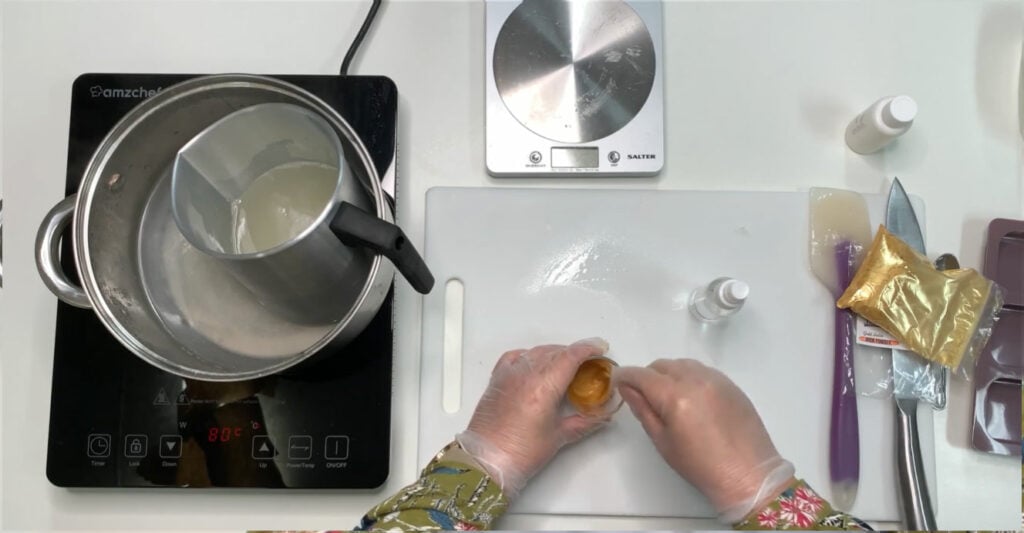
Michelle recommends using a beaker – add 3 teaspoons of mica powder to the pot and with the rubbing alcohol, spray several times into the pot and aim to create a paste with the mica powder. Keep mixing this until you have a nice paste that can be added to the liquid soap base.
Step Five
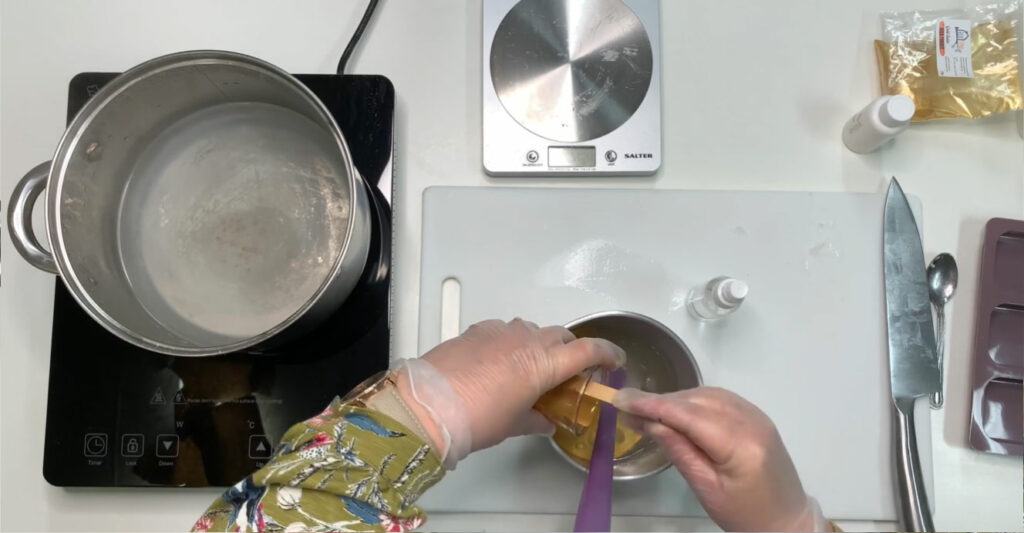
Add your mica paste to the liquid soap base. Recheck the temperate (in the video it’s 64.6°c).
IMPORTANT* – The ideal temperature to add fragrance oil is 60°c degrees however please note that every fragrance oil has a different flash point. You can check the data sheets on each fragrance oil product page on the Cosy Owl website.
The general rule of thumb for adding fragrances is around 2% but please check our IFRA statement on the Cosy Owl website. If it’s any less than 2% you will need to go with what the restricted amount is. In this video, as we’re adding in at 2%, and we have 400g of soap base, we would add 8% of fragrance oil to the liquid mica soap base.
Step Six
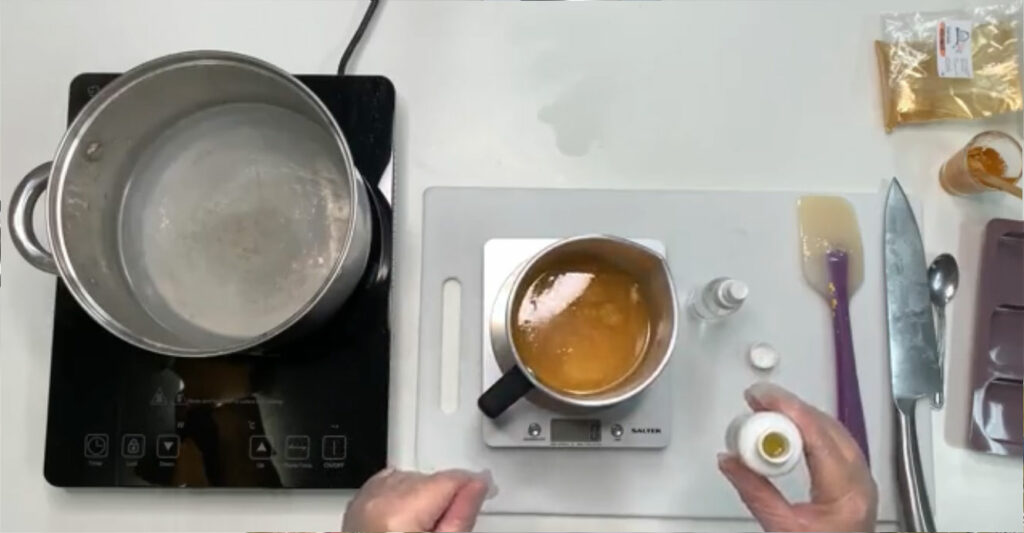
Pour in your fragrance oil (keeping note of the above important information). Thoroughly stir the fragrance into the mix.
Step Seven
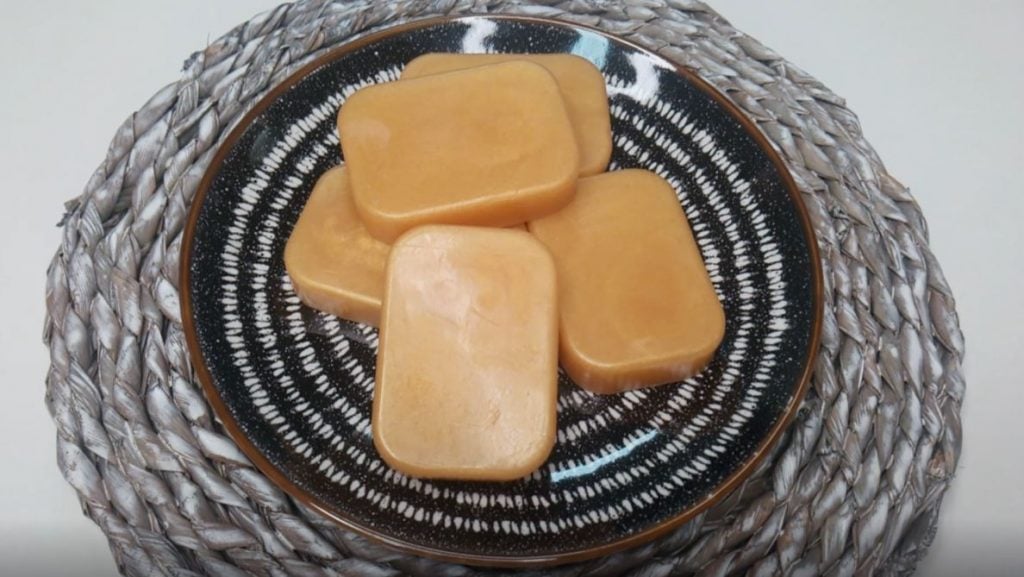
With your soap mould, you can pour the fragrance into each cavity. In this video, it works out to be around 70g per cavity, making 5 soaps (roughly). This gold soap base liquid is a very swirly and shiny colour, mica powder helps to give that shimmery effect.
Step Eight
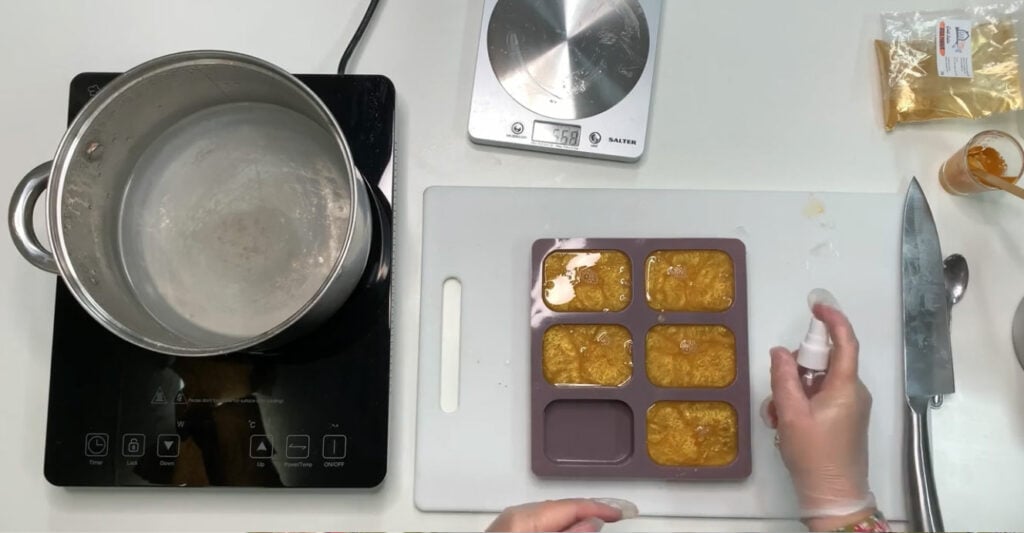
Spray the rubbing alcohol across the surface of the soap to pop all of the bubbles on the surface.
As we have a cavity mould in this video, you should leave the soaps to set for 45-minutes.
Step Nine
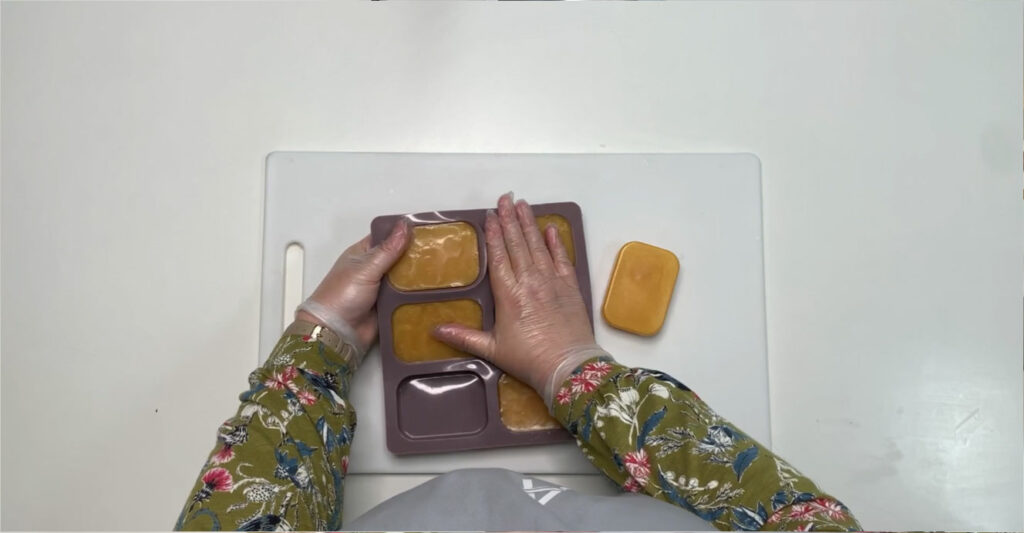
Remove the soaps from the cavities. Be proud of your beautiful gold mica soap bars, with fragrance Baltic Amber and Clove!
Why not check us out on YouTube where you can subscribe to our soap making videos and get a taste for all things candle making? Subscribe now here.


