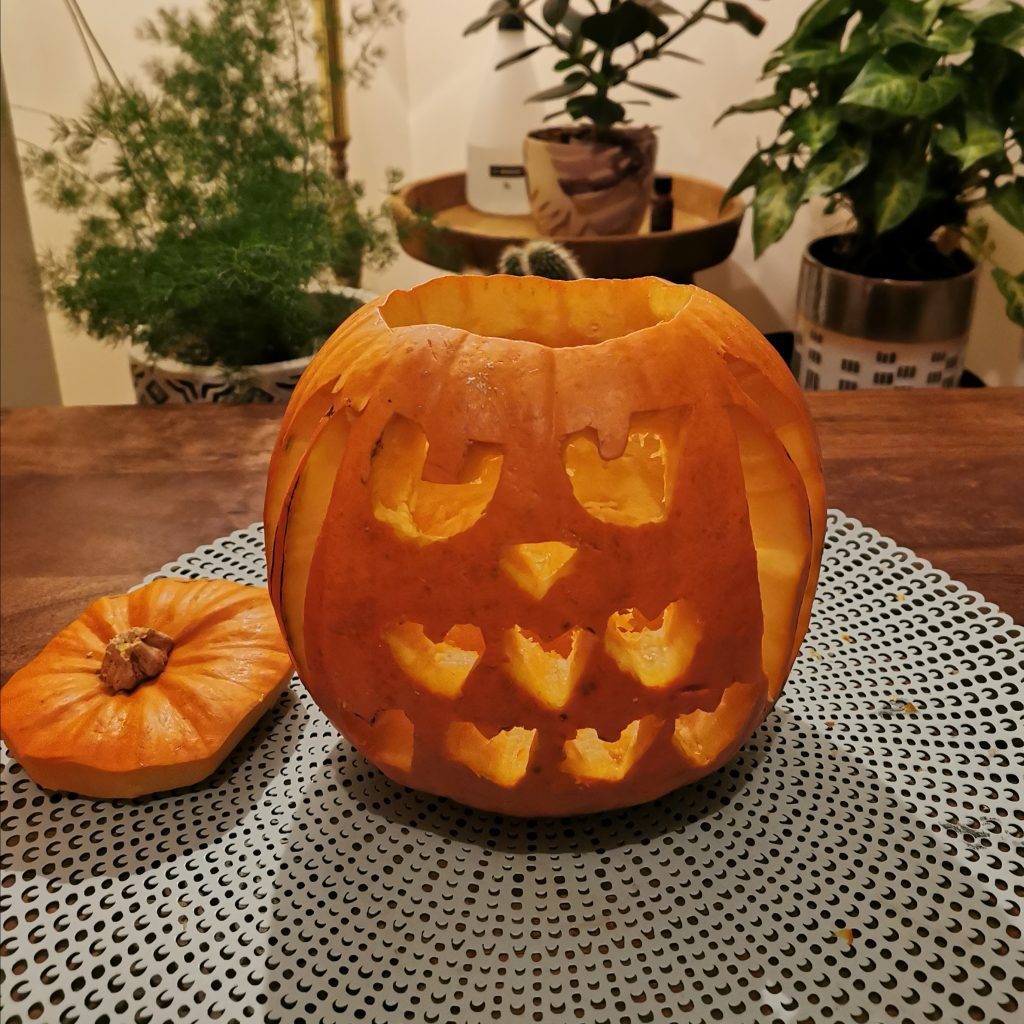
#1 Gather your Equipment
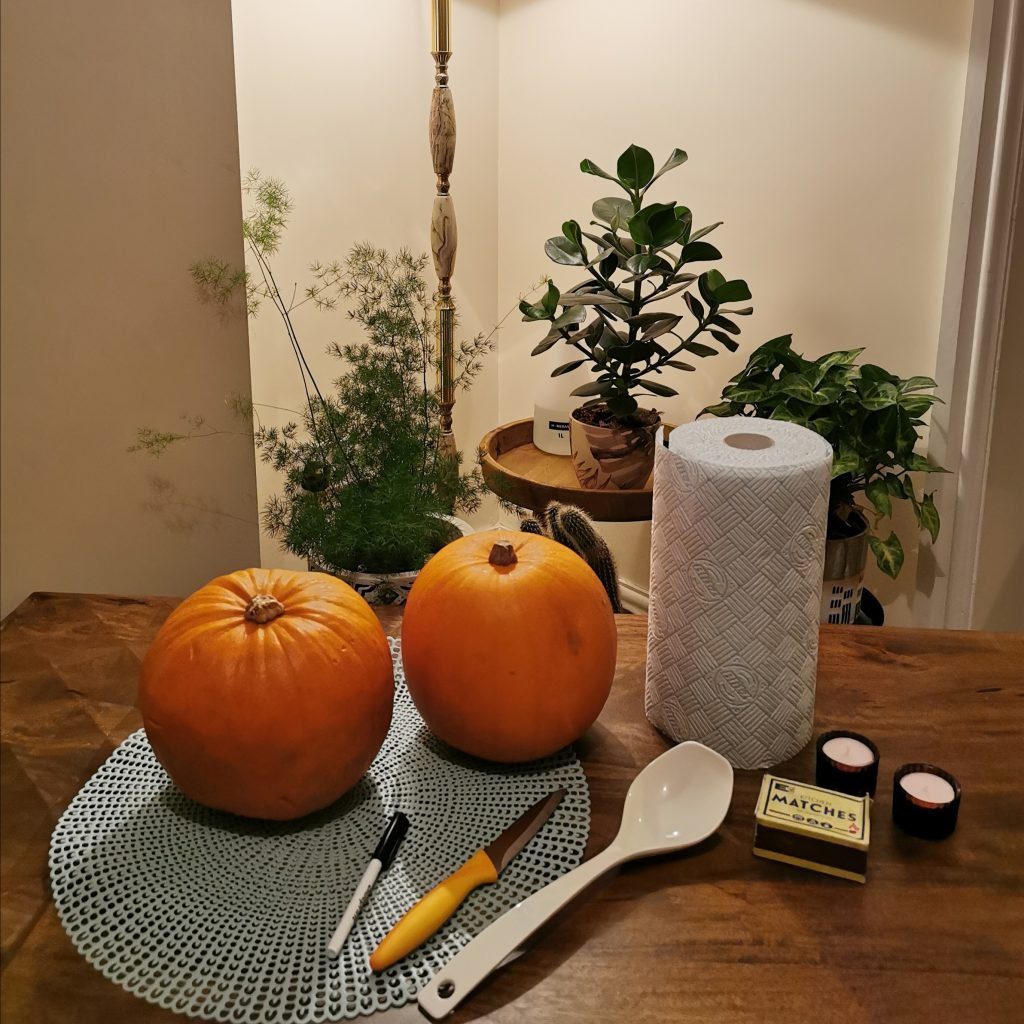
Before you start pumpkin carving, you should gather everything that you need. This way, you won’t have to wander around the kitchen looking for things when your hands are covered in pumpkin juices and seeds. To expertly carve your pumpkin, you’ll need:
- A large pumpkin
- A sharp knife
- A serving spoon
- Plenty of kitchen roll
- A marker pen
- Your candle
- Matches
When selecting your pumpkin, try and select a smooth one. Although the ridges can make impressive wrinkles if you’re carving a face, they do make the carving process devilishly difficult.

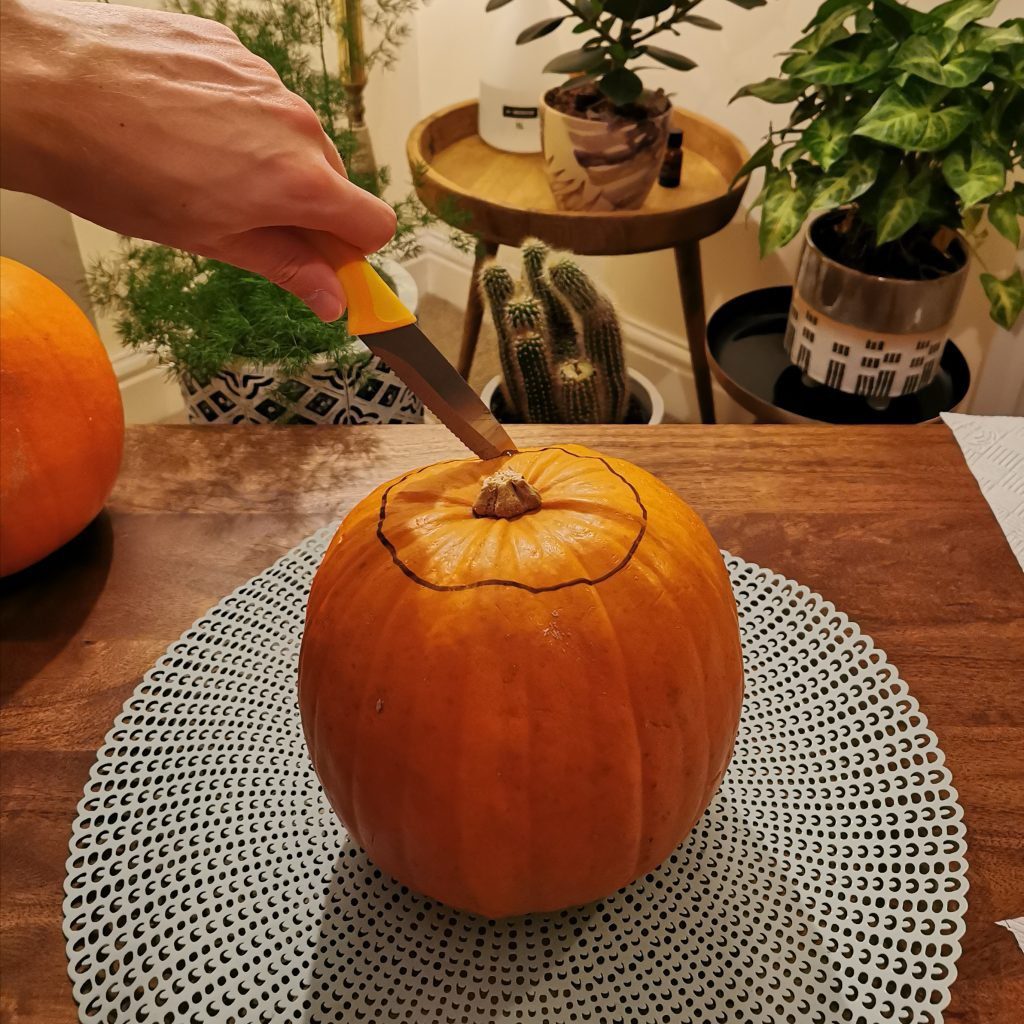
Draw a line around the pumpkin 
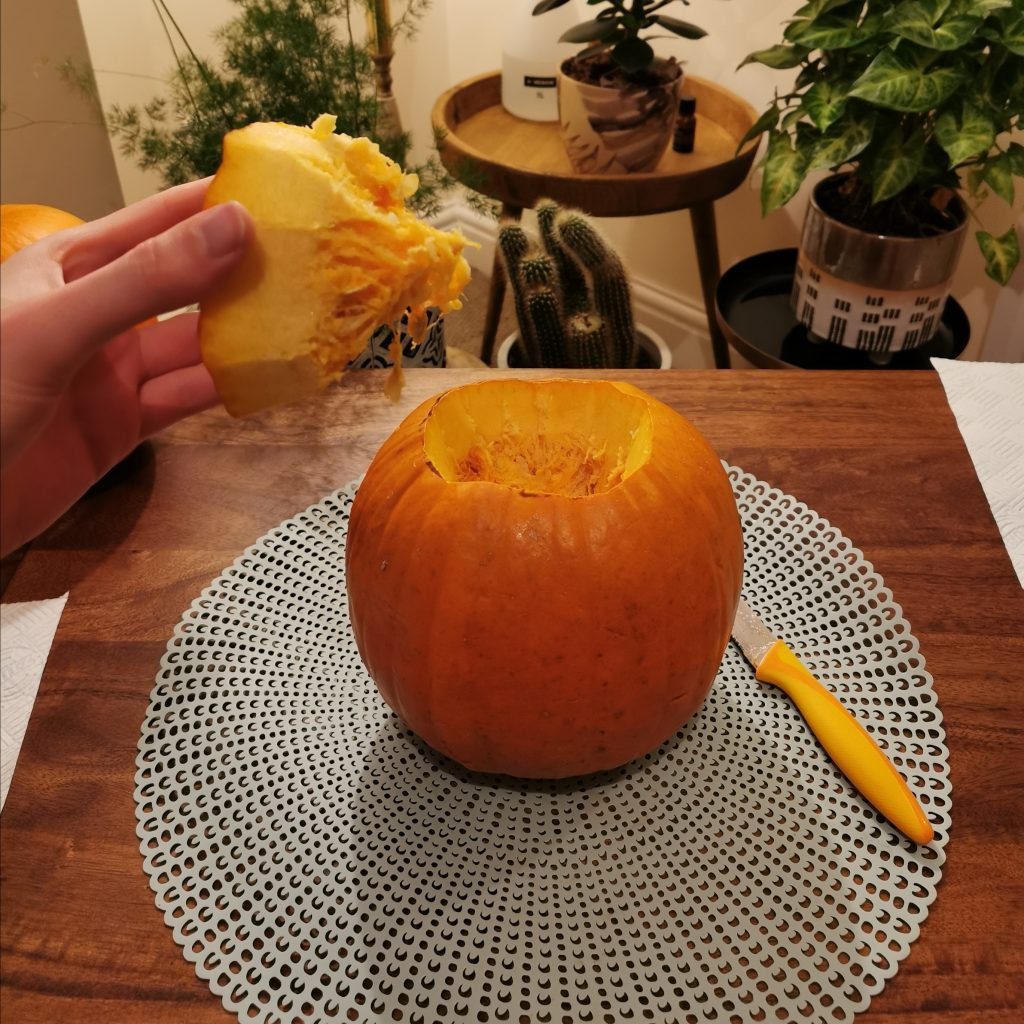
Cut the pumpkin lid off and remove it
#2 Cut off the Top and Remove the Seeds and Fibres
Before you start to decorate your pumpkin, you need to cut off its crown and remove the seeds and fibres. To do this, mark the crown along the line you’d like to cut. This way, you can cut in a nice straight line.
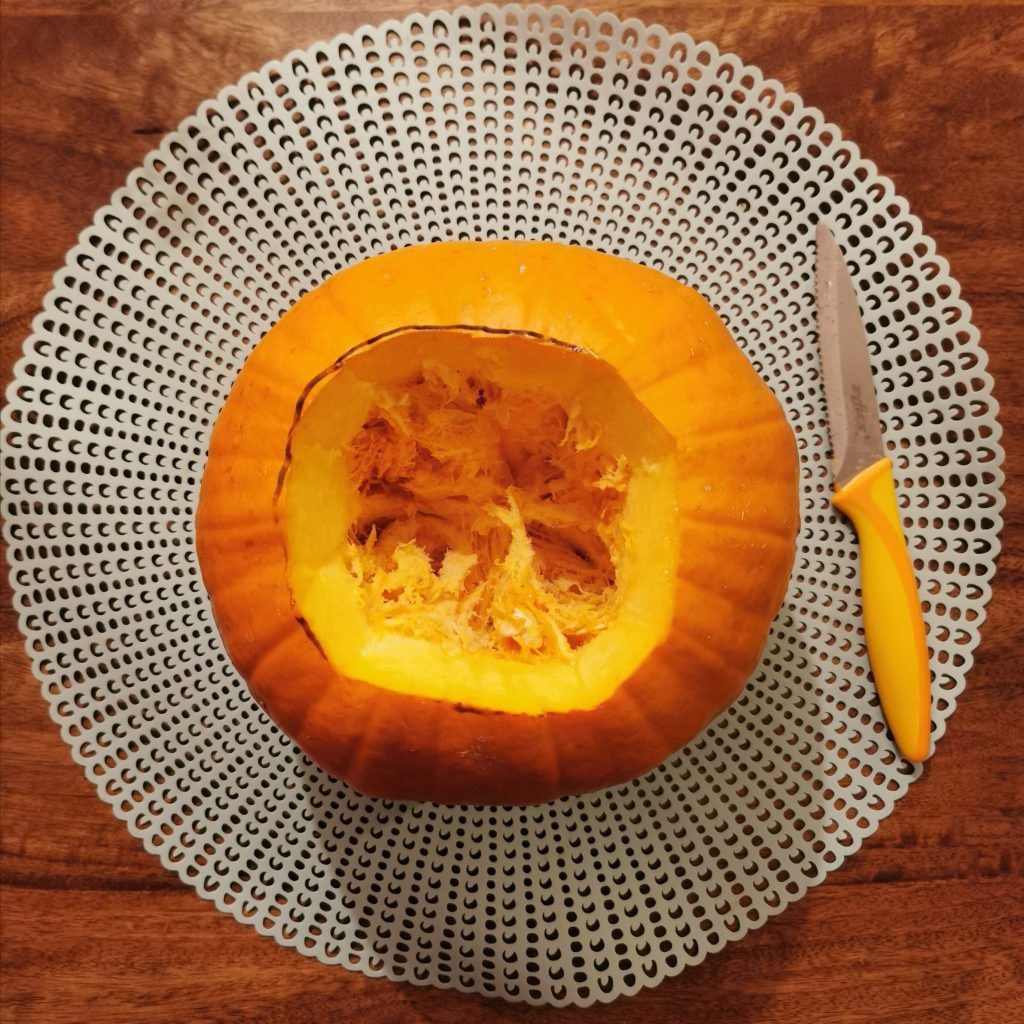
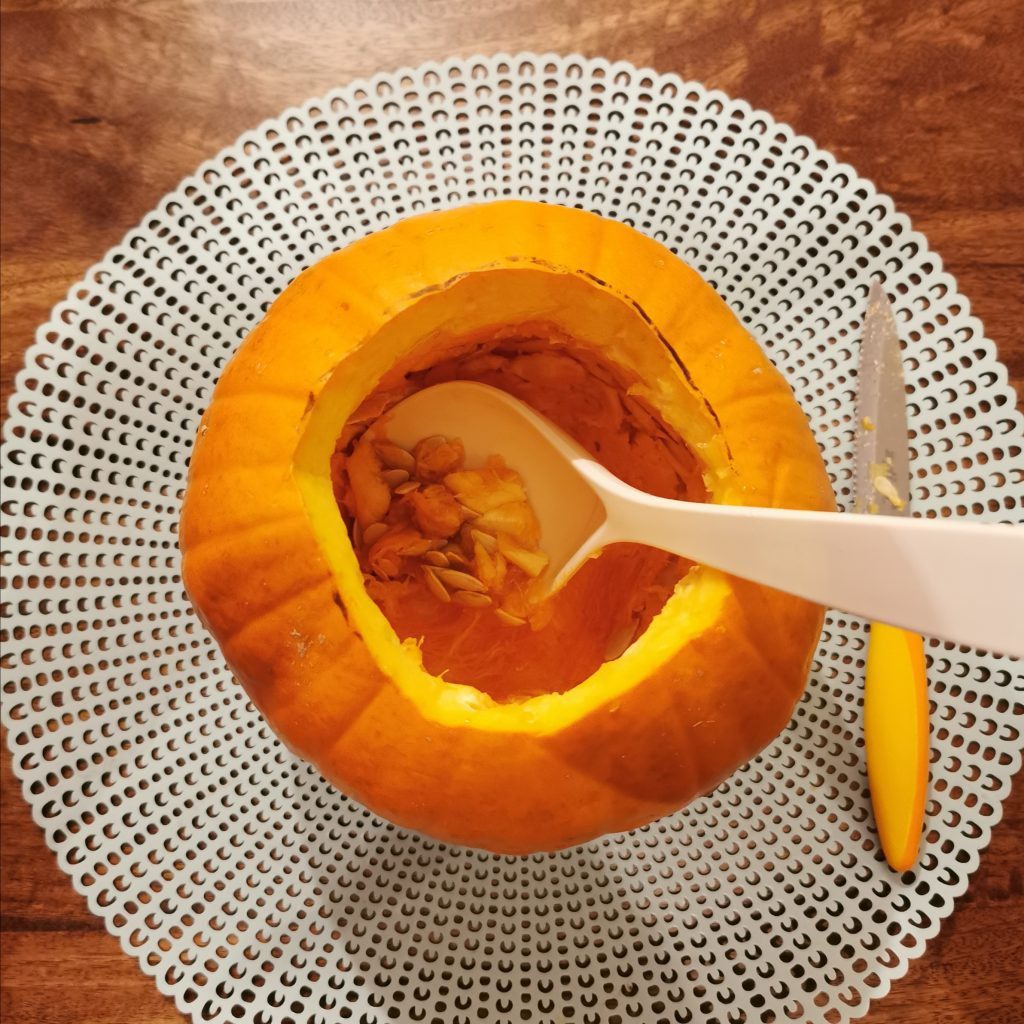
Once you’ve removed the crown, use your serving spoon to remove the innards. There might be quite a lot of moisture in the pumpkin, so make sure you use your kitchen roll to mop it up.

Insides of the pumpkin 
Carve out the inside of the pumpkin with a spoon
If you can, remove some of the flesh as well, because this will make it easier to cut your pattern. As a result, it will save you time in the long run. Most people simply discard the pumpkin seeds, but you can use them to make a tasty snack, if you like.
#3 Draw your Design
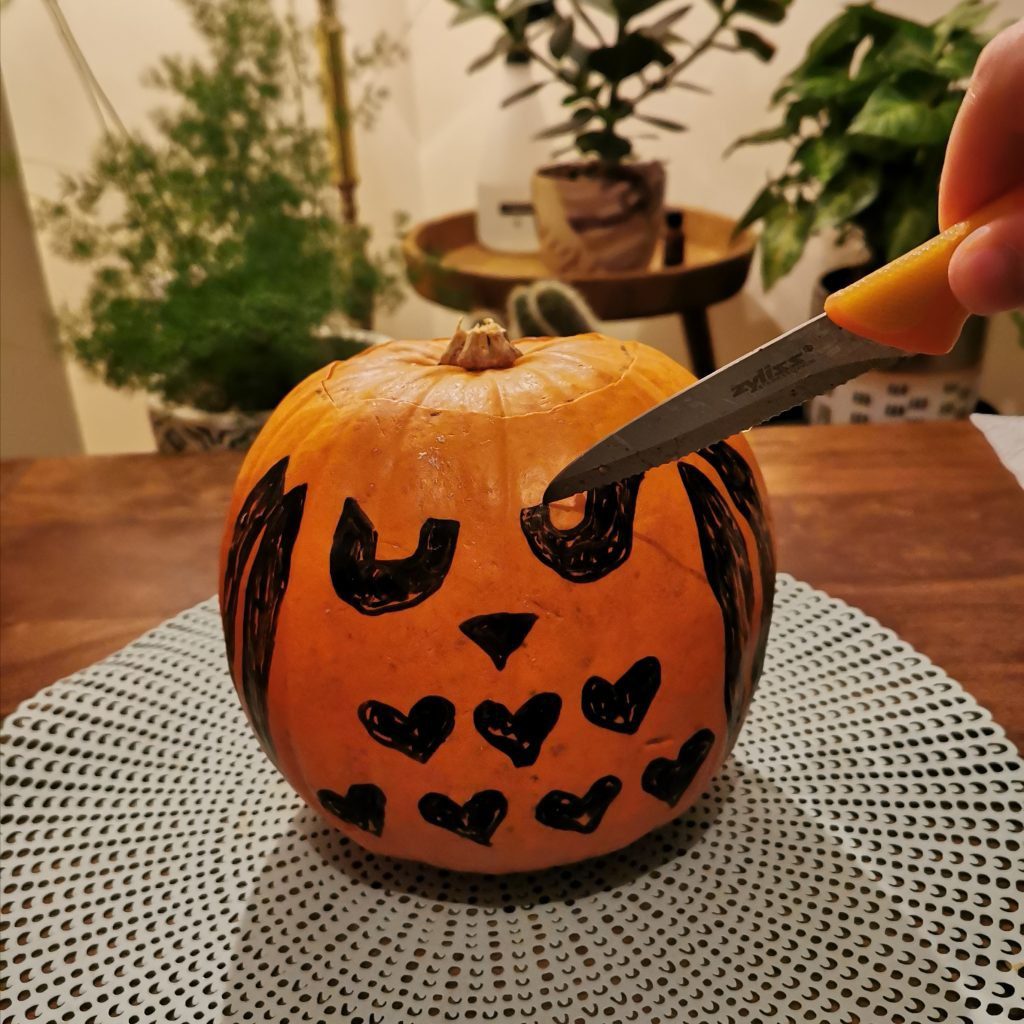
Once you’ve emptied your pumpkin, it’s time to draw your design. Just pat the pumpkin with kitchen roll first to make sure it’s dry. If it isn’t, your pen won’t be able to mark it and your knife may slip.
You can draw whatever you like on your pumpkin. Faces are a popular choice with children, but you can draw a wolf, the badge of your favourite football team or something a little ghoulish. Before you start marking out your pumpkin, take a look at popular designs on Pinterest, House Beautiful and Country Living for inspiration.
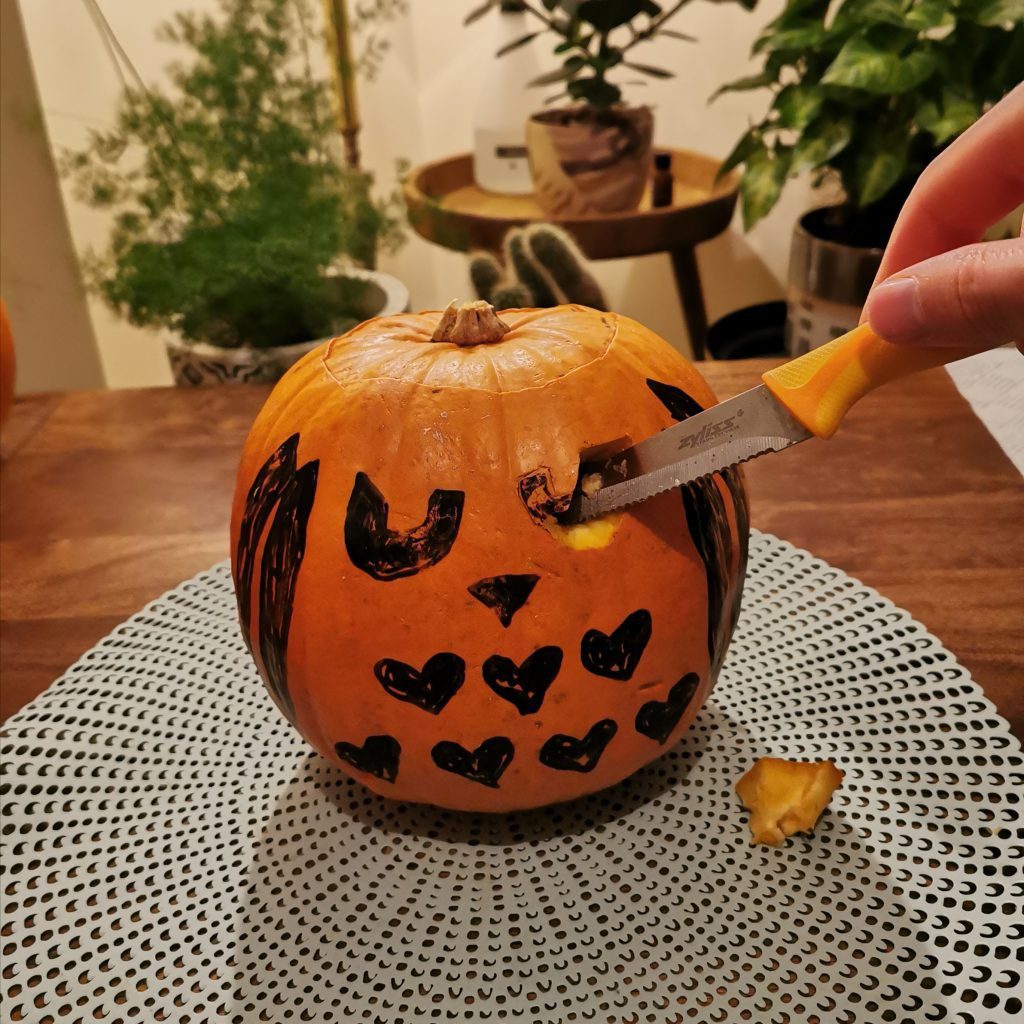
Once you’ve decided on a design, draw it on the pumpkin or create a stencil template. Although doing so adds an extra step, it makes the carving process much neater and quicker than if you’re cutting freestyle.
Once you’ve drawn your design, you should also colour in the pieces you’re removing. This will help avoid any confusion and will mean that you can cut with certainty.
#4 Cut
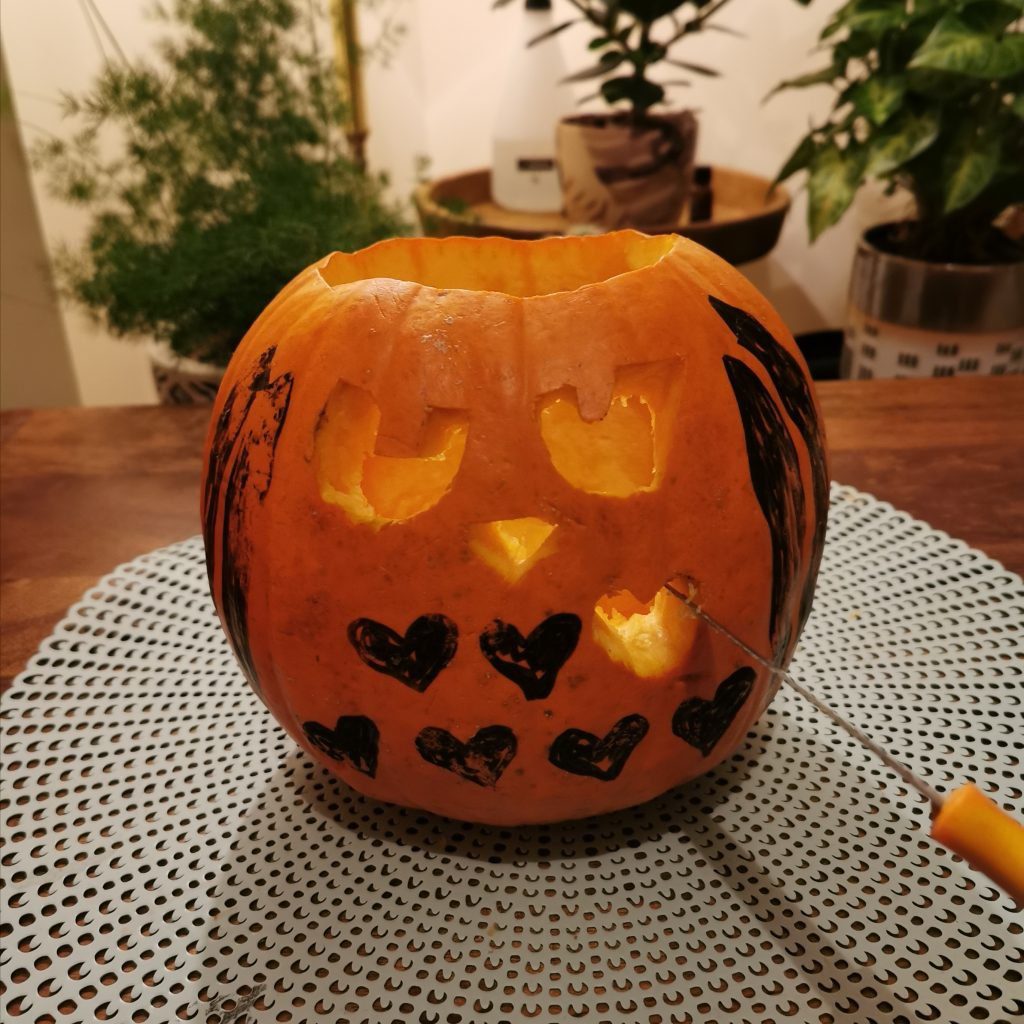
Now, it’s time to cut out your design and create your masterpiece. However, remember you’ll need a sharp knife for this. As a result, it’s best to use a small knife if possible as it will give you more control. You should also always cut away from yourself in case the knife slips.
If a child is helping you carve, then it’s worth investing in a pumpkin carving kit. The knife in these sets is far less sharp than a kitchen knife so, even though it will take them slightly longer to cut, it’s far safer. Plus, you’re always available to help if they’re struggling.
#5 Light Your Pumpkin
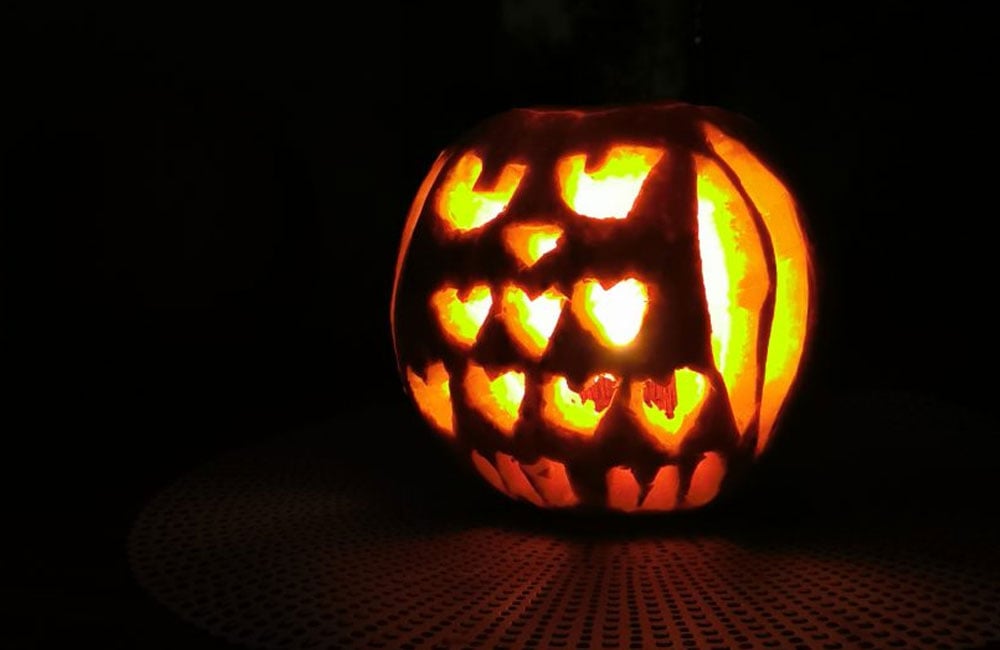
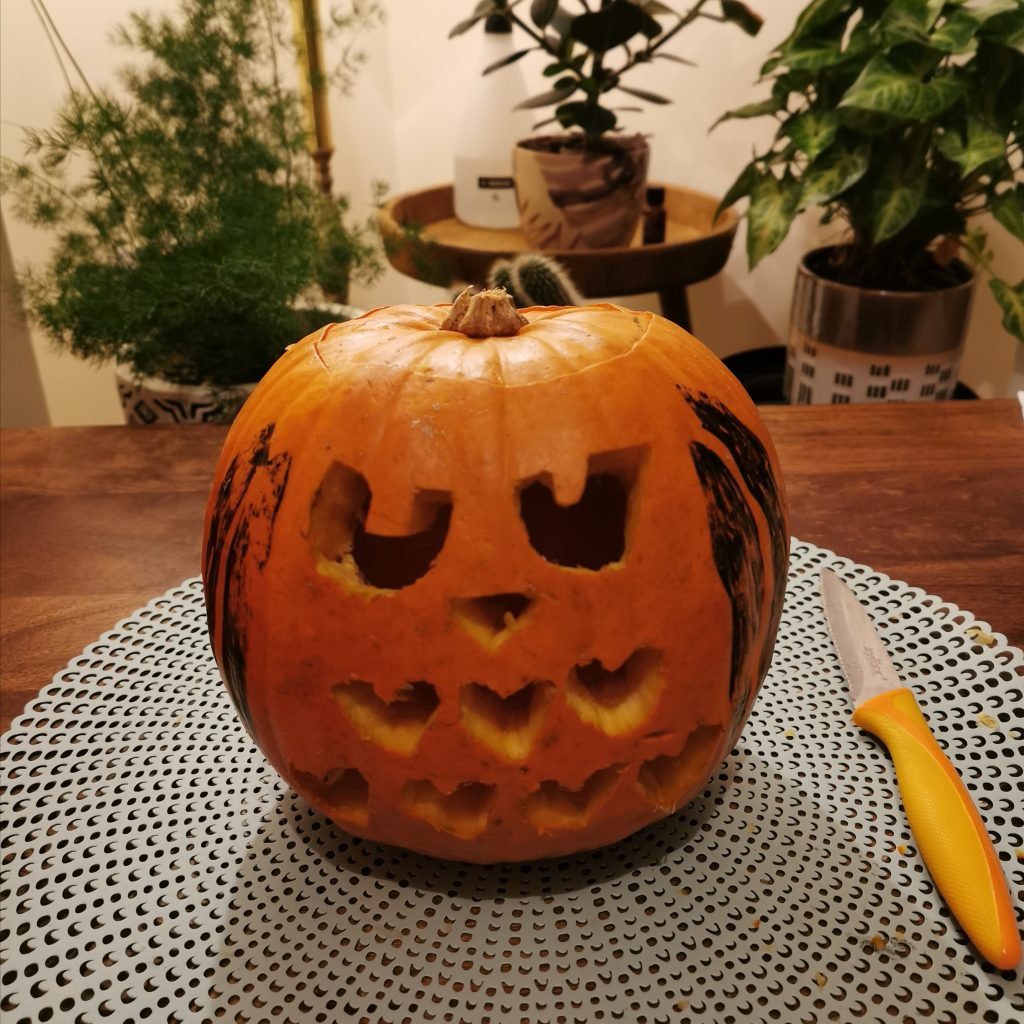
Once you’ve finished carving the pumpkin, simply wipe off any excess pen marks to create a more professional finish. Then, it’s time light your pumpkin and create a spook-tacular finish.
Putting a tea light into your pumpkin is the traditional way of lighting it. This is because the tea light will glow from the base, creating spooky shadows. Find our tea light making guide here on how to make your very own.
However, you can light your pumpkin in any way that you like. Simply grab a candle making kit and get to work. If you like, to create the ultimate Halloween pumpkin, you can even add a fragrance. The candle you add to your pumpkin can really help your design pop. So, much like the design on the front, don’t be limited in your choices and follow your creative flair.
Enter our Pumpkin Carving Competition
Carving your own pumpkin and making your own candle to light it? We want to see your designs. Share them with us on Facebook, Twitter or Instagram and we’ll share the best ones. As an added bonus, by showing us your spooky pumpkins and candles, you’ll gain the chance to win a candle making kit of your choice*.
You’ll need to be quick though. Our competition opens on Monday 26th October and closes on Friday 30th at 9:00, when the winner will be announced! Good luck!*Choice depends on stock levels and we reserve the right to pick a candle making kit for the winner if required.


