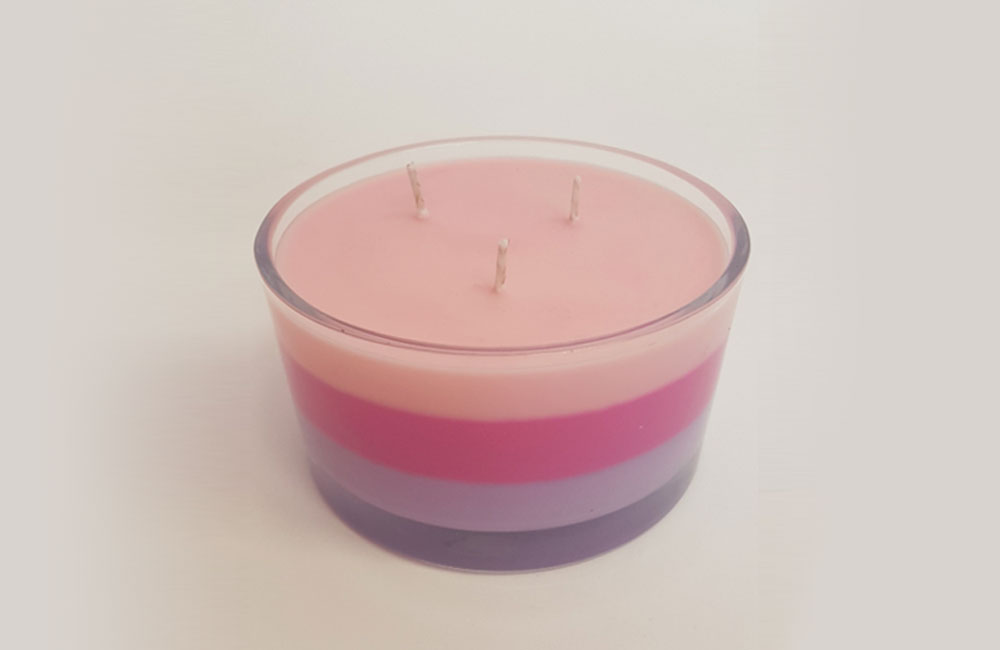
Why not show your Mum that there is more than just one layer to your love for her? Below is the recipe for making not just a 3-wick candle, but a 3-colour layered candle too! It’s easy to make and guaranteed to put a smile on any Mum’s face.
Ingredients
- 500g of either Kerawax 4105 or Kerasoy 4130
- 3g of 60/1127 Lilac Dye
- 3g of 39/4327 Pink Dye
- 3g of 35/4141 Light Rose Pink Dye
- 50ML bottle of a Fragrance Oil of your choice
- 3 Eco 14 Wick
- 3 Glue Dots
- 1 55CL Round Flat Dish
- (optional extra Silver Lid for the 55CL Round Flat Dish)
Method

Step 1
Pour a third of your wax into your melt pot, I am using one of our Bain Maries. Don’t let the temperature of the wax exceed 70°C, so keep an eye on your thermometer reading.

Step 2
Preparing your glass ready for your first pour can be a lengthy process. The easiest way to work out your wick placement is to draw around the container on a piece of paper and then draw the locations of where the wicks need to be placed. We use a ruler to work out these locations. Place the glass back over the drawing, tab the sustainer on the wick and then stick down over the drawn circle or marking. Don’t forget to keep checking the wax and its temperature.

Step 3
Securing the wicks from above and holding these in place ensures that the wicks don’t move whilst the wax is cooling. We have used a clear piece of rigid plastic cut to shape, then cut an area out to pour the wax through. Once in place, pull the wick taught and use a peg to hold the wick firmly in place.

Step 4
Going back to the wax, this should all have melted now, however stir it to ensure there are no un-melted sections of wax. Select the first colour for your layered candle and add approximately half a gram of this to the wax, then stir gently.

Step 5
Once this has dissolved into the molten wax and has an even coverage, cool the wax to your desired temperature. We prefer to pour around 55-60°C. Transfer the wax to your pourer and slowly decant the wax into the prepared 55CL glass to a height of approximately 15mm. If there is any spare wax, dispose of this and clean the burner. (We always have a spare wicked container ready, in case of excess wax.)

Step 6
Pour another third of the wax into the burner to melt and repeat steps 4 and 5, opting for the second colour of your choice. Ensure the first layer of the candle has cooled prior to pouring the second layer on top. Clean the burner again after doing the second pour.

Step 7
Pour the last of the wax into the burner and melt the same as before, adding the dye when the wax has melted, stirring gently. Pour the wax into the container completing the third and layer, leave this for a minimum of 24 hours to set before removing the pegs. Once this has cooled sufficiently you are ready to fire away!

Why not make this as part of our Mother’s Day Hamper?

Follow us on social media and tag us in your creations. We love to see what you have been making!


