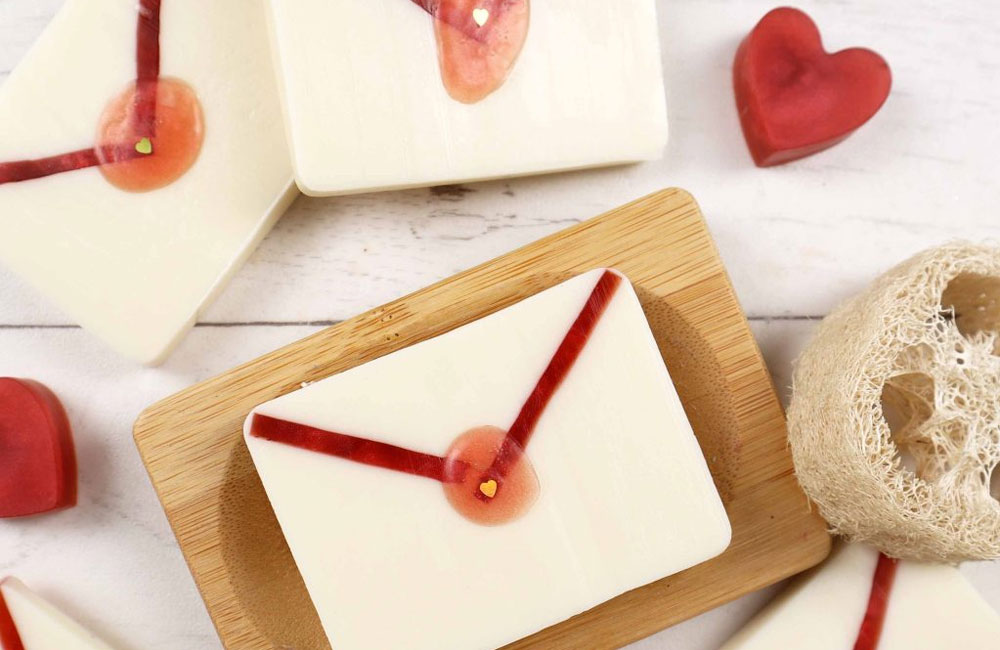
Are you wanting a project to get stuck into a creative project for Valentine’s Day? Not only does this recipe smell amazing but they also have a fun, love letter theme to decorate your home.
This month at Cosy Owl we have been thinking all about ‘love’ essential oils and Patchouli is our top scent for January and February, here’s why. Patchouli is an aromatic, flowering plant and it is often seen labelled in the base notes of perfumes. It creates a relaxing, romantic atmosphere with subtle and uplifting spice notes. It’s the perfect ingredient in soaps to cleanse your body and mind. With this creative project, you can let your imagination for decorating soap run wild by choosing your own colours and designs.
You will need:
- 400g Goat’s Milk Melt and Pour Soap Base
- 400g ST Clear Melt and Pour Soap Base
- Red Mica Powder
- Patchouli essential oil (3% – 12g for each soap base)
- Microwave/ Double boiler
- Weighing scales
- Pouring jug
- Thermometer
- Spoon
- Rectangle silicone Soap mould
- Knife
- Optional for added ‘envelope seal’: Heart glitter and clingfilm
Method
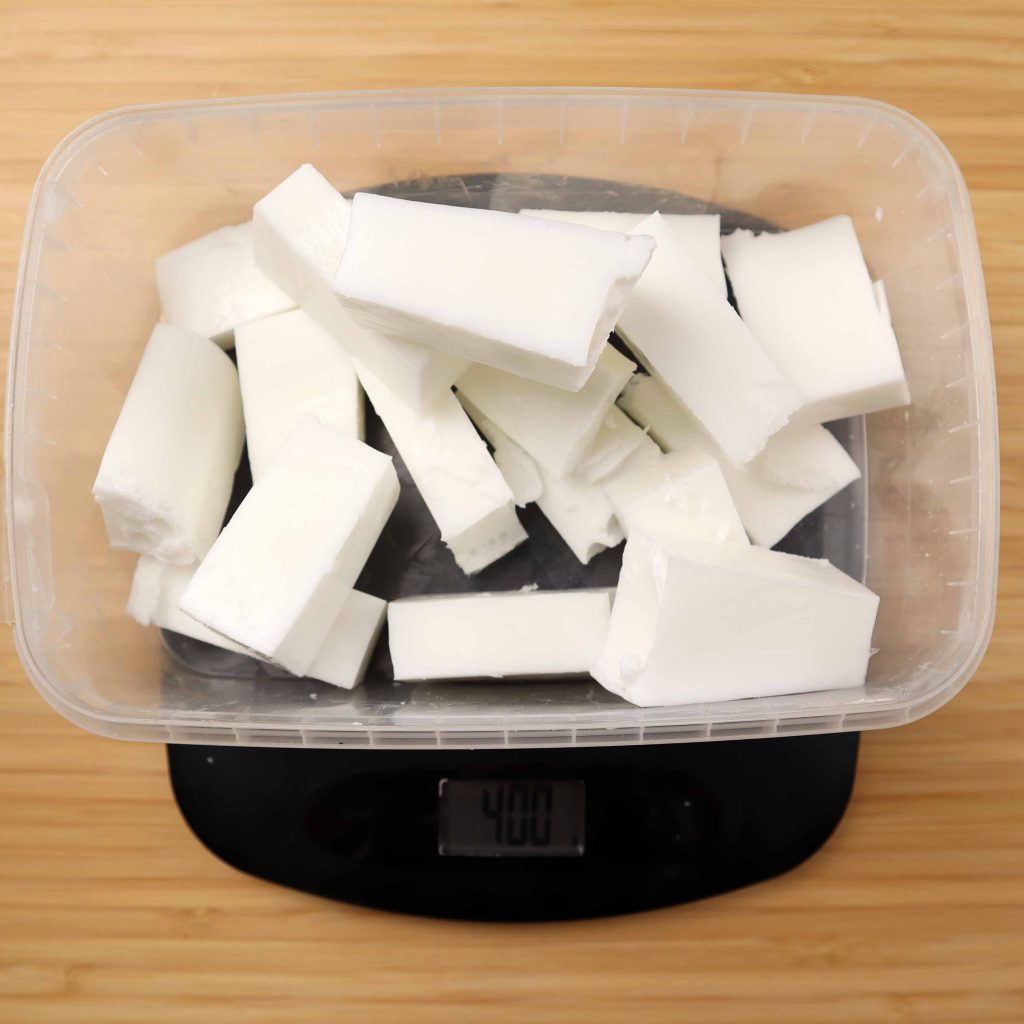
1. Measure and chop the clear soap base
First, weigh about 400g of ST clear soap base and carefully chop into small cubes with a knife.

2. Add to a microwavable jug
Add to a microwaveable jug and melt the soap base. This can be done in a bain marie or in the microwave. If you use the microwave method, keep a close eye on the soap melting to ensure it doesn’t overheat and start bubbling up.
Start with 2 minutes and then if you need to melt further a minute again until the soap has fully melted.
3. Weigh your fragrance or essential oil
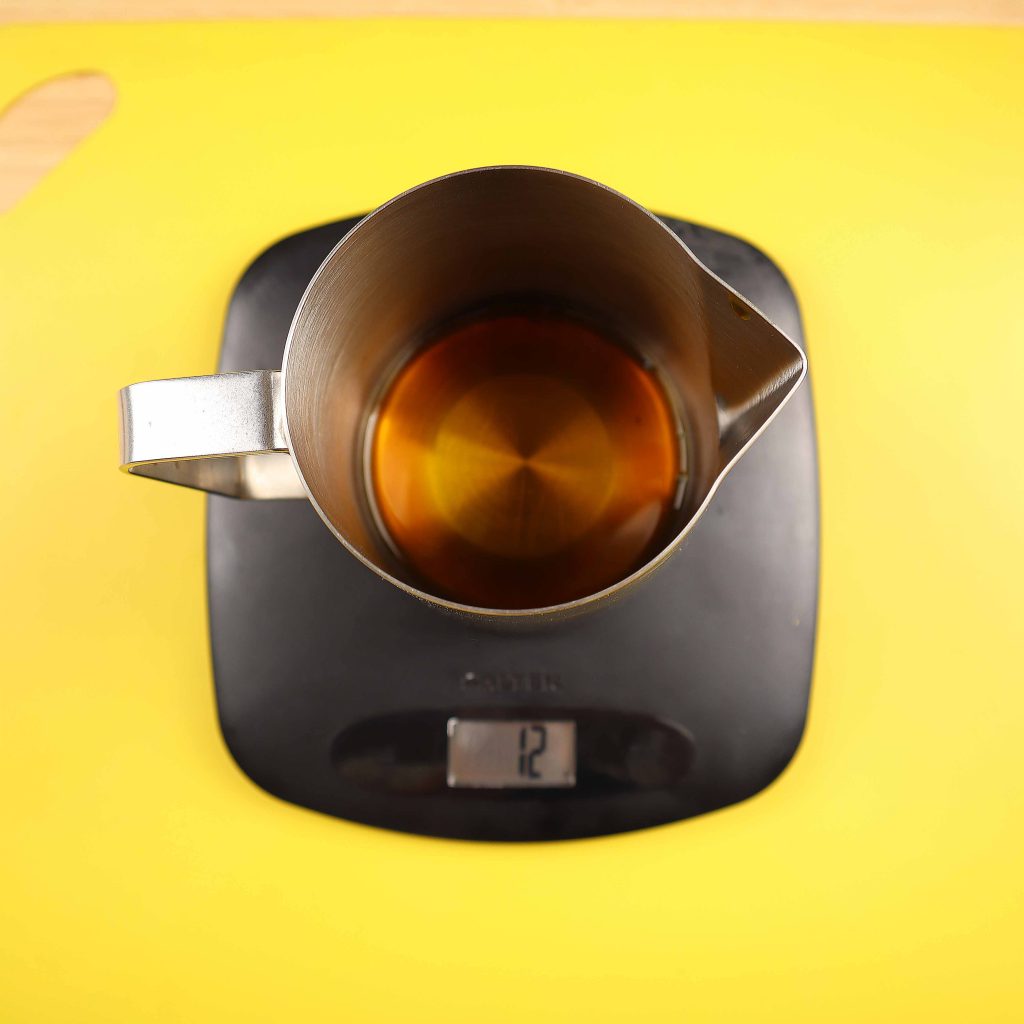
Now it’s time to think about fragrance oil. You can add up to 3% essential oil to soap this will mean 3% of the amount of soap we are using. This works out at 12g of fragrance oil. Measure 12g on a weighing scale to get an accurate measurement.
4. Check the flash point of your chosen essential oil
Next, check the flashpoint of your chosen essential oil. The flashpoint is the temperature at which the scent will evaporate so it is important to add the oil below this temperature. Patchouli will need to be added below 114°c. Add this to the melted soap base and blend by stirring slowly.
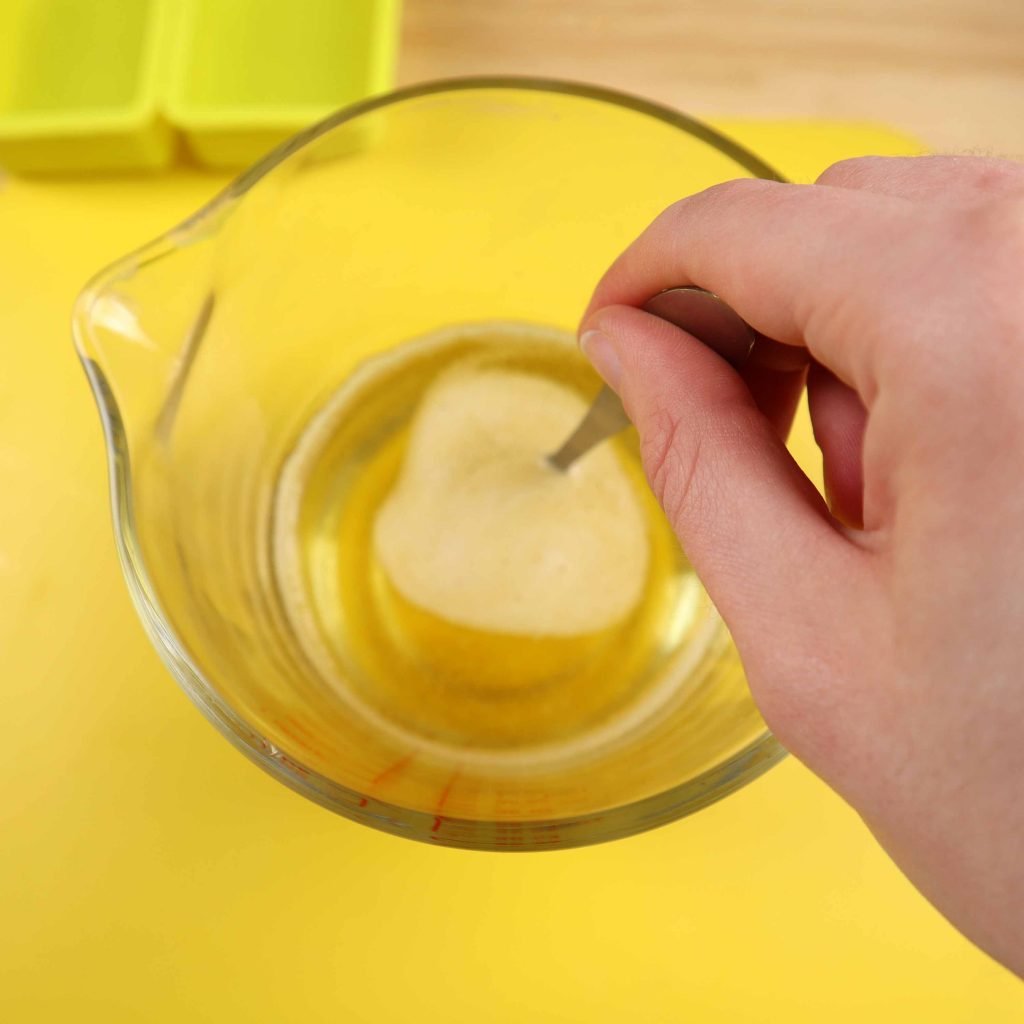
5. Add mica powder
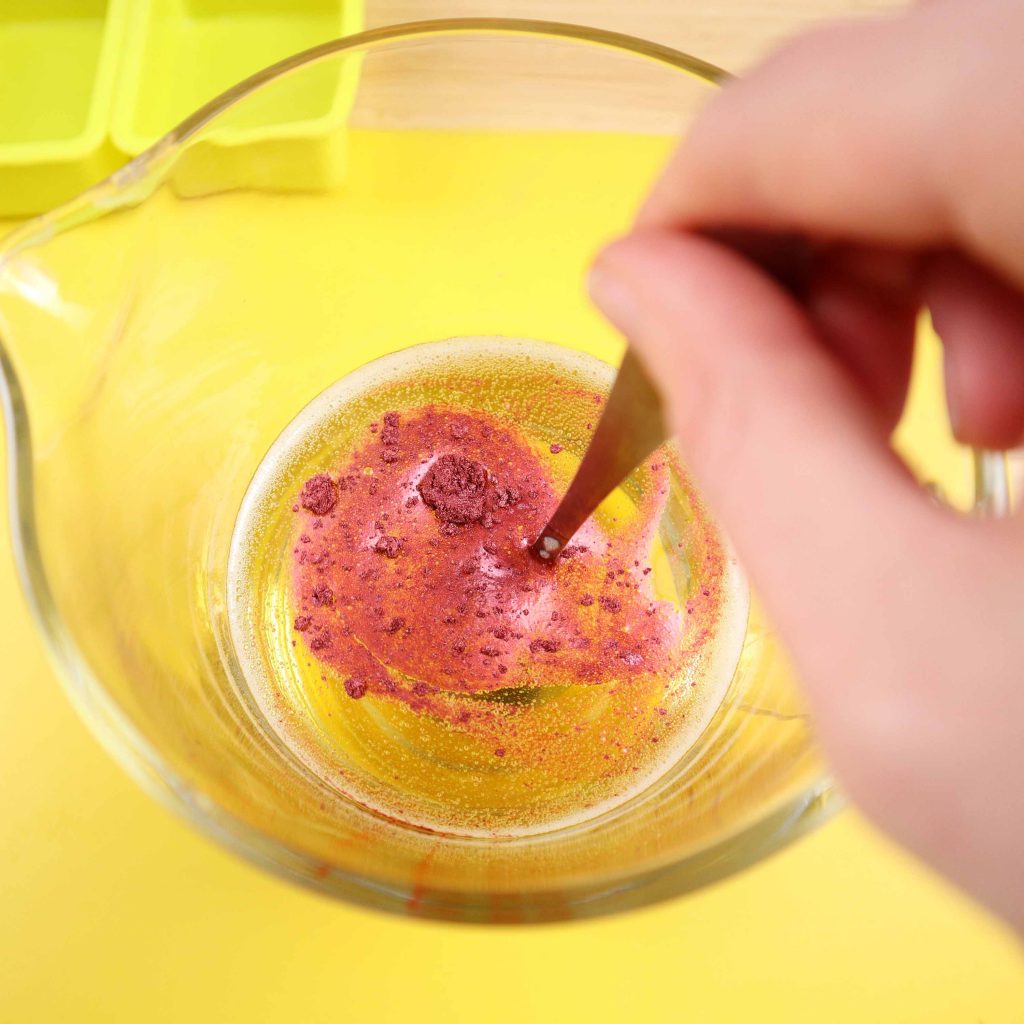
Now you can add in a small spoonful of mica powder and mix this until fully blended into the melted soap base. Make sure all the powder is mixed in well.
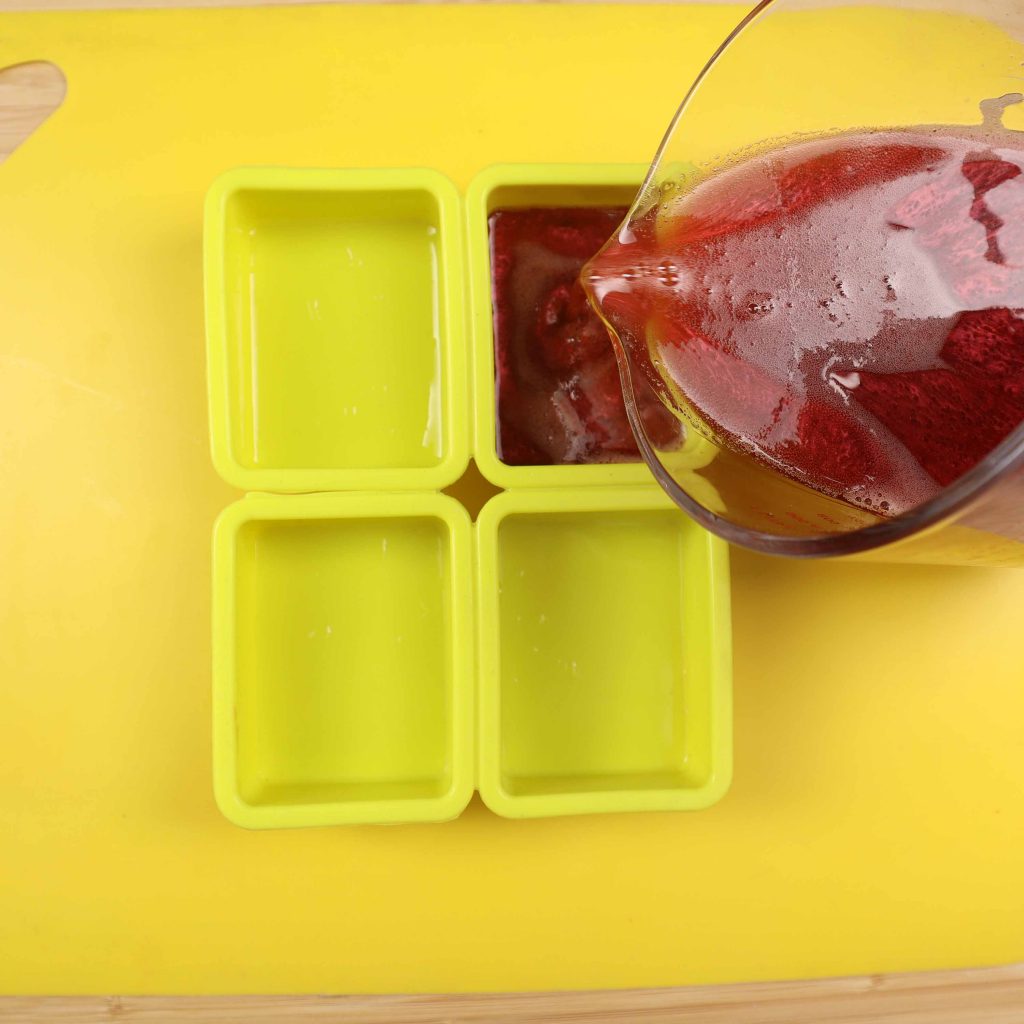
6. Pour the soap base into the mould
You could spray some rubbing alcohol on the mould base before pouring the soap, this allows the bubbles in the soap to pop and promote a smooth surface. Now pour the melted soap base into the moulds. Fill these with a small gap at the top. Wait for these to set for 3 hours.
Optional: You could add any leftover red soap to a heatproof mat or some clingfilm and create a circular shape using a spoon to drip onto the surface. Next, add a small gold heart from our glitter range to place in the middle before it hardens. This will act as a ‘seal’ for the envelope later on.

7. Chop the red soap into thin slices
Carefully de-mould the red soaps and chop them into thin slices. Measure the triangular shape for the envelope. You can do this by cutting and testing the slices in the mould to create the envelope opening shape like in the image below. We had two red bars of soap leftover to experiment with or use alongside these soaps.
8. Remove the slices and melt the goat’s milk soap base
Remove the red envelope slices and put them to one side. Chop up the goat’s milk and microwave using the same melting process as previous.
9. Add Essential oil
Repeat steps 3 and 4 for adding your essential oil to the goat’s milk soap base.
10. Pour the soap base
Pour the goat’s milk soap base into the rectangular moulds and leave a small gap from the top. Leave these to cool and settle for about 5 minutes. The soap will start to form a ‘skin’ layer on top. Gently remove this after 5 minutes, with a spoon and carefully place the red slices in place. The soap will still be warm so be careful when adding the embedded soap slices.
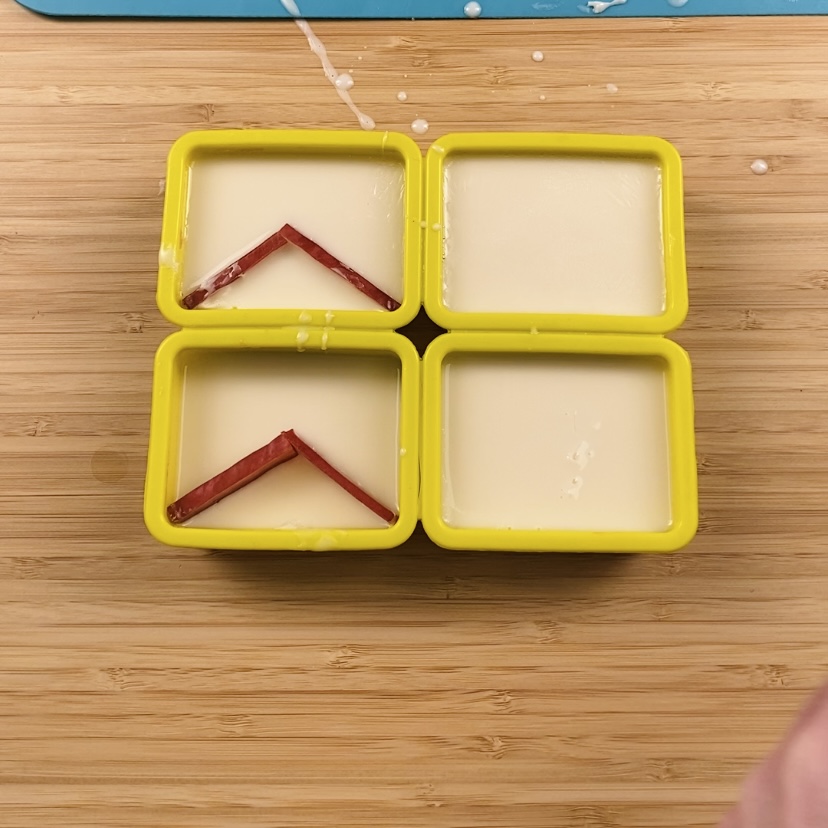
11. Leave to set
Leave to set for 4 hours on an even, flat surface and do not move the mould.
12. Peel the circular shapes from surface
Gently peel away the circular soap shapes off of the heatproof mat or clingfilm to reveal a ‘seal’ for the envelope soap.
13. Slice the front of the soap to reveal the full design
Once the soaps have solidified and completely cooled, de-mould them and place them onto a safe surface to chop. Carefully chop a slice off of the front of your soaps with a knife to reveal the triangular shape. This will also give your soap an even smoother surface.
14. Adding the ‘seal’
You can now add the ‘seal’. To do this you could melt a small amount of the clear soap base and use this as a ‘glue’ to stick the seal in place like so.
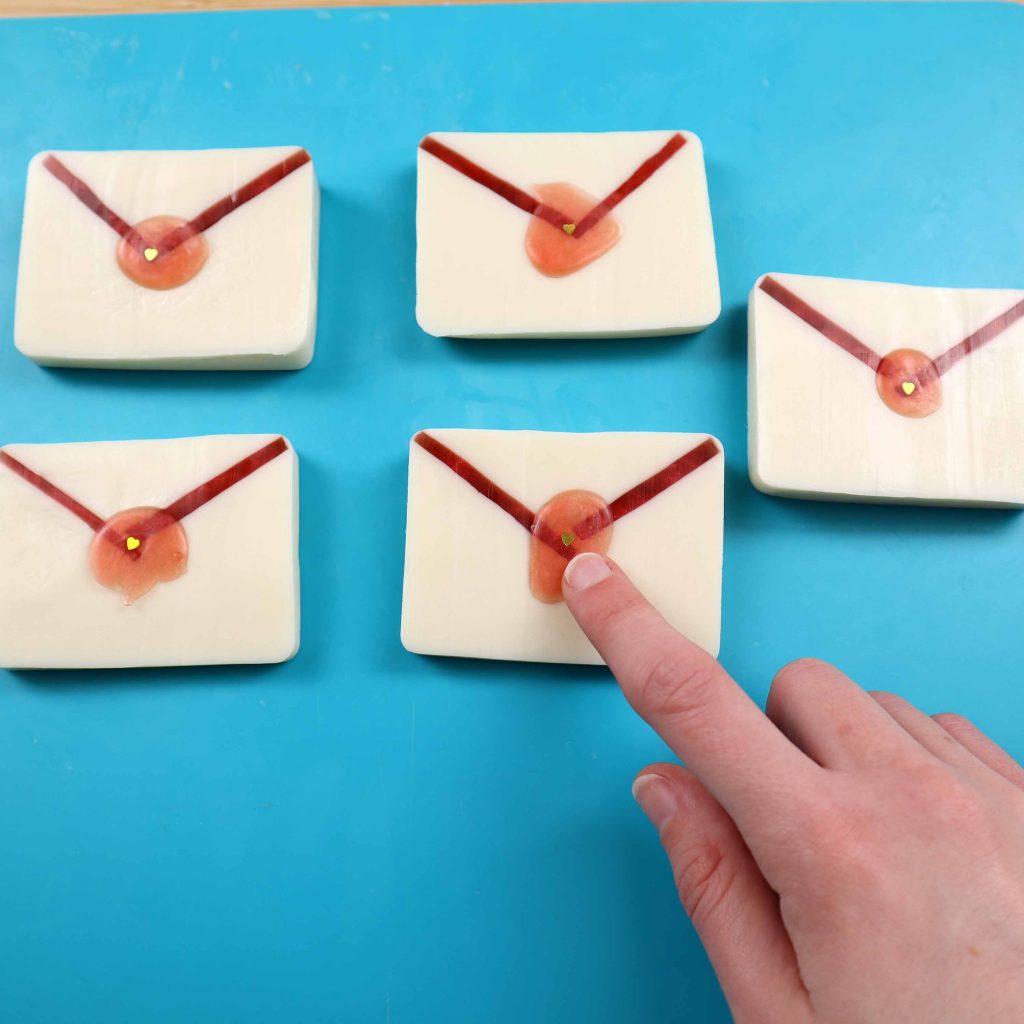
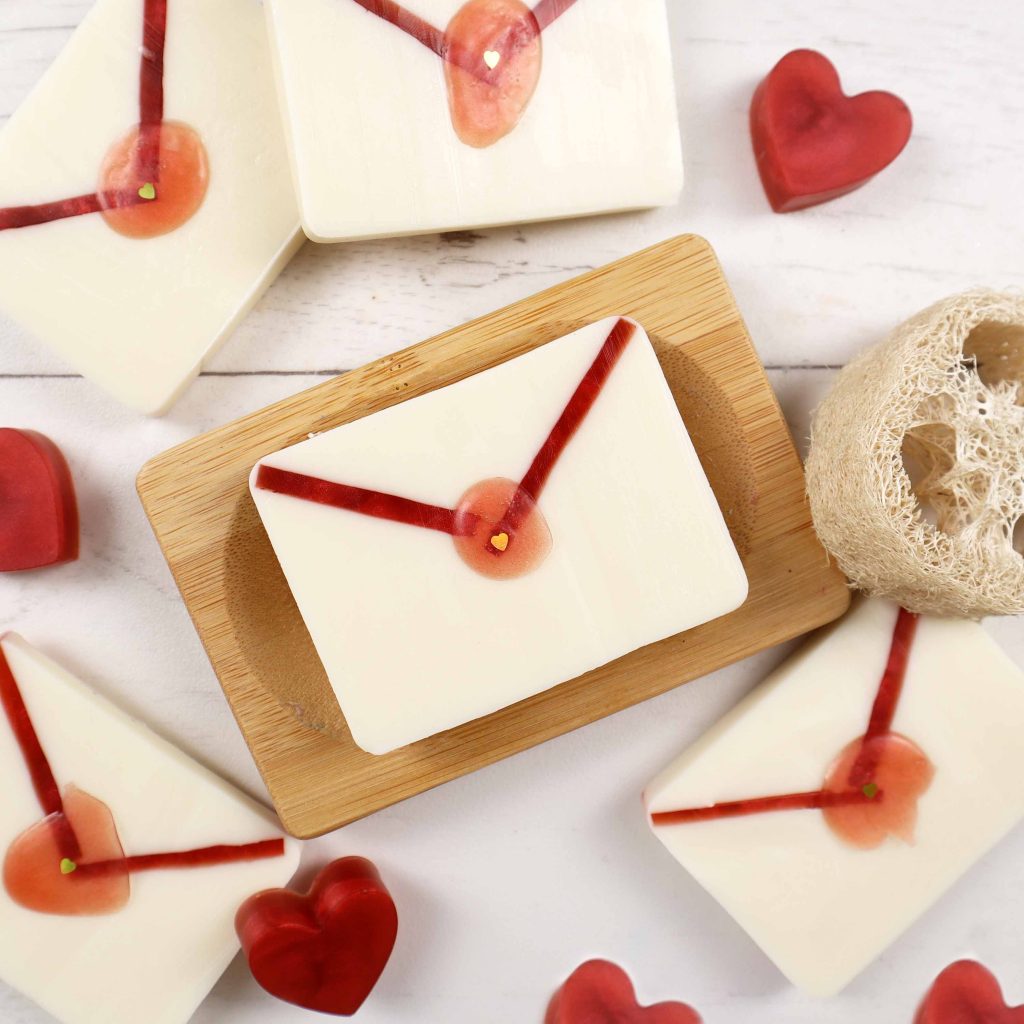
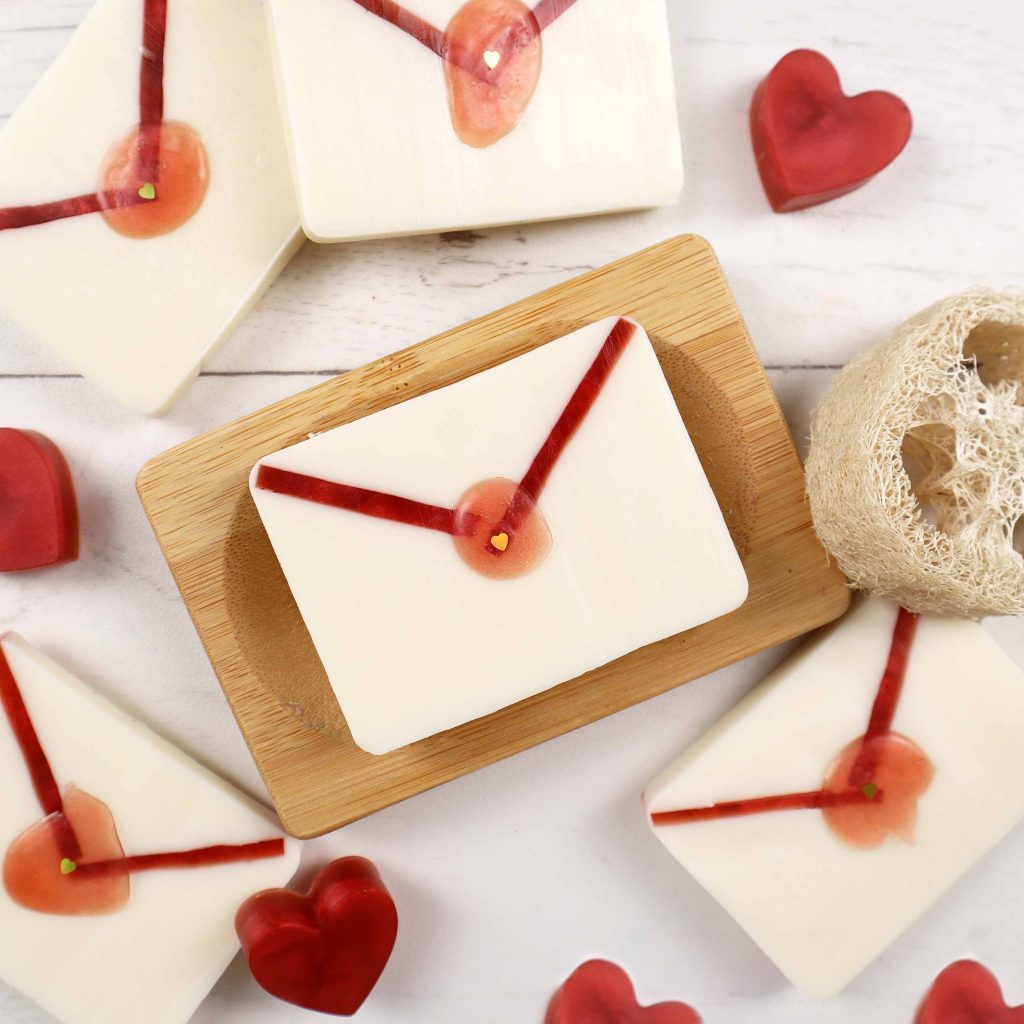
Tah Dah! You now have your wonderful love letter soaps ready to use with a romantic scent, perfect for Valentine’s Day.
Follow us on social media and tag us in your creations. We love to see what you have been making!


