Wanting to add a bit of extra sparkle to your wax melts? Our step-by-step video created in partnership with Cosy & Country walks you through the process of creating your own wax melts with mica powder at home.
Ingredients
- KeraSoy 4120 or KeraWax 4600
- Wax Melt Flower Moulds
- 50ml Fragrance Oil – we used Jasmine
- 3g of Bekro 39/4327 Pink Candle Dye
- Peach Pink Mica Powder
Step 1 – Measure & Melt Your Wax
First, you will need to measure your wax. We have weighed out 300g to fill our two silicone moulds. Once your wax is measured, put it onto a medium heat and leave it to melt.
Step 2 – Prepare Your Moulds
Whilst the wax is melting, you can prepare your moulds. We have added a bit of extra mica powder into the bottom of the moulds to give the wax melts a more glittery finish. Make sure that you give the mica powder a good rub around the bottom of the moulds so they get a good coverage.
Step 3 – Add Your Dye
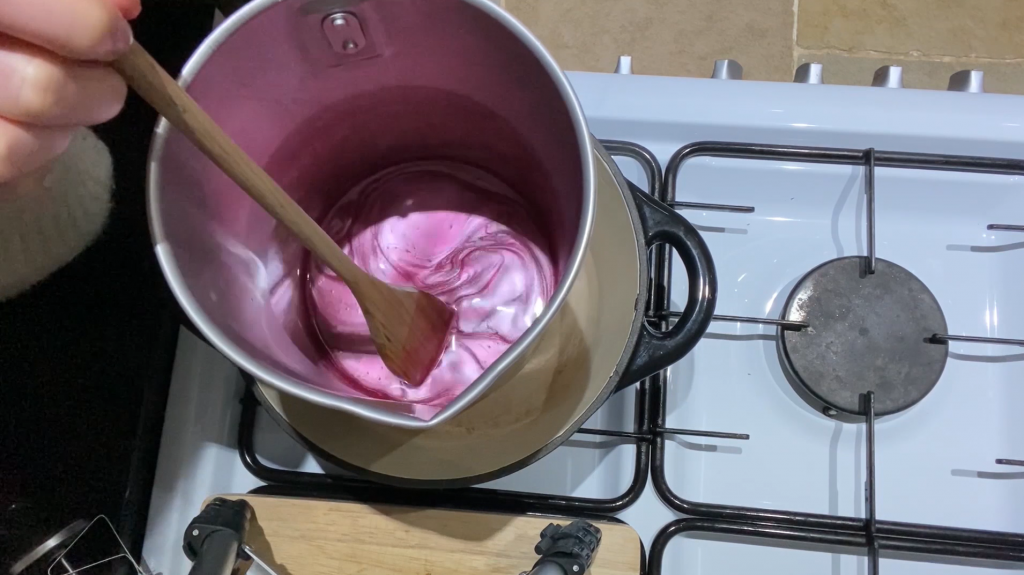
Once the wax has completely melted, it is time to add your dye. Making sure the wax is at 65°C, we added 1g of pink dye. Gently stir your dye through the wax until it has blended all the way through.
Step 4 – Add Your Mica Powder
Whilst the wax is on a low heat you can add your mica powder – remember that a little bit goes a long way! Gently stir the mica powder into the wax which will create beautiful mica swirls.
Step 5 – Add Your Fragrance Oil
Once the mica powder has mixed through the wax, you can add your chosen fragrance oil – we have added 20ml of Jasmine. Stir the fragrance into the wax gently, ensuring no bubbles are caused. If done too vigorously it can leave air bubbles in the wax once it has cooled.
Step 6 – Pour the Wax
Let your wax cool to between 55-65°C and then carefully begin pouring your wax into your moulds. Once poured, leave your wax melts to set for 24 hours.
Step 7 – Remove The Wax Melts
Once your wax melts have set, you can remove them from your moulds. Carefully push the bottom of the mould and your wax melt should simply pop out.
Step 8 – Enjoy!
Now you can pop one of your wax melts onto your burner and enjoy!


