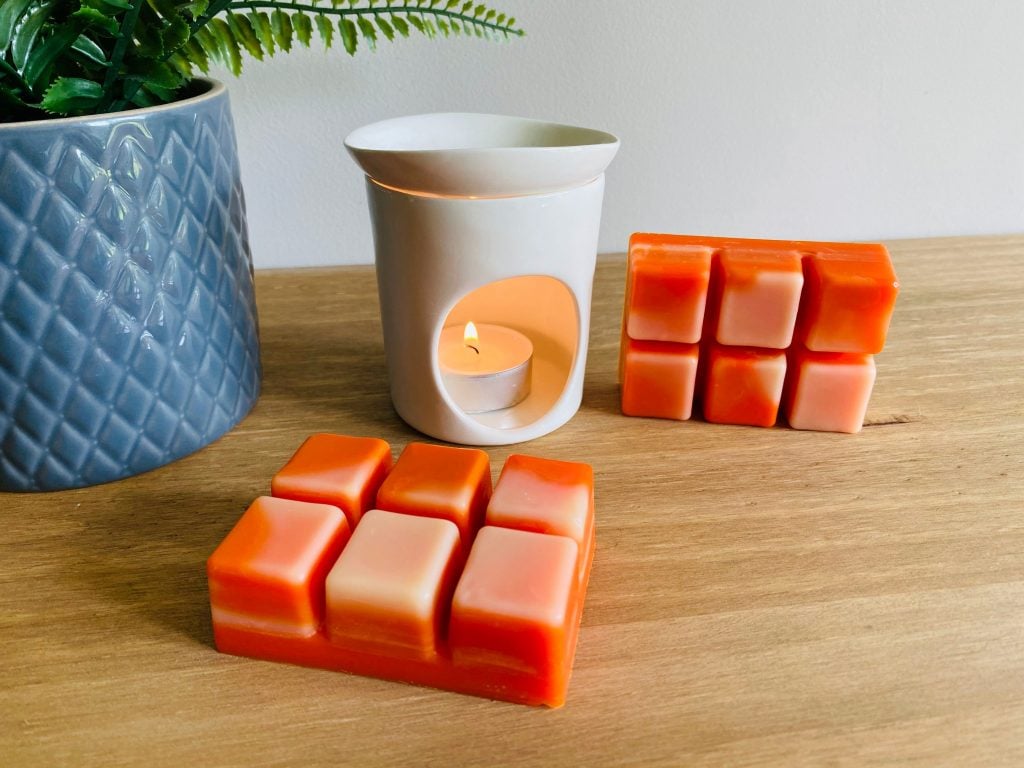
Wer etwas Abwechslung will, wenn es um Wachsschmelzen? Unser einfaches Schritt für Schritt Video, das in Zusammenarbeit mit Cosy & Country entstanden ist, zeigt Ihnen, wie Sie Ihre eigene marmorierte Wachsschmelze herstellen können.
Inhaltsstoffe
- Kerasoy 4110 Säulenwachs oder KeraWax 4600
- 5 x Wachsschmelze Törtchen Muschelschalen
- 50ml Parfümöl - verwendeten wir Lebkuchen
- 3g von 6099/25 Orangefarbener Farbstoff
- 3g von 5024/27 Rostoranger Farbstoff
- 3g von 227 Cremefarbstoff
Schritt 1 - Abmessen und Schmelzen des Wachses
Zuerst müssen Sie Ihr Wachs messen. Da wir verwenden 3 Für die verschiedenen Farben unserer marmorierten Wachsschmelzen haben wir 134 g in 3 separate Schmelztöpfe abgemessen - das ist die perfekte Menge, um 5 Muschelformen zu füllen.
Stellen Sie alle drei Schmelztiegel auf mittlere Hitze, bis das Wachs vollständig geschmolzen ist.
Schritt 2 - Fügen Sie Ihre Farbstoffe hinzu
Sobald das Wachs geschmolzen ist, lassen Sie es cool auf 65°C. Geben Sie nun die gewünschte Menge des ersten Farbstoffs in einen Ihrer Schmelztöpfe. Rühren Sie den Farbstoff durch das Wachs, bis er sich gleichmäßig vermischt hat.
Wiederholen Sie diesen Vorgang mit der zweiten und dritten Farbe in den beiden anderen Schmelztiegeln.
Schritt 3 - Parfümöl hinzufügen
Sobald sich die Farbe gleichmäßig vermischt hat, ist es an der Zeit, das Duftöl hinzuzufügen. Lebkuchen. Wir haben in jeden unserer 3 Schmelztiegel 16 ml Duftöl gegeben.
Rühren Sie das Parfüm vorsichtig in das Wachs ein und achten Sie darauf, dass keine Luftblasen entstehen. Wenn Sie dies zu heftig tun, können nach dem Abkühlen Luftblasen im Wachs zurückbleiben.
Schritt 4 - Gießen Sie Ihre erste Farbe
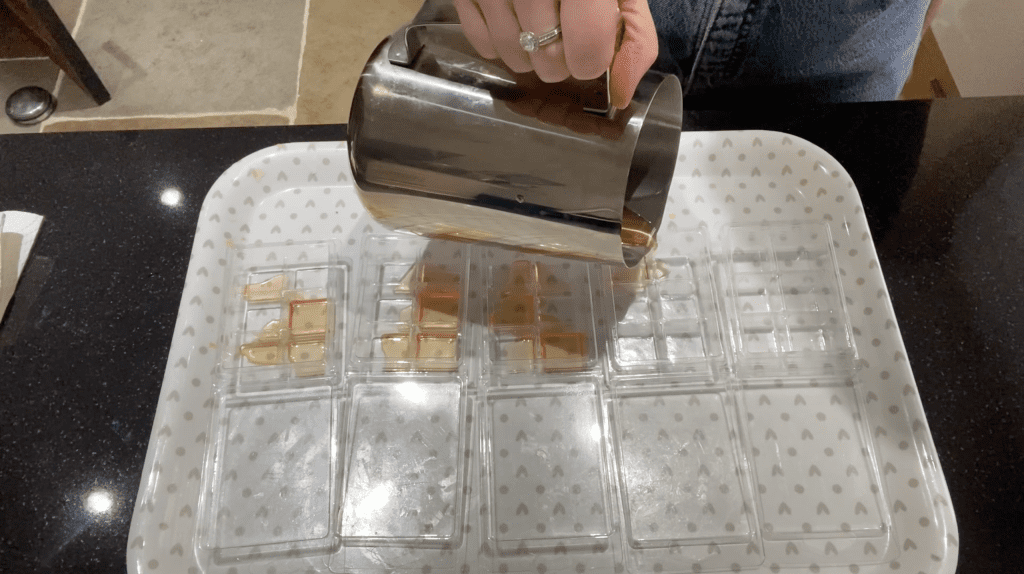
Gießen Sie die erste Farbe in die Muschelformen, wobei Sie nur kleine Mengen in jedes Segment gießen und darauf achten, dass Sie Lücken für den nächsten Guss lassen.
Schritt 5 - Gießen Sie Ihre zweite Farbe
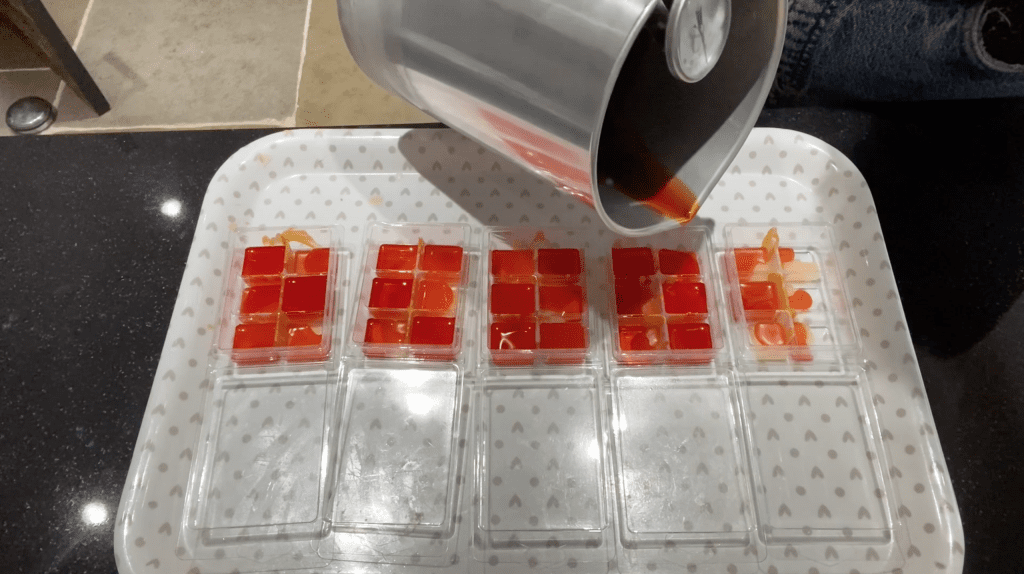
Wenn du siehst, dass die erste Farbe abgekühlt ist, ist es Zeit, die nächste Farbe zu gießen. Gießen Sie auch hier nur kleine Stücke, damit Sie die Lücken ausfüllen können.
Schritt 6 - Gießen Sie Ihre dritte Farbe
Wiederholen Sie diesen Schritt mit der dritten Farbe, indem Sie kleine Wachsstückchen in die Formen gießen, ohne die Segmente vollständig zu füllen. Wechseln Sie die Farben ab, bis die Muschelformen voll sind. Lassen Sie sie dann 24 Stunden lang aushärten.
Schritt 7 - Genießen!
Jetzt können Sie Ihre Muschelschalen aufbrechen, ein Segment auf Ihr Schmelzfeuer legen und genießen!

Folgen Sie uns auf den sozialen Medien und markieren Sie uns in Ihren Kreationen. Wir lieben es, zu sehen, was Sie gemacht haben!
YouTube - Weitere Anleitungen und Projektinspirationen finden


