Wanting to try your hand at making wax melts? Our easy Schritt für Schritt video created in partnership with Cosy & Country walks you through the process of making your own Wachsschmelzen at home. Creating your own wax melts at home is a fun and rewarding DIY project that allows you to customize the scents, colours, and shapes to your preferences.
Whether you’re looking to fill your home with the cosy aroma of ätherische Öle or experiment with fett fragrances like Kürbisgewürz, making wax melts is easier than you might think. With just a few simple ingredients like Sojawachs, Parfümöle, and a wax warmer, you can craft beautiful, scented wax melts that will keep your space smelling entzückend. In this Leitfaden, we’ll walk you through the process of how to make wax melts, offering some Tipps and tricks to help you achieve the perfect melt every time. Read on to learn how to make wax melts (uk or elsewhere in the world!).
Inhaltsstoffe
- Kerawax 4600 oder Kerasoy 4120
- Star clamshell moulds
- Parfümöl - verwendeten wir Frisches Leinen-Duftöl
- Dye – we used Cream Candle Dye
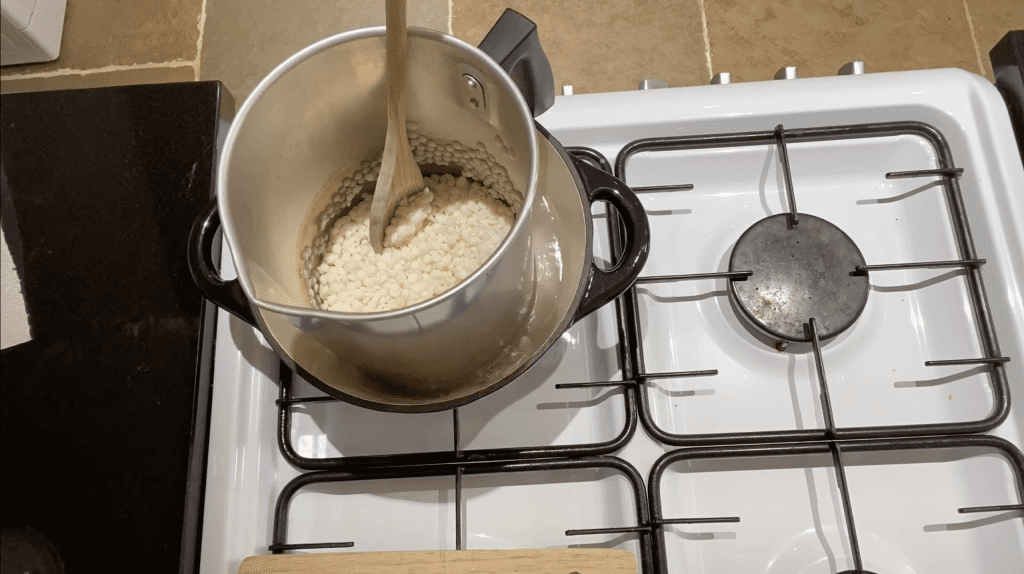
Step 1 – Melt the paraffin or soy wax
First, decide between the Paraffin-Wachs and Soy Wax. Then, you need to melt your wax. To work out the amount of melted wax you will need, use a glass measuring cup or something similar, and our Percentages and Measurements guide. We’re using 600g of soy wax to make 5 Star Clamshell DIY wax melts.
Step 2 – Add the dye
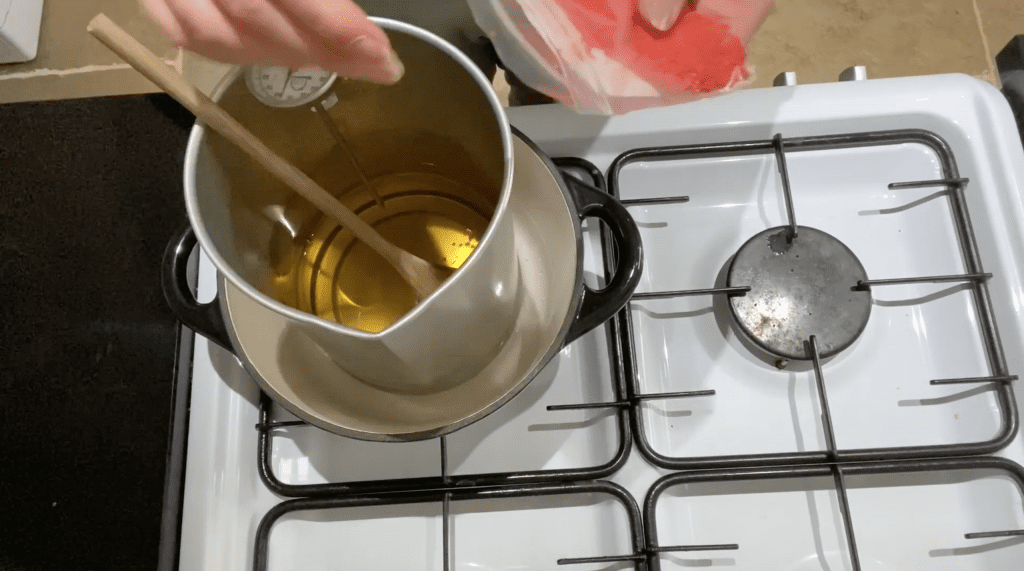
Once the wax has fully melted by heating it in a pot, on an open flame, leave it to cool to 65°C . Now add the desired amount of dye to achieve the strength of colour you are after. We have only added a pinch of dye as we want to achieve a light cremig colour for our wax melts. Stir the dye through until it has evenly blended through the melted wax.
Step 3 – Add the fragrance oil
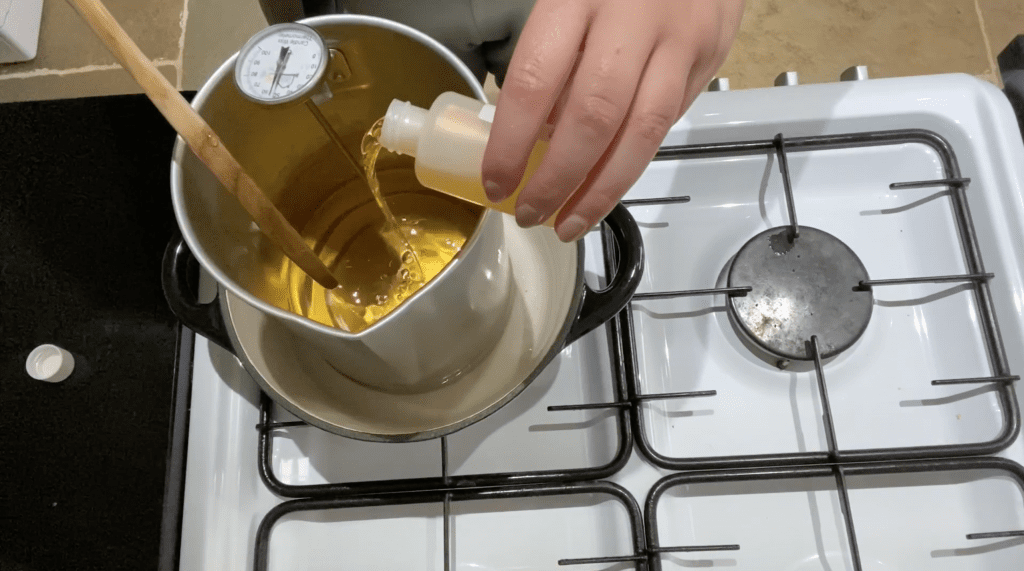
Once the dye has evenly blended it is time to add the fragrance oil and stir, we have gone for Frisch Linen (containing natürlich essential oils). Stir the fragrance oil into the wax gently ensuring no bubbles are caused, if done too vigorously it can leave air bubbles in the wax once it has cooled. You can experiment with one of our fragrance oils, essential oils or an ätherisches Öl blend to get the perfect fragrance in your wax melts!
Step 4 – Pour the wax
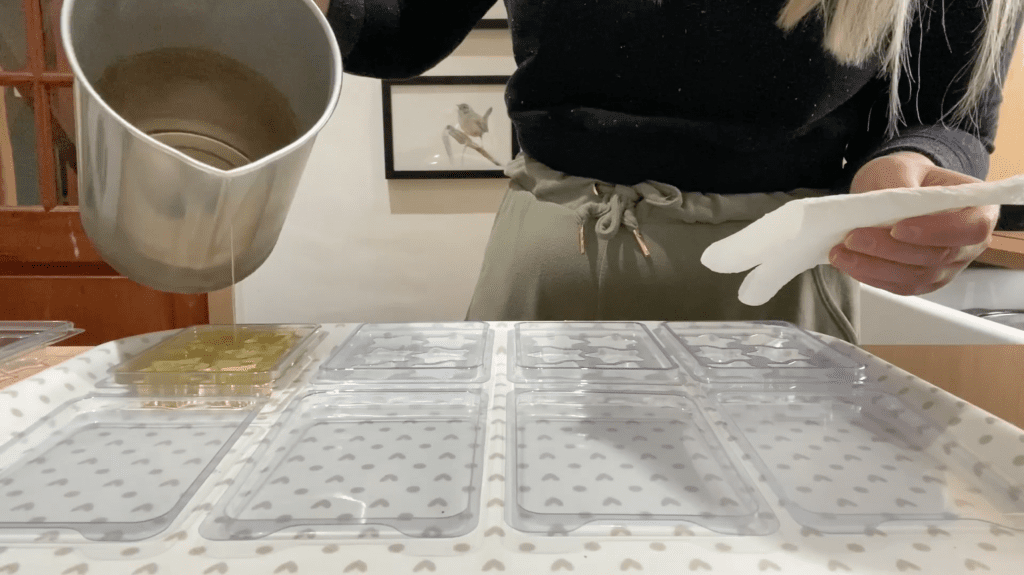
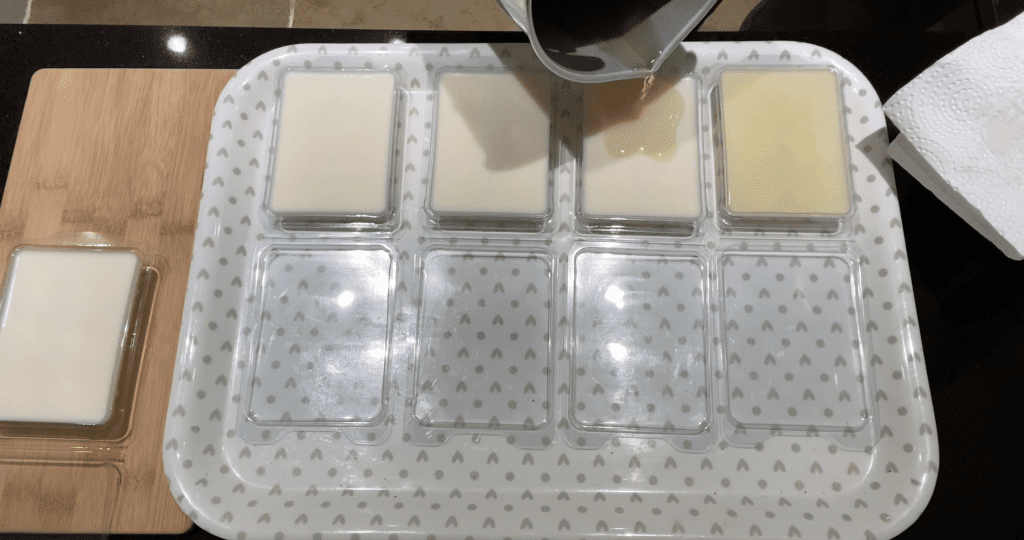
We suggest leaving the molten wax to cool (you do not have to pour the wax immediately) to around 55°C -60°C before you pour slowly into the moulds, leaving room to top up any sinkholes. Topping up the sinkholes allows our soy wax melts to be more uniform. Top Tip: A pouring jug and thermometer make this step much easier!
Step 5 – Top up the moulds
After 30 mins, top up the rest of the wax into the moulds. Make sure they are completely flat on top and leave the wax to set and cool for 24 hours.
Step 6 – Enjoy your homemade wax melts!
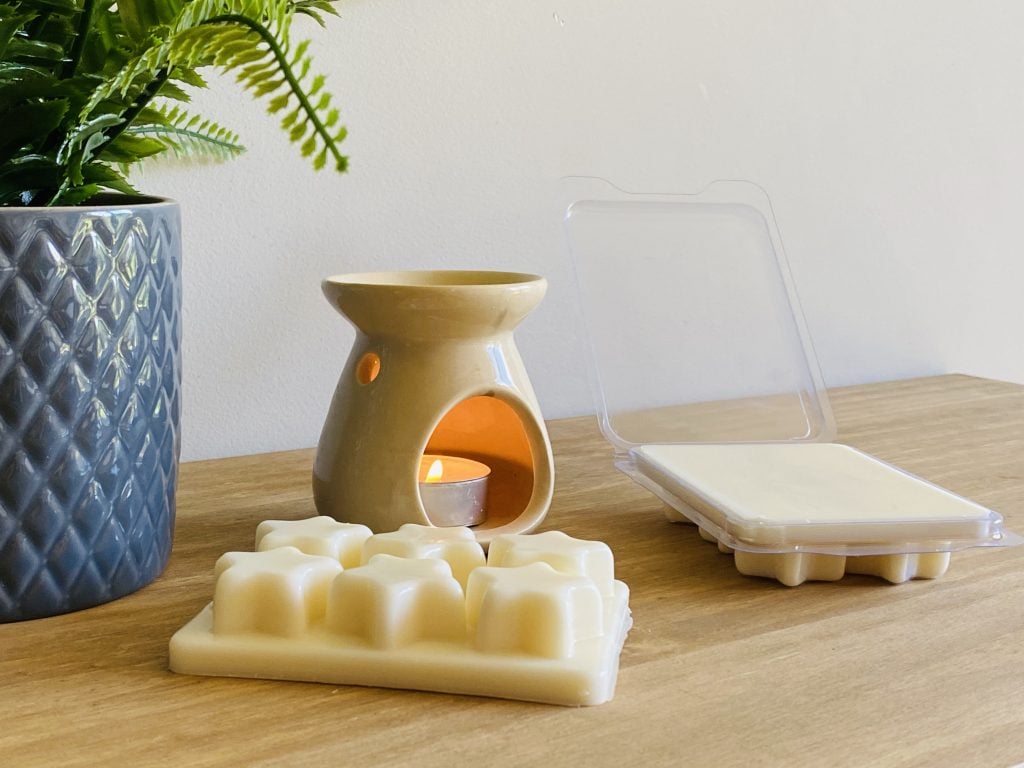
Now you can break up your clamshells, pop a segment onto your wax burner and enjoy!
Folgen Sie uns auf den sozialen Medien und markieren Sie uns in Ihren Kreationen. Wir lieben es, zu sehen, was Sie gemacht haben!
YouTube - Weitere Anleitungen und Projektinspirationen finden

What do need to get to make wax melts
An excellent place to start would be one of our Wax Melt making kits. These are linked below for you:
https://cosyowl.com/wax-melt-making-kits
Once you have trialled these you can order the items individually.